Designing a landscape lighting system is more than just placing lights in your yard; it’s about crafting an atmospheric experience that’s equally functional and aesthetic. Whether you aim to highlight your garden’s best features, secure your property, or create a serene ambience, landscape lighting is a game-changer. This in-depth guide provides you with a thorough approach to landscape lighting design, ensuring that your outdoor spaces glow in their best light.
Simple version:
-
Audit Your Landscape:
- Identify key features (e.g., trees, ponds).
- Assess the effectiveness of current lighting.
- Pinpoint dark zones that need better lighting.
- Consider seasonal changes that may affect lighting.
- Factor in daytime versus nighttime needs.
- Create a visual plan (e.g., using graph paper or design software).
-
Gather Essential Tools:
- Tools like tape measure, wire strippers, voltage meter, garden shovel, and landscape design software are crucial for installation.
-
Choose the Right Lighting Techniques:
- Up-lighting for dramatic impact (highlight tall structures like trees).
- Down-lighting for natural ambience (mimicking moonlight).
- Cross-lighting for highlighting details (eliminates shadows).
- Path lighting for safety and beauty along walkways.
-
Divide the Landscape Lighting Areas:
- Focus on entrances, walkways, garden beds, architectural features, and trees.
- Use appropriate techniques for each area (e.g., path lights for safety, accent lighting for sculptures).
-
Select the Right Type of Lights:
- Spotlights for focal points (trees, statues).
- Path lights for walkways.
- LED lights for energy efficiency and long life.
- Solar lights for eco-friendly options.
-
Consider Brightness and Color:
- Brightness: 50-100 lumens for paths, 150-300 lumens for accent lights, >700 lumens for security.
- Color temperature: Warm light (2700K-3000K) for a cozy feel, cool light (4000K+) for task lighting.
-
Plan Wiring and Power:
- Calculate load and select the right transformer size.
- Plan efficient wiring layout and consider GFCI outlets for safety.
-
Installation Tips:
- Bury cables at the proper depth.
- Consider weather conditions during installation.
- Inspect and test connections thoroughly for safety and performance.
Step 1: Audit Your Landscape
Skipping the audit process is like sailing without a compass; you’re bound to get lost. Here’s how to conduct a comprehensive audit:
- Identify Key Features: Begin by taking a detailed inventory of your yard. Look for unique elements that stand out or areas you feel are particularly deserving of attention. This could be anything from a majestic oak tree or a tranquil pond to whimsical garden decorations like a gnome or a birdbath. Jot down these features, as they will play a pivotal role in your lighting design.
- Assess Current Lighting: If your yard already has some lighting, take the time to evaluate its effectiveness. Are the lights too intense, creating a harsh ambiance, or are they too dim, leaving areas in the shadows? Observe how current lighting arrangements impact the overall appearance of your garden – do they enhance its beauty or cast unflattering shadows? Understanding the strengths and weaknesses of your existing setup is crucial for planning improvements.
- Pinpoint Dark Zones: Conduct a walk-through of your property in the evening. This will help you identify areas that are inadequately lit. Pay special attention to spots that may pose safety hazards or security concerns due to insufficient lighting. These could include walkways, entry points, or secluded corners. Marking these 'dark zones' is essential for enhancing both the safety and aesthetics of your outdoor space.
- Consider Seasonal Changes: Remember, your landscape is a living, changing environment. Plants grow, shed leaves, or even become dormant, especially in winter. A spot that is perfect for lighting today might be less ideal in a different season. Factor in these seasonal transformations to ensure your lighting design remains effective and adaptable throughout the year.
- Daytime vs. Nighttime Needs: Some lighting fixtures can serve dual purposes. For example, consider a light fixture that doubles as a planter or a decorative element. Such fixtures can be a visual highlight during the day and transform into a practical light source at night. Evaluating how your lighting needs differ from day to night will help you select versatile and functional lighting solutions.
- Create a Visual Plan: Having a visual representation of your lighting plan is invaluable. A simple, hand-drawn sketch on graph paper is a great start. However, for a more detailed and interactive planning experience, consider using landscape design software. These tools often offer advanced features, such as 3D models and virtual walk-throughs, allowing you to test and tweak your lighting design before implementation.
This audit will be your roadmap for the entire project. It will help you figure out what types of lights go where, what areas need more focus, and how to balance various elements for a cohesive design.

Step 2: Gather Essential Tools for Landscape Lighting Design
|
Tool |
Purpose |
|
Tape Measure |
Used for measuring distances and spaces in the yard for accurate placement of lights. |
|
Graph Paper |
For sketching out a visual plan of the landscape and the lighting layout. |
|
Landscape Design Software (Optional) |
To create a detailed, interactive 3D model of the lighting plan and virtual walk-throughs. |
|
Wire Strippers |
For safely stripping the insulation from electrical wires during installation. |
|
Screwdrivers |
For securing light fixtures and opening compartments for bulb installation. |
|
Garden Shovel/Trowel |
For digging trenches to bury cables or to install in-ground lights. |
|
Wire Connectors |
To safely connect electrical wires, especially for outdoor waterproof connections. |
|
Voltage Meter |
For checking the electrical output and ensuring safety and proper functioning of the lights. |
|
Pliers |
For gripping, bending, and cutting wires during installation. |
|
Ladder |
To reach high points for down-lighting and other elevated installations. |
|
Flashlight/Headlamp |
For working in low-light conditions, especially during evening installations or adjustments. |
|
Electrical Tape |
For insulating and securing wire connections. |
|
Level |
To ensure that fixtures are installed evenly, particularly for path and step lights. |
|
Gloves |
For hand protection during digging and handling of fixtures and wires. |
|
Safety Goggles |
To protect eyes from debris and dirt during installation. |
Step 3: Choose the Right Lighting Techniques
Each lighting technique serves a specific purpose, and knowing how to leverage them is critical for creating a visually captivating and functional landscape. Let’s go in-depth:
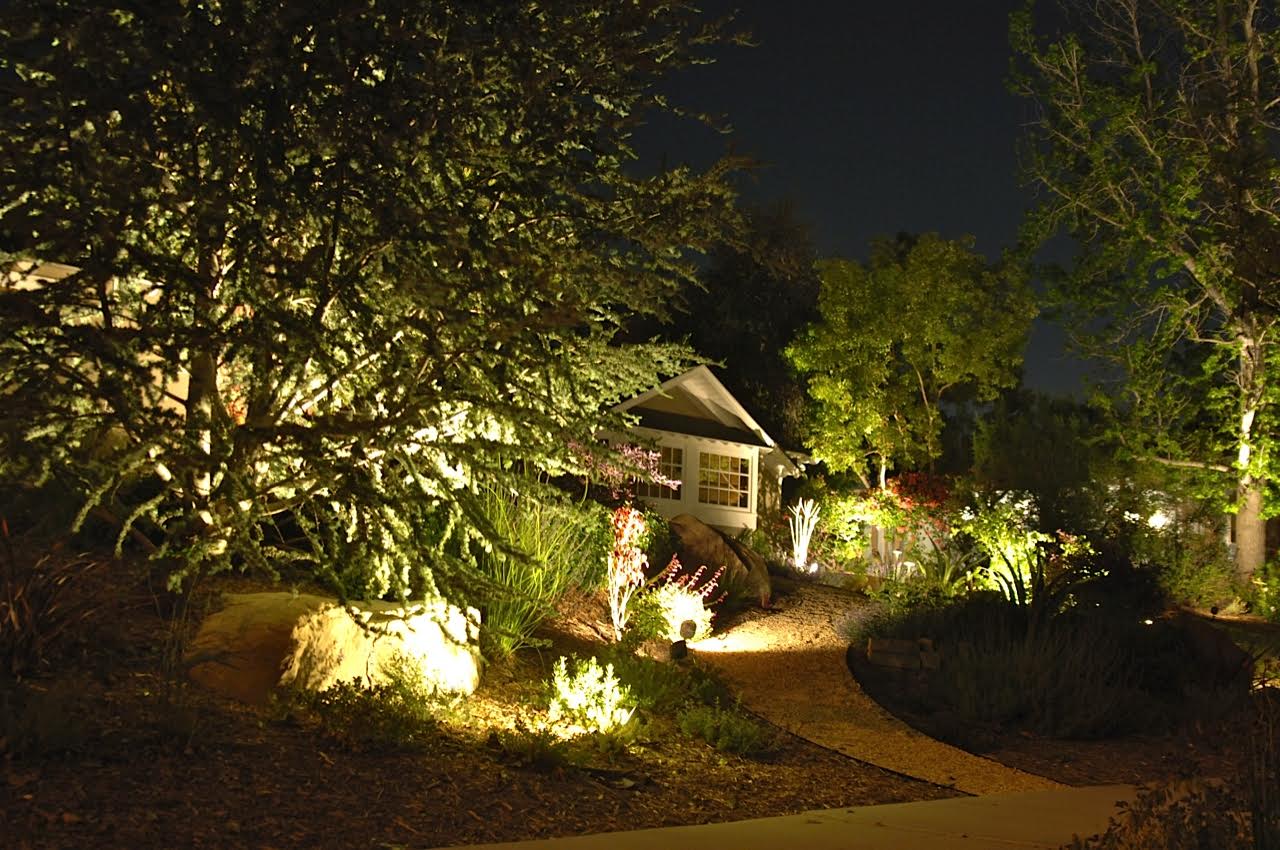
Up-lighting for Dramatic Impact
Up-lighting is exceptionally effective for drawing attention to tall structures or prominent trees in your landscape. By positioning the light fixture low to the ground and angling it upwards, you can create a striking effect. The magic lies in adjusting the angle and distance of the light source relative to the feature. Opt for wider angles to cast a soft, diffused glow that gently illuminates the object, or use narrower angles for a bold, dramatic effect that emphasizes the feature's height and structure.
Down-lighting for Natural Ambience
This technique is akin to capturing the gentle luminescence of moonlight. Position the fixtures high up - on tree branches, eaves, or poles - and direct the light downwards. It's crucial to choose fixtures with a bulb shield to prevent any direct glare. Down-lighting is ideal for crafting a serene, ambient setting, making it perfect for areas such as patios, walkways, or driveways. It bathes these spaces in a soft, natural light that is both welcoming and functional.
Cross-lighting to Highlight Details
Cross-lighting involves using lights from various angles to uniformly illuminate a feature, thereby eliminating unflattering shadows. This technique is particularly useful for showcasing intricate sculptures, layered garden beds, or architectural elements with rich textures. By strategically placing lights around the feature, cross-lighting ensures that every detail is visible, bringing depth and dimensionality to the object without making it appear flat or one-dimensional.
Accent Lighting for Focal Points
Think of accent lighting as the final touch that brings your landscape to life. These focused spotlights are designed to highlight specific elements like a unique plant, an artistic statue, or an elegant water feature. The objective is to isolate the object from its surroundings, spotlighting it as a key visual element in your garden. This technique not only draws the viewer’s eye to the feature but also adds a sense of drama and sophistication to your outdoor space.
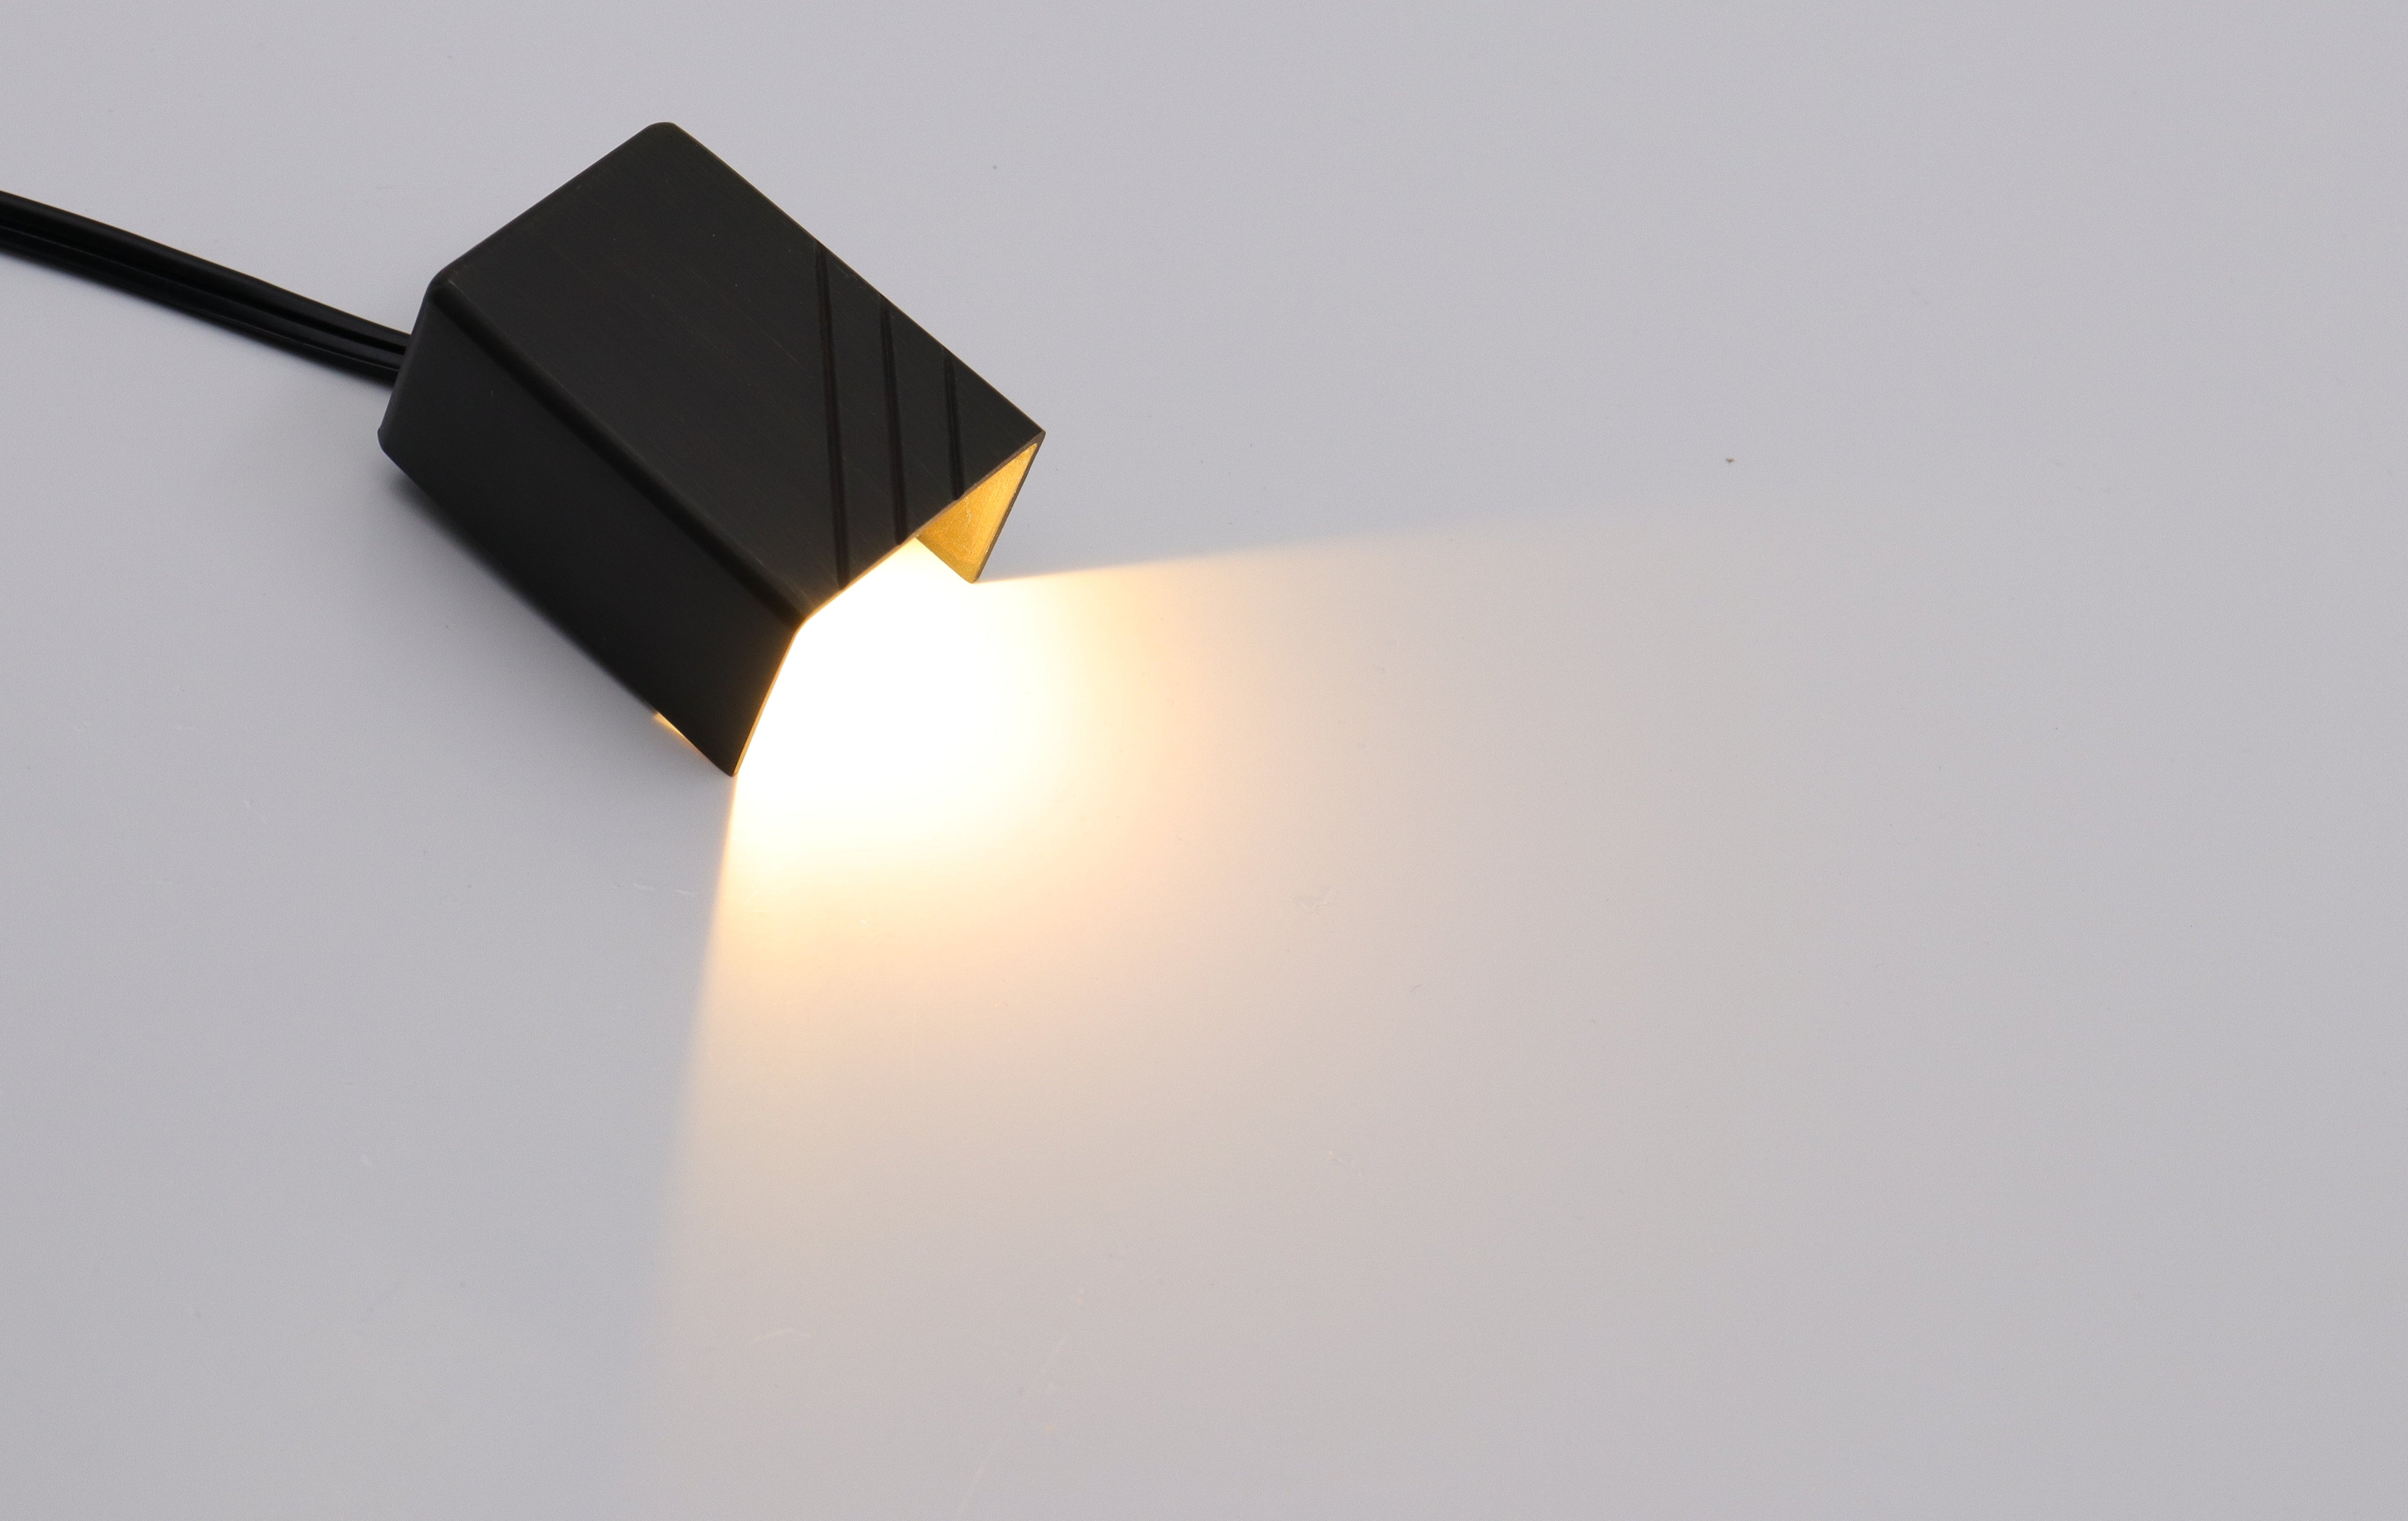
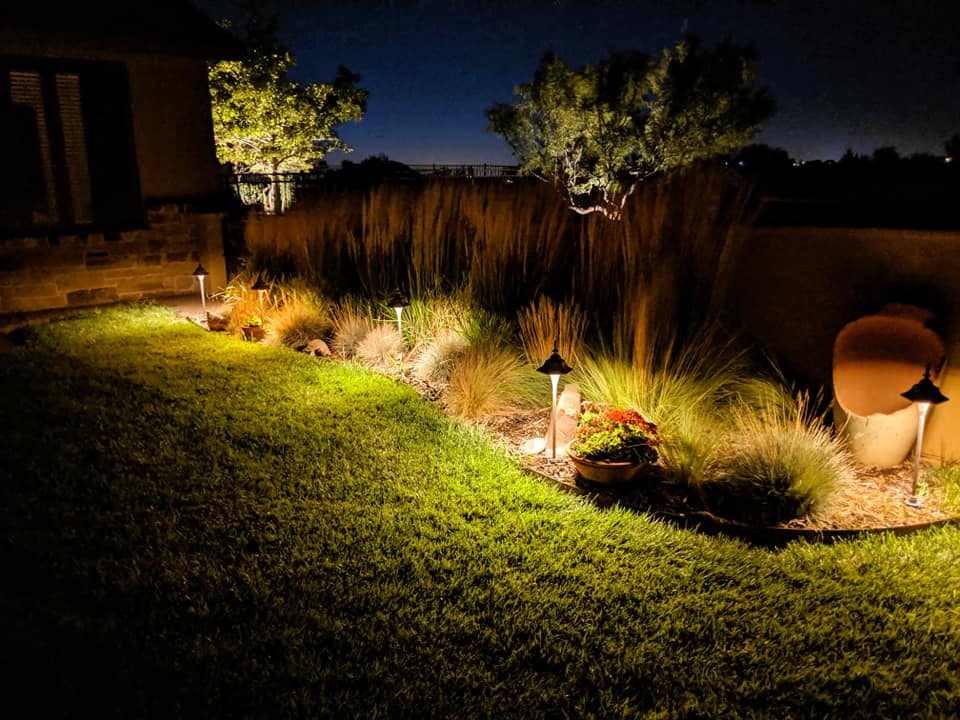
Path Lighting for Safety and Beauty
Path lighting is essential for guiding the way and ensuring safety along walkways, garden paths, and around terraces. These lights are usually placed low to the ground and emit a soft, downward glow, providing enough illumination to safely navigate the area while also highlighting the beauty of your pathways. This technique not only enhances safety but also adds a charming aesthetic to your landscape, inviting guests to explore your garden’s pathways.
Silhouetting for Dramatic Effect
Silhouetting, also known as backlighting, creates a dramatic outline of an object against a softer background. Place a light between the main vantage point and the object, but direct it towards a wall or fence behind the feature. This technique is perfect for creating striking contrasts and showcasing interesting shapes and profiles of plants, sculptures, or architectural elements.
Shadowing for Artistic Flair
Similar to silhouetting but with a subtle twist, shadowing involves placing the light source in front of the feature, casting a shadow on a surface behind it. This technique works best with objects having intricate or interesting shapes. It adds depth and a touch of artistic flair to your landscape, especially effective when the shadows move with branches or leaves in the breeze.
Wall Washing for a Cohesive Look
Wall washing evenly illuminates a large surface or wall, creating a smooth and cohesive light that minimizes texture and shadows. This is achieved by placing lights a few feet away from the wall and using fixtures with a wide beam spread. It's ideal for creating a soft, ambient light that highlights boundary walls or architectural features, making the area feel more spacious and unified.
Grazing to Accentuate Texture
Grazing is particularly effective in accentuating the texture of surfaces. Place lights close to the surface - such as a stone wall or tree bark - and angle them so the light skims across the surface. This technique creates dramatic shadows and highlights, bringing out the rich textures and details of the illuminated object.
Moonlighting for a Subtle, Natural Effect
Moonlighting simulates the natural light of the moon and involves placing lights high up in trees or on structures, casting a dappled, soft light downwards, akin to moonbeams filtering through branches. This technique is perfect for creating a peaceful, natural ambiance in larger garden areas.
By understanding these techniques and their effects, you can strategically place your lights to optimize both aesthetics and functionality.

Step 4: Consider Different Landscape Lighting Areas
A well-thought-out landscape lighting design not only focuses on the lighting techniques but also on the specific areas of your landscape that will benefit from these techniques. Understanding how to apply different lighting methods to various landscape areas can significantly enhance both the functionality and aesthetics of your outdoor space. Let's explore the key areas to focus on:
- Entrances and Walkways: Safety and visibility are paramount for entrances and walkways. Path lighting is ideal here, providing a guiding light for pathways, steps, and entrances. Consider using low, evenly spaced lights along the paths, ensuring that these areas are well-lit to prevent accidents and to welcome visitors.
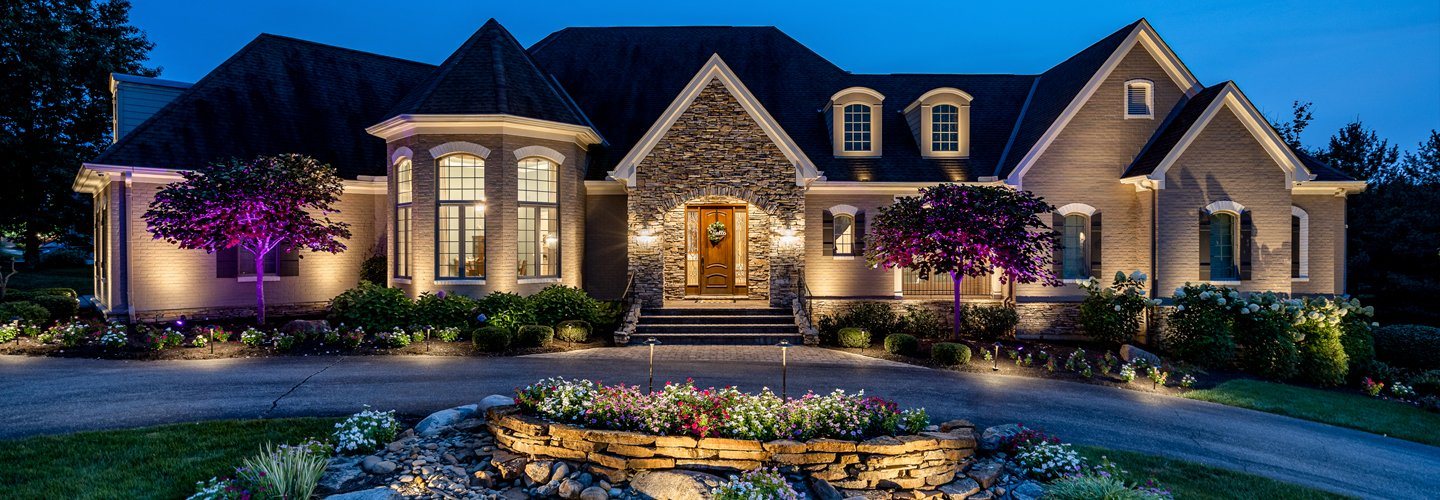
- Garden and Flower Beds: Accent lighting and up-lighting can be used to highlight the natural beauty of garden beds and individual plants. Spotlights can focus on specific flowers or shrubs, while up-lighting can illuminate trees or taller plants, creating depth and interest in your garden areas.
- Architectural Features: Grazing and wall washing are excellent for showcasing the architectural features of your home. Grazing brings out the texture of surfaces like stone walls, while wall washing can evenly illuminate larger surfaces, enhancing the overall architecture of the building.
- Water Features: Ponds, fountains, and pools benefit from a combination of lighting techniques. Underwater lighting can create a mesmerizing effect in ponds and pools, while cross-lighting and accent lighting can be used to highlight fountains and waterfalls, adding a dynamic and serene element to the landscape.
- Recreational Areas: For patios, decks, and outdoor seating areas, ambient lighting is key. Down-lighting and moonlighting can create a soft, natural glow, perfect for entertaining or relaxing. These techniques provide enough light for visibility while maintaining a comfortable, cozy atmosphere.
- Statues and Sculptures: Use accent lighting to draw attention to statues, sculptures, or other art pieces in your landscape. This technique allows these features to stand out, ensuring they remain focal points even at night.
- Trees and Large Plants: Techniques like up-lighting and moonlighting can dramatically showcase trees and large plants. Up-lighting can highlight the texture and form of the trunk and branches, while moonlighting from above creates interesting shadows and a natural, dappled-light effect.
- Boundary Walls and Fences: Illuminate boundary walls and fences using techniques like wall washing or down-lighting to create a sense of boundary and space. This not only adds to the security of your property but also enhances its aesthetic appeal after dark.
By focusing on these specific landscape areas and applying the appropriate lighting techniques, you can create a harmonious and captivating outdoor environment. Each area has its unique requirements, and understanding these will help you design a lighting scheme that is both beautiful and practical, ensuring that every part of your landscape is showcased to its full potential.
Step 5: Pick the Right Type of Lights
- Spot Lights: Ideal for highlighting focal points in the landscape, such as trees, statues, or architectural features. They create a concentrated beam of light that can be directed at specific objects, making them stand out.
- Path Lights: These are used to illuminate walkways, paths, and garden borders, ensuring safe navigation while adding aesthetic appeal. They are usually installed at regular intervals along the path for consistent lighting.
- Step Lights: Installed on or near steps, these lights provide visibility and safety, reducing the risk of trips and falls. They are especially important in areas with uneven or tricky steps.
- Hardscape Lights: Designed to be integrated into outdoor structures like retaining walls, benches, or steps. They provide subtle illumination that enhances the hardscape features without overpowering them.
- In-Ground Lights: Also known as well lights, these are installed flush with the ground and can be used to up-light trees, walls, or architectural details. They are great for creating dramatic lighting effects without the fixture being visible.
- Deck Lights: These lights are specifically designed for installation on decks and patios. They can be used to outline the space, highlight features like railings or seating areas, and improve safety by illuminating potential trip hazards.
- Flood Lights: These provide a wide, powerful beam of light and are often used for security purposes. They can also be used to light up large areas like a backyard or the facade of a house.
- Underwater Lights: Used in pools, fountains, or ponds, these lights create a beautiful and enchanting effect, enhancing the water features in your landscape.
- Wall Sconce: These are mounted on walls and provide ambient lighting. They are ideal for creating a welcoming atmosphere near entrances or along exterior walls of the house.
- LED Lights: These are the go-to for most modern landscape lighting designs for good reason. They consume less electricity, produce minimal heat, and have an incredibly long lifespan. With a range of color temperatures and brightness levels, you can customize the ambiance precisely.
- Halogen Lights: Halogens give off a warm light that’s very close to natural sunlight. However, they consume more electricity and generate more heat compared to LEDs. They’re ideal for spaces where color accuracy is critical, like when you want the colors in your garden to pop. But consider the higher operational costs.
- Solar Lights: These are the most environment-friendly option and require minimal installation. However, their brightness levels are generally lower and depend heavily on the amount of sunlight they receive during the day. They’re excellent for outlining pathways or as decorative elements but may not be suitable for tasks requiring higher levels of illumination.
Each of these lighting types offers unique benefits and can be used in various combinations to achieve the desired effect in landscape lighting.
Step 6: Factor in Light Brightness and Color
Brightness and color temperature are not just mere details; they are pivotal elements that shape the atmosphere of your outdoor space. Let’s delve deeper into these variables:
- Brightness: Measured in lumens, brightness levels should be selected based on the purpose of the lighting. For instance, pathway lighting should ideally fall within 50-100 lumens to avoid glare. Accent lighting for specific features may require between 150-300 lumens for the right emphasis, while floodlights for security purposes might need upwards of 700 lumens for maximum visibility.
- Color Temperature: This is measured in Kelvin (K) and can significantly impact the mood. Warm, yellow lights (around 2700K-3000K) create a cozy, welcoming ambiance, ideal for patios and socializing areas. Conversely, cool lights (4000K and above) generate an alert, vibrant environment suitable for task-oriented or security-centric zones.
Choosing the right brightness and color temperature is akin to painting your landscape with light. Apply these principles thoughtfully to set the desired mood and functionality.
Step 7: Plan Your Wiring and Power Sources
- Load Calculation: To accurately calculate the total wattage, sum up the wattage of each light fixture you plan to install. This calculation is crucial to prevent overloading your landscape lighting system. Overloading can lead to tripped breakers and potential hazards.
- Transformer Sizing: Select a transformer that can handle the total wattage of your lights plus an additional 10-20% capacity. This extra capacity allows for future additions or changes to your lighting system without needing a new transformer.
- Efficient Wiring Layout: Plan the layout of your wires to ensure efficiency and safety. Map the most direct routes that connect all fixtures while avoiding potential hazards like water features or high-traffic areas.
- Energy Source Options: Consider alternative energy sources like solar panels for environmentally friendly and cost-effective lighting. Solar-powered lights are particularly suitable for areas with ample sunlight exposure.
- GFCI Outlets for Safety: Install Ground Fault Circuit Interrupter (GFCI) outlets to protect against electrical shocks. These are essential for outdoor installations and are often required by building codes.
Step 8: Installation Tips
- Depth for Buried Cables: Bury electrical cables at least 6 inches deep for low-voltage wires and 18 inches for standard voltage wires. This depth provides protection from accidental damage, such as from gardening tools.
- Varied Fixture Mounting Techniques: Different lights require different mounting techniques. For example, path lights may need stake mounting for stability, while wall sconces require secure bracket mounting. Ensure each light type is installed with the appropriate method for durability and safety.
- Weather Considerations: Plan installations with weather conditions in mind. Avoid electrical work during wet or damp conditions. Also, consider the expansion and contraction of materials in different temperatures, which can affect connections and fixtures.
- Comprehensive Inspection and Testing: Before finalizing the installation, thoroughly inspect and test the electrical connections and fixtures. Ensure all connections are secure, check for any electrical shorts, and confirm that each fixture illuminates as expected.
- DIY vs. Professional Installation: Clearly differentiate tasks that are DIY-friendly from those requiring professional expertise. Electrical work that involves main power lines or complex installations should be handled by a certified electrician to ensure safety and compliance with local electrical codes.
Any Questions?
Should you have any difficulties in designing your landscape lighting, call 626-699-4666 or email us at customerservice@coloer.com
Want to buy premium landscape lights at a reasonable cost? Don’t hesitate to check out COLOER.
Leave a comment
All comments are moderated before being published.
This site is protected by hCaptcha and the hCaptcha Privacy Policy and Terms of Service apply.