You must've heard a lot about soffit lights these days. Soffit lights at home can make you feel secure and aesthetically pleasing. After all, they illuminate dark areas and elevate the architectural features of your property. If you intend to install soffit lights, don't miss out on today's post, which offers a step-by-step approach to the installation of soffit lights:
Collect Materials and Tools
You may gather what you'll need:
| Materials/Tools | Description/Use |
|---|---|
| Electrical Cable (Outdoor-Rated) | Choose 'UF' (underground feeder) or 'NMWU' (non-metallic wet underground) cables for moisture and temperature resistance. |
| Wire Connectors and Nuts | Must be outdoor-suitable, often filled or coated with dielectric grease to repel moisture and prevent corrosion. |
| Drill with Hole Saw Attachment | The hole saw should match fixture size for a snug fit, or use a cutting template for manual precision cutting. |
| Multi-Tool | For last-minute adjustments to fixtures or soffit, and for trimming in hard-to-reach areas. |
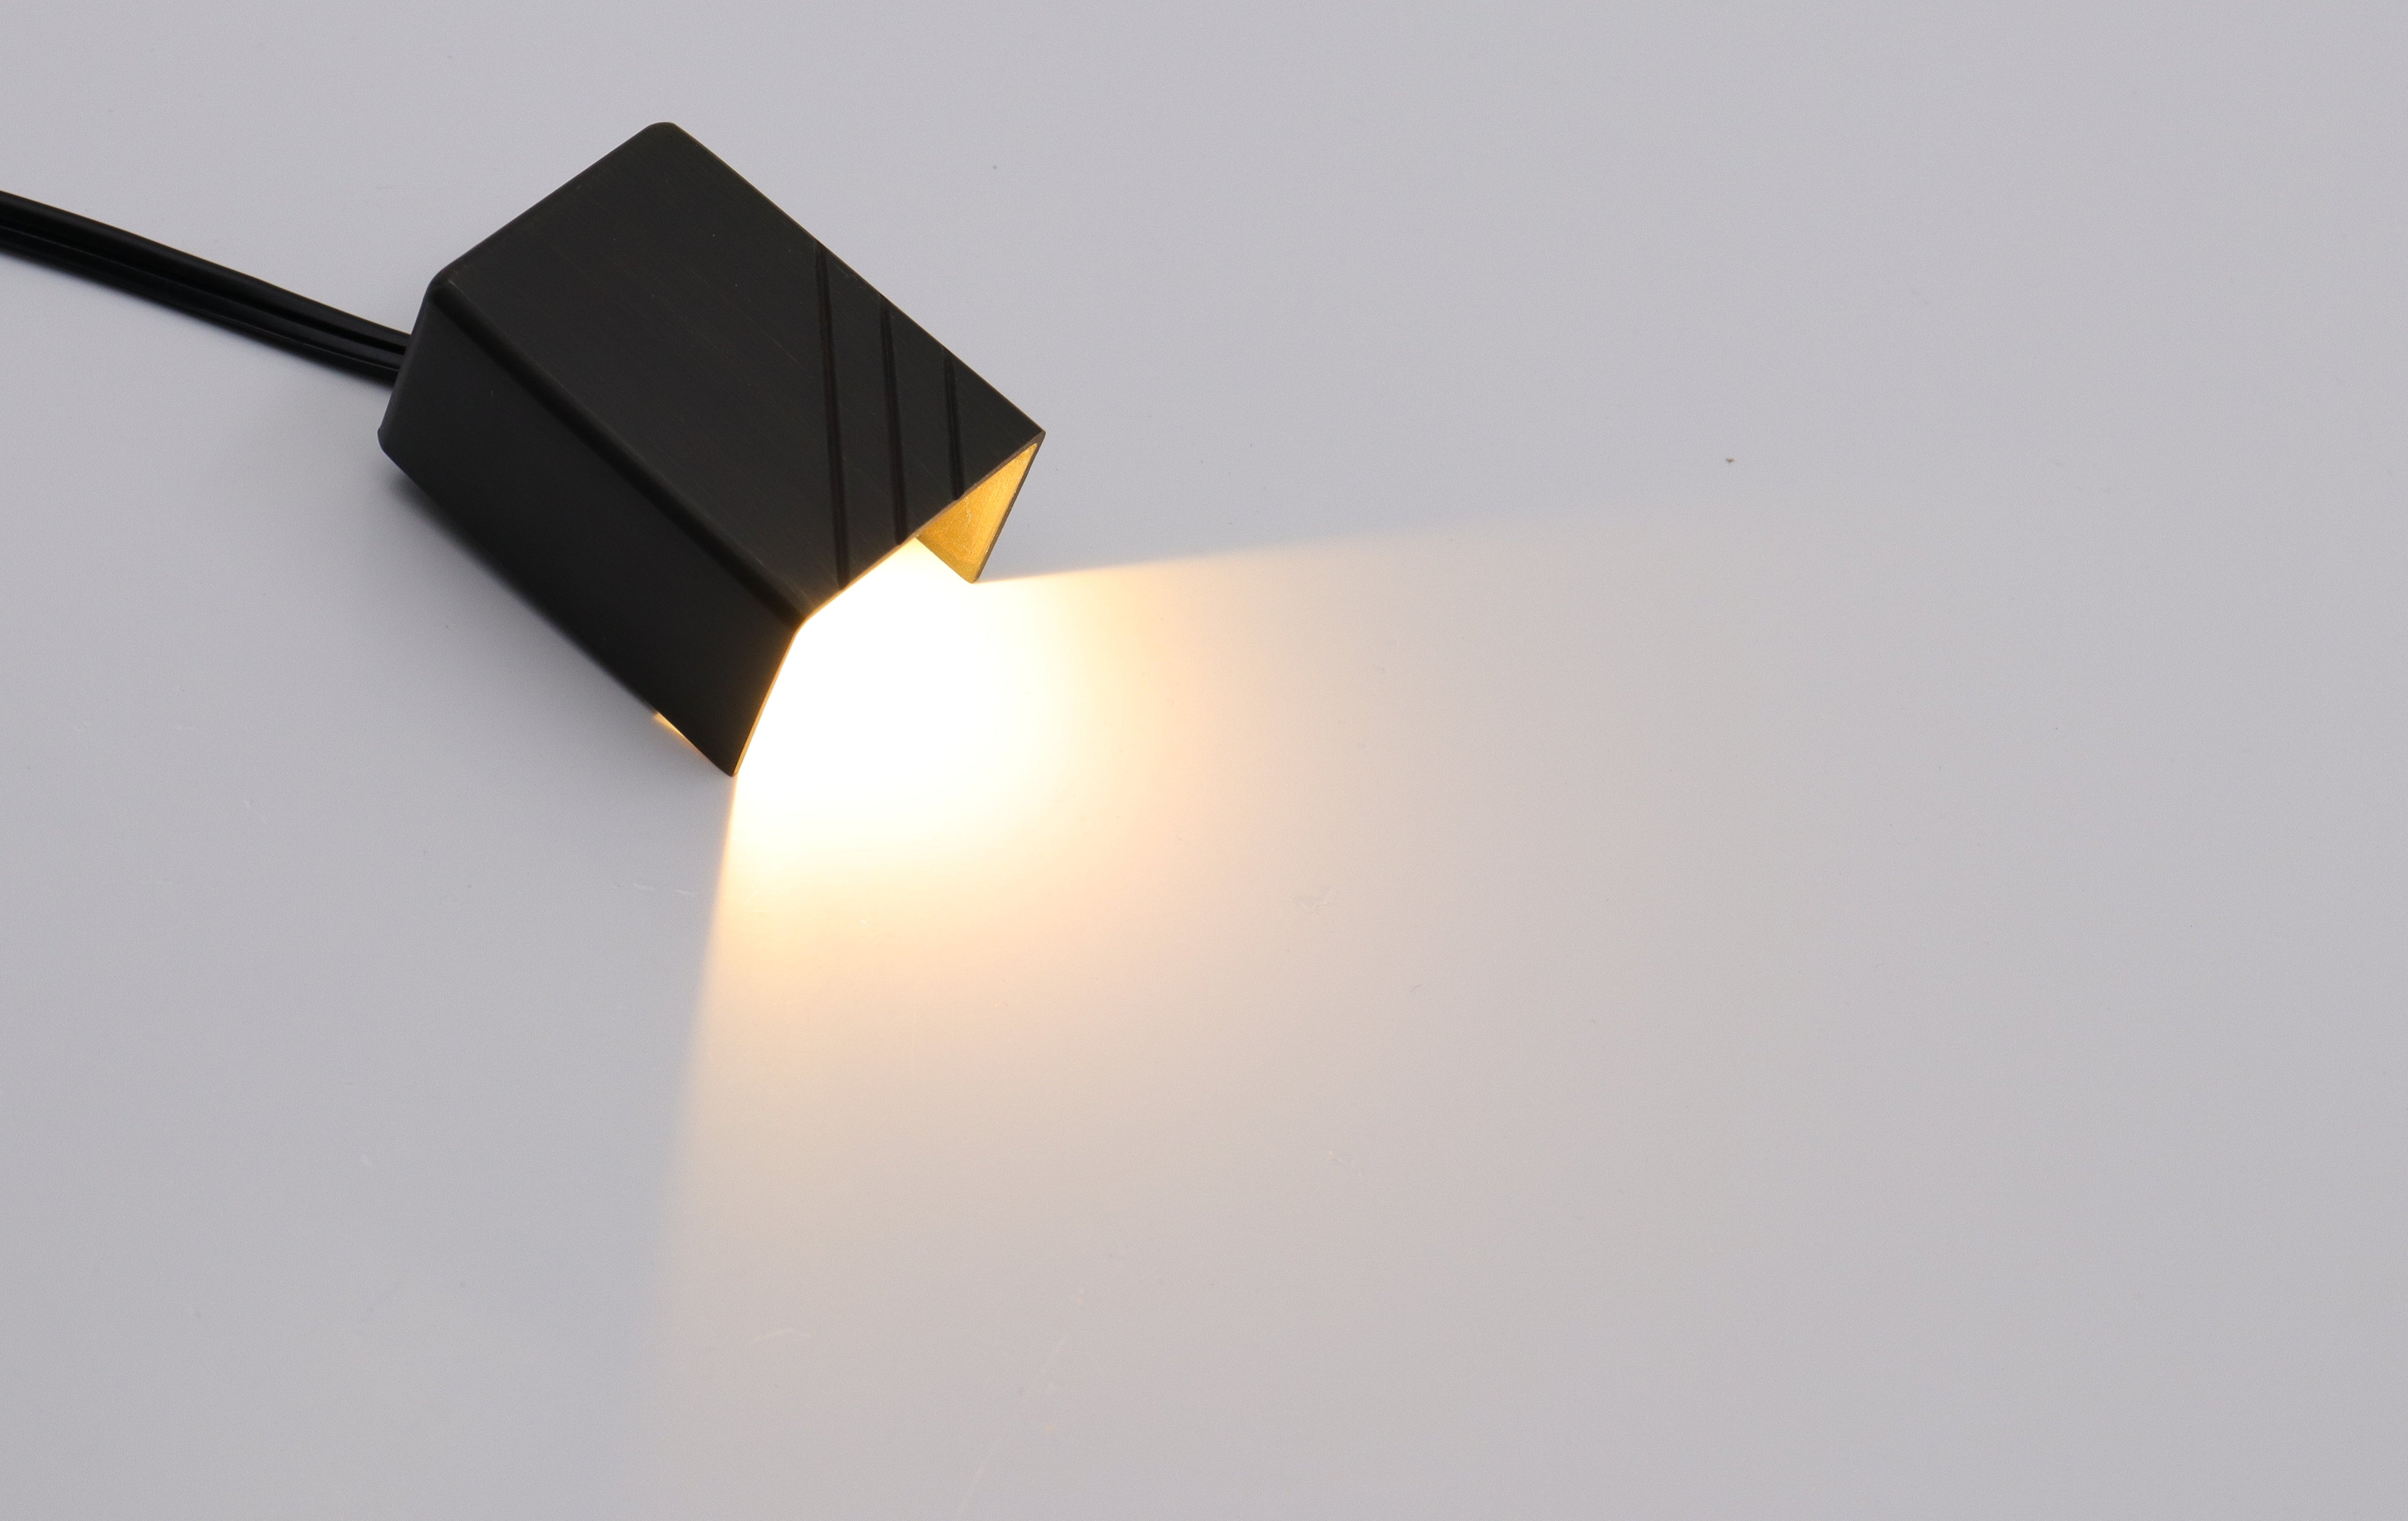
| Soffit Light Fixtures | Opt for outdoor-rated fixtures. Consider weather resistance and voltage compatibility. LED options recommended for energy efficiency. |
| Cooling Rods or Fish Tape | For pulling wires through tight spaces or over long distances. Cooling rods are for smaller jobs; fish tape is for longer runs. |
| Safety Gear | Includes protective gloves, safety glasses, and a dust mask to protect against cuts, debris, and potentially harmful dust during cutting into older materials. |
Plan Light Placement
Examining your soffit during the day. Look for any obstructions such as vents, pipes, or structural anomalies that could interfere with installation. Identifying these early prevents surprises mid-installation.
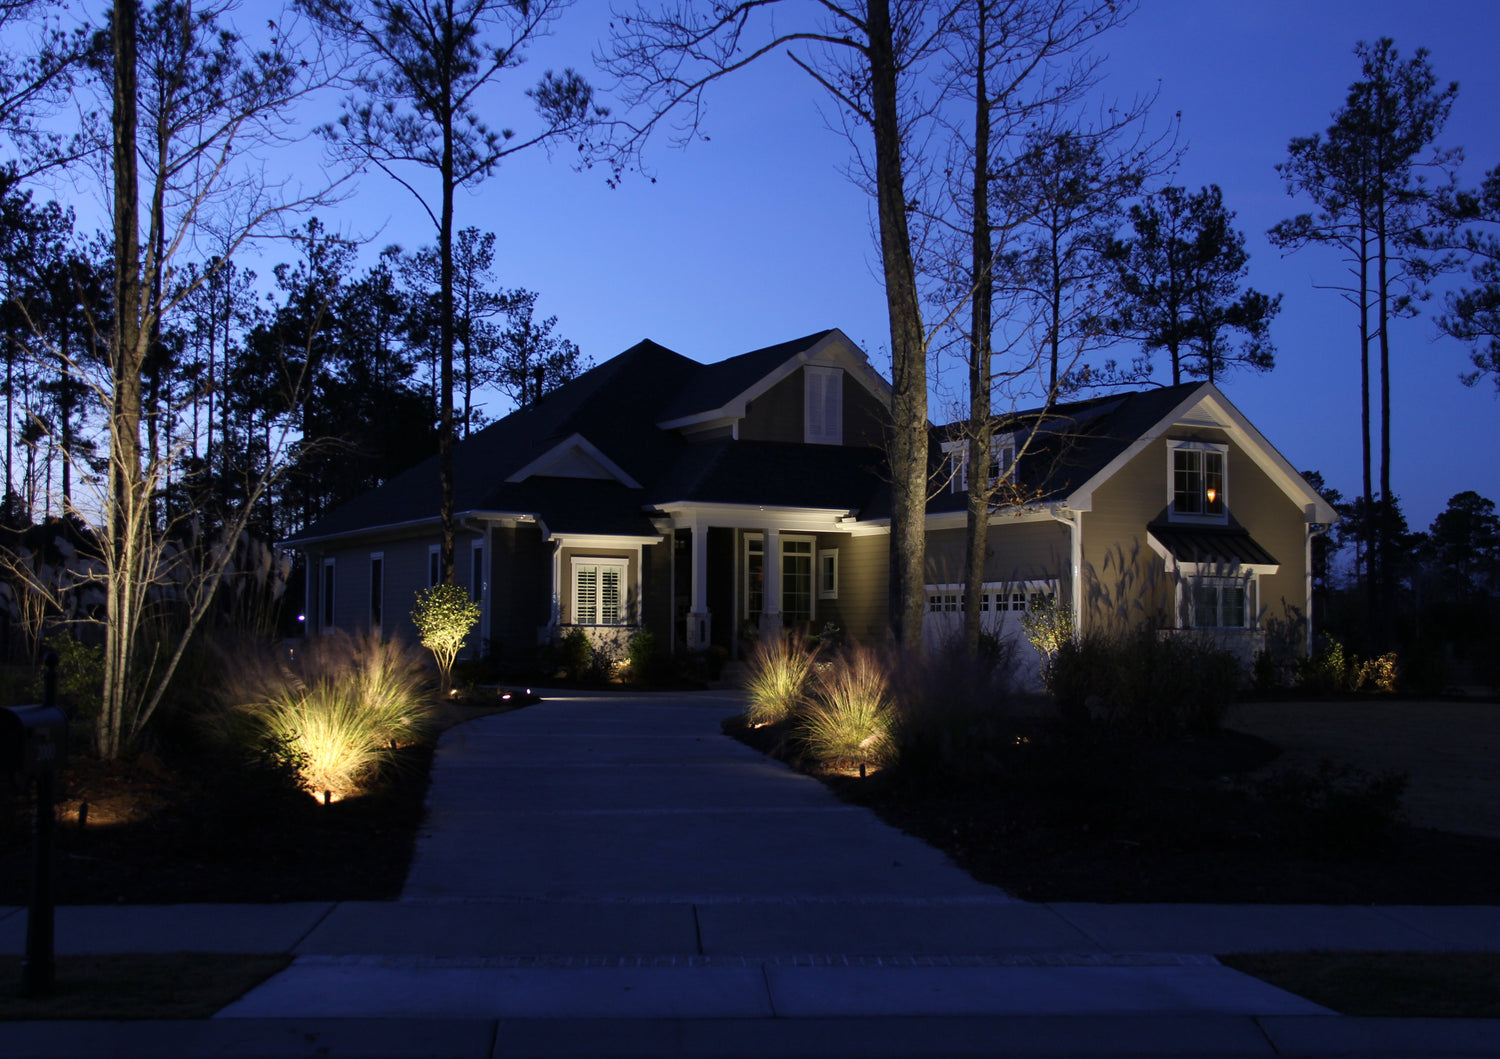
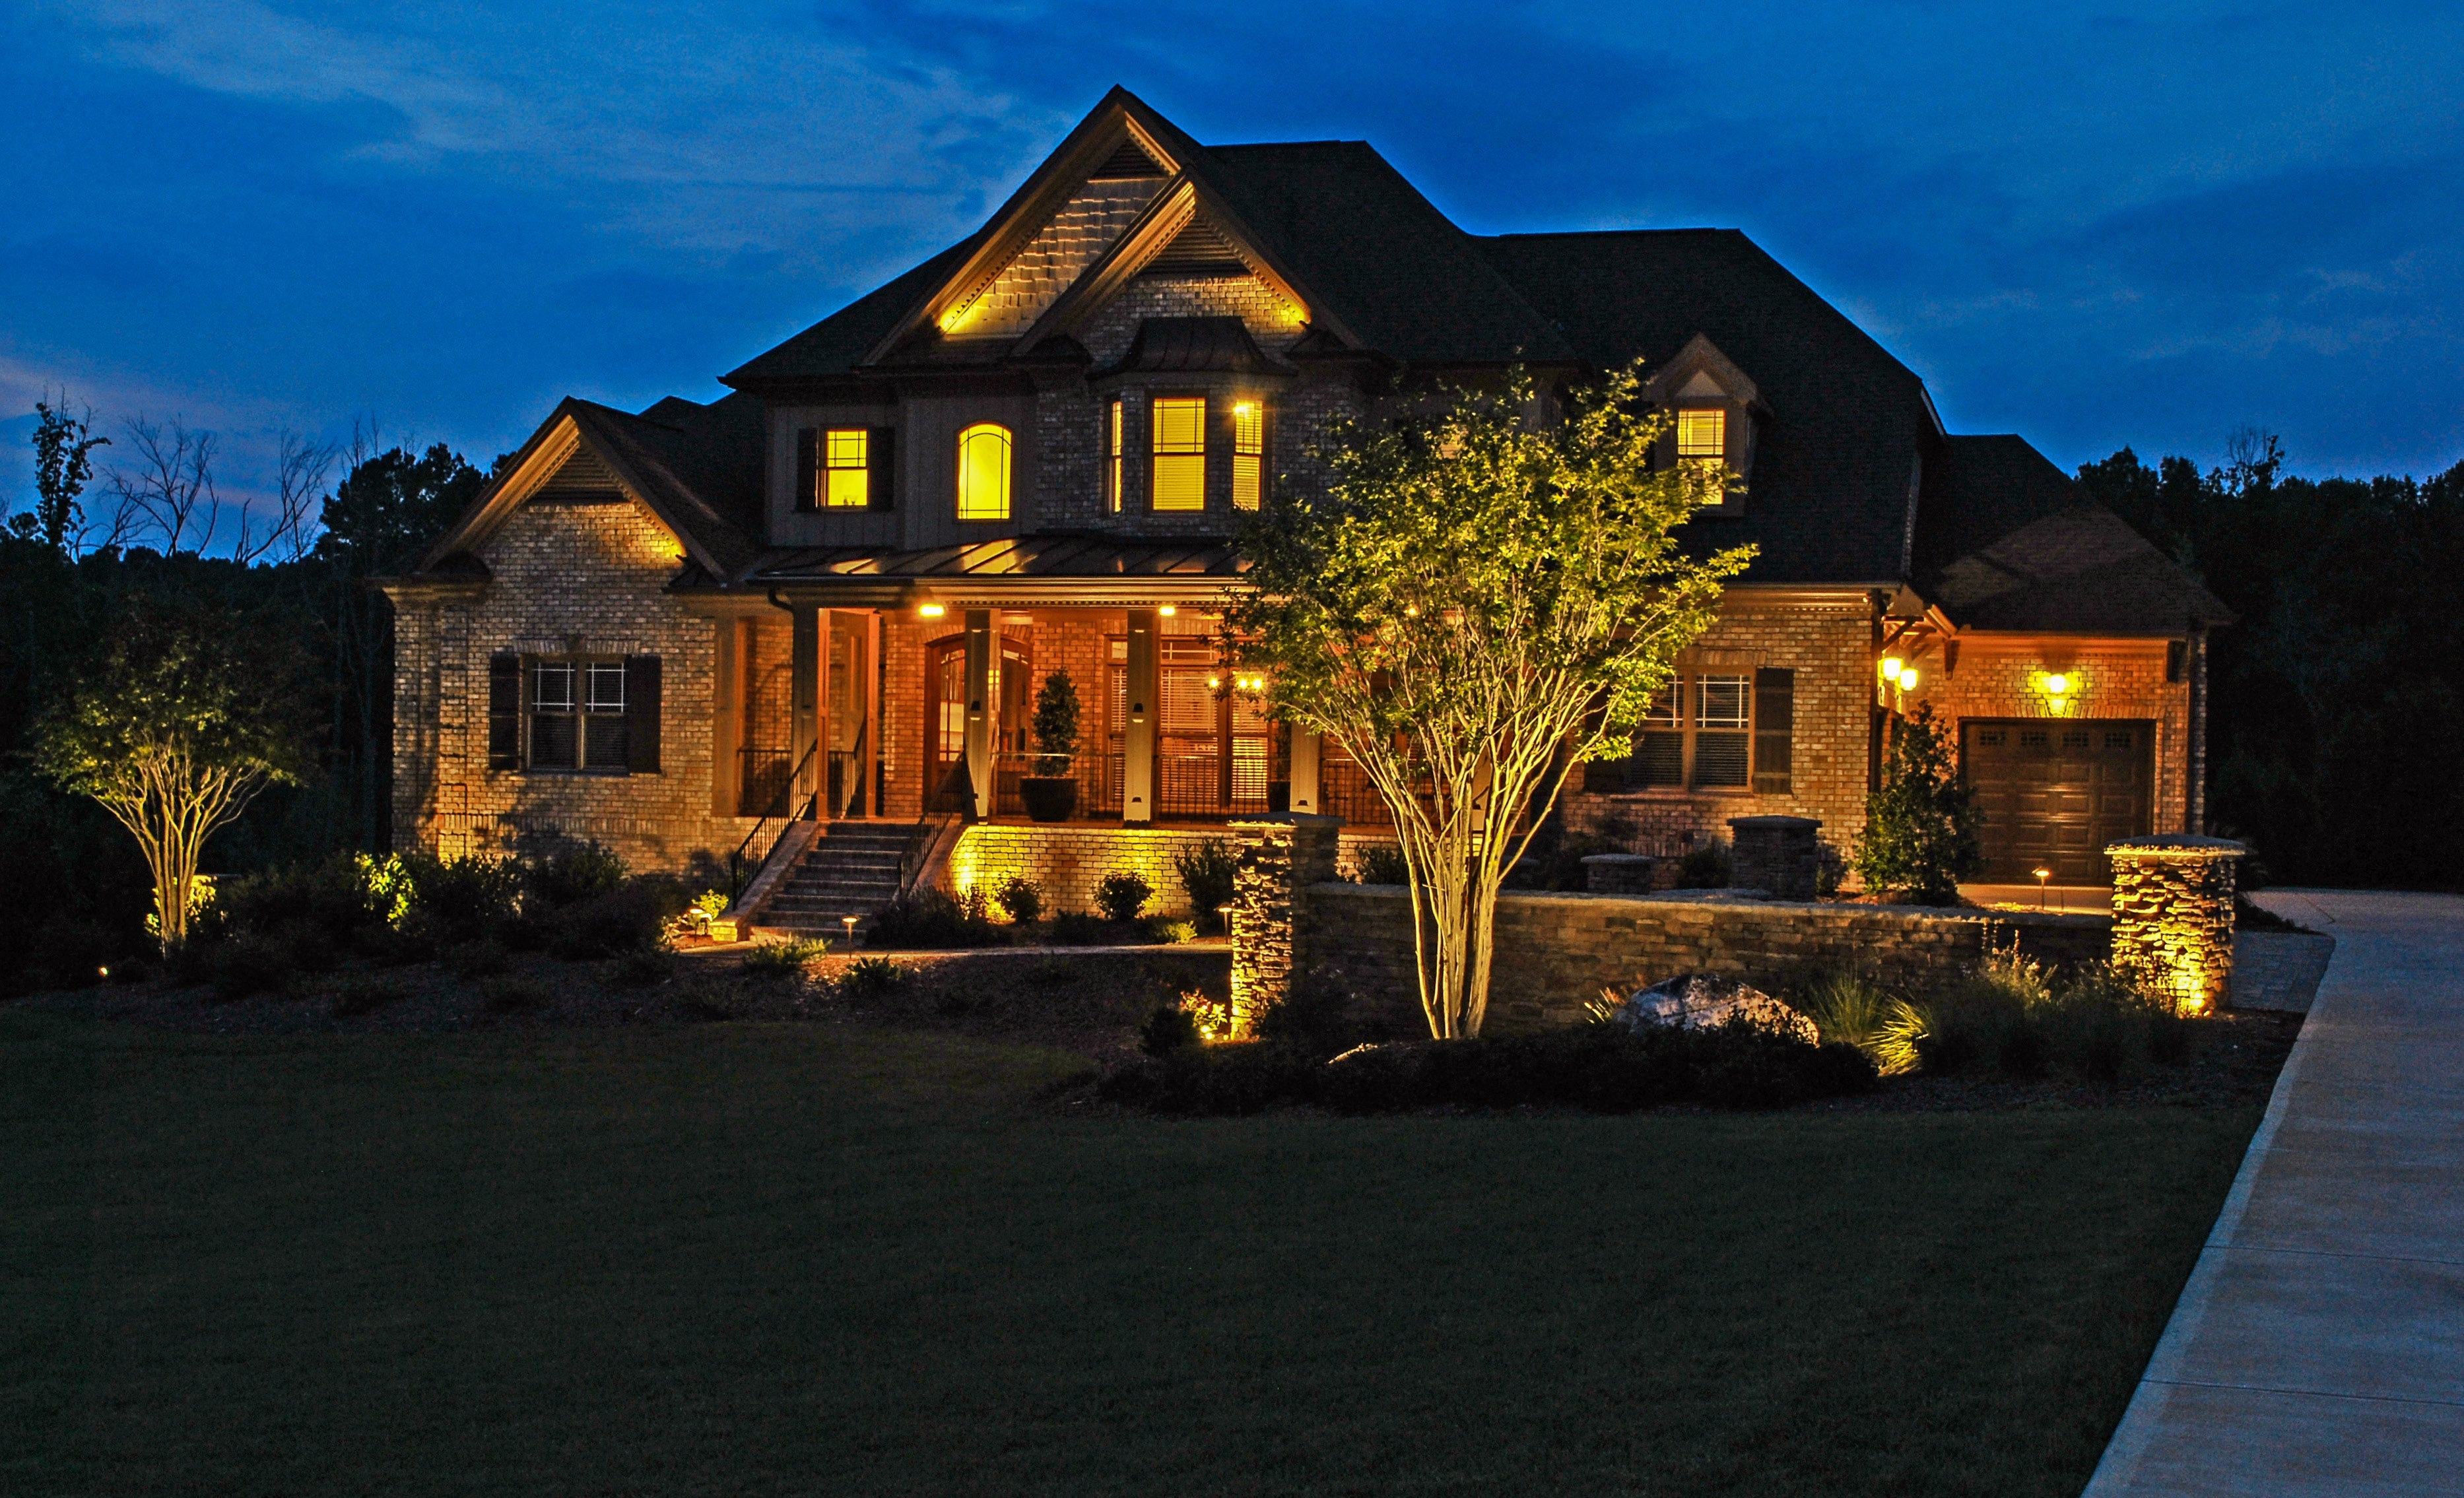
Assessing how and where you want your soffit lights to illuminate requires a nighttime evaluation. This helps in visualizing the spread and effect of the lights, ensuring you achieve the desired ambiance. Consider how the lights will accentuate the architectural features of your home.
With a clear plan, mark the points where you intend to drill. Use a tape measure to keep the spacing consistent. Aligning the lights with your home's architectural lines not only achieves symmetry but also ensures a harmonious blend with the existing design elements. A chalk line or laser level can be invaluable for getting straight, evenly-spaced marks.

Drilling and Fixture Mounting
Start with a small drill bit to create pilot holes at your marked points. The small step has a big impact on the accuracy of your drilling and prevents the larger hole saw from deviating off mark ("walking").
When using the hole saw, a slower drill speed reduces the chance of tearing or damaging the soffit material. It also provides better control over the cutting process, ensuring cleaner cuts.
After drilling, attach the provided mounting clips to your fixtures. These clips are essential for a secure fit. Test each fixture in its respective hole, making any necessary adjustments to achieve a flush and stable mount. This may involve slight enlargements of the hole or additional securing measures.
Wiring Instructions
Routing Electrical Cable: From your power source, extend the electrical cable to each light's location. Plan the route carefully to avoid any unnecessary tension or sharp bends in the cable, which could damage the insulation or wires inside. Use cable clips to secure the wiring along the route, maintaining a neat and organized run.
Joist Considerations: If your wiring path requires drilling through joists, the integrity of the structure must remain intact. Drill holes near the center of the joist and follow the one-third rule-holes should be no larger than one-third the depth of the joist. This placement minimizes the impact on the joist's strength and stability.
Cable Protection: In areas where the cable runs close to the edge of a joist or might be susceptible to damage, protect it with a metal or hard plastic guard. This preventive measure shields the cable from accidental punctures or cuts during future renovations or repairs.

Electrical Connections
Begin by identifying the function of each wire. Typically, ground wires are bare or green, neutral wires are white, and hot (live) wires are black or red.
Use wire strippers to prepare each wire end, then twist like wires together-ground to ground, neutral to neutral, and hot to hot. Secure each connection with appropriately sized wire nuts, ensuring no bare wire is exposed.
For added safety, wrap each wire nut and connection with electrical tape. This extra layer helps prevent the wire nuts from loosening over time due to vibration or temperature changes and protects against potential short circuits.
Ensure the fixture and electrical box (if used) are properly grounded, for a solid ground connection is vital for safety, especially in outdoor or damp environments.
Install the Light Fixtures
Carefully connect the light fixtures to the wiring, following the manufacturer's instructions for any specific connection details. Then, secure each fixture in place, utilizing the previously installed mounting clips or hardware.
Once mounted, take a step back to assess the alignment of the fixtures. They should be evenly spaced and straight for the best visual appeal and lighting effect. Adjust as necessary before final tightening.
If your fixtures have gaskets or sealing mechanisms, ensure they are properly in place to prevent water ingress. Outdoor lighting is exposed to the elements, and proper sealing is crucial to protect the electrical components.
Test and Troubleshoot
Turn the power back on at the breaker box. Then, activate the lights using the switch, remote, or app, depending on your setup.
Observe the lights for proper operation. You could check for the correct color temperature (if applicable), brightness, and response to controls.
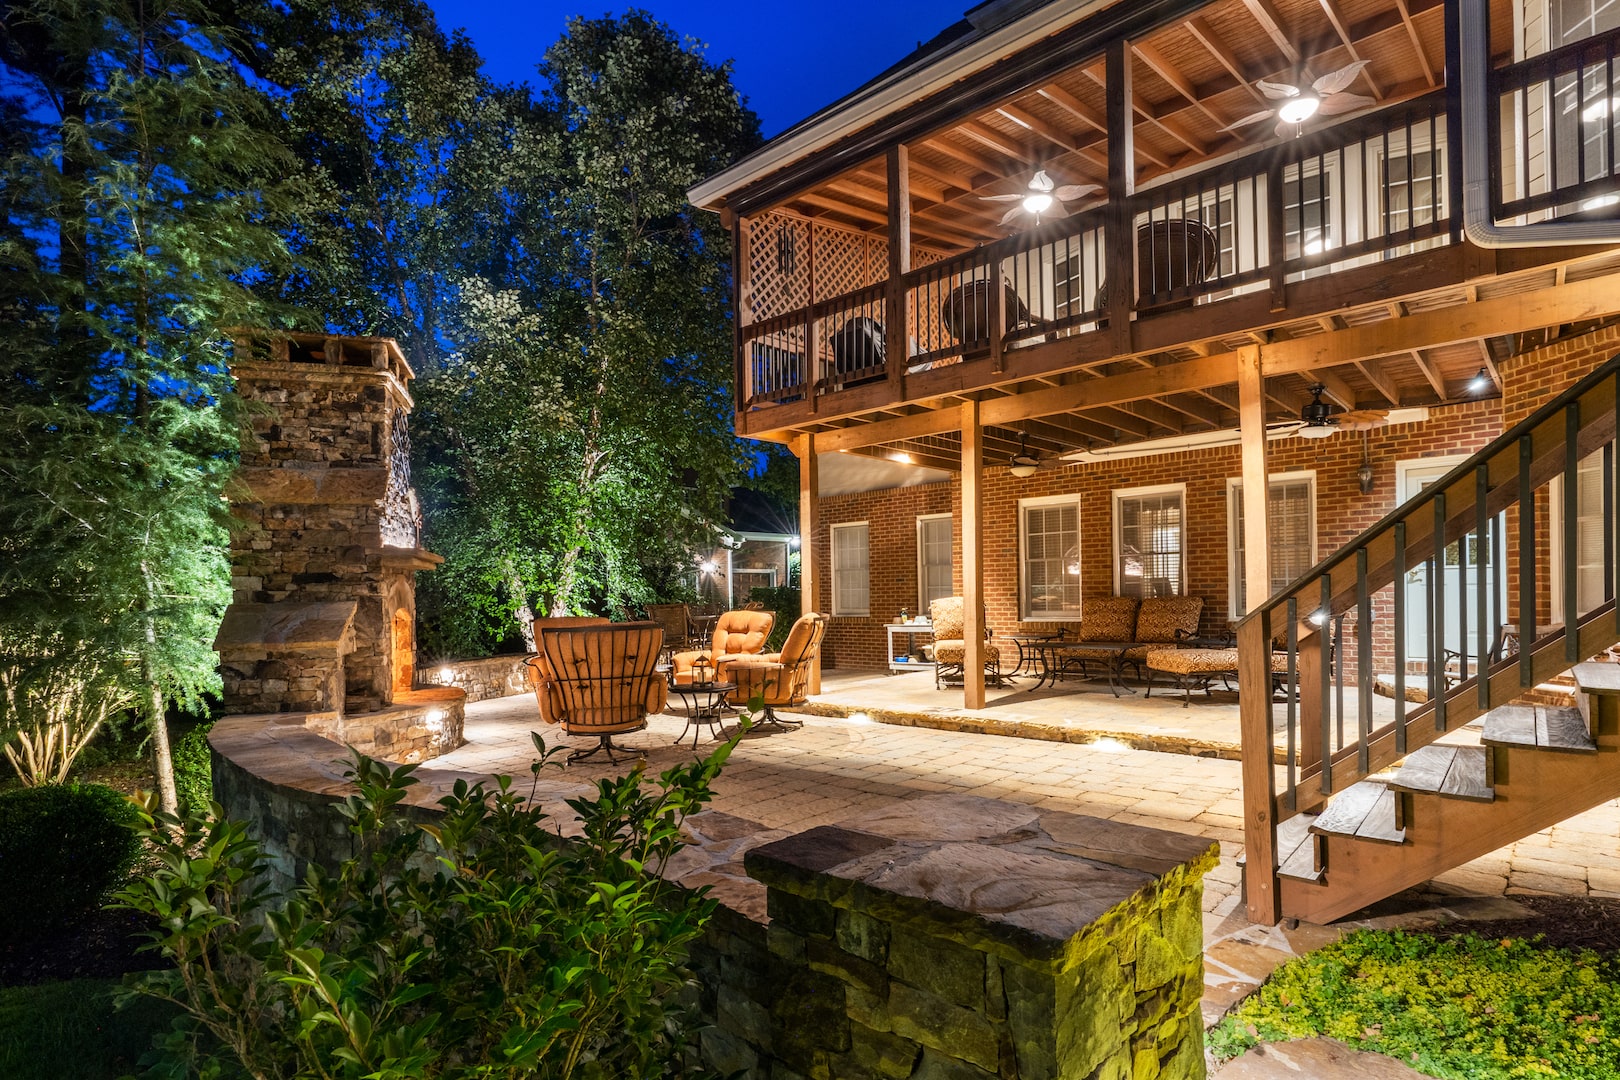
Assess the lights for their aesthetic contribution to your home's exterior. Ensure the lighting effect matches your vision, providing the desired ambiance and illumination.
If any issues arise, such as a fixture not lighting up or flickering, begin troubleshooting by checking the connections for tightness and correctness. Also, verify that all fixtures are compatible with your power supply and control system.
Safety Should Never Be Overlooked
Always start by turning off the power at the breaker box to eliminate the risk of electric shock. This is non-negotiable. Labeling the breakers beforehand can save time and prevent confusion.
After shutting off the power, use a multimeter to test for live wires in the work area. This double-check ensures that all power is indeed off, providing an extra layer of safety before you begin.
Adhere to local electrical codes, which vary by locations. This may dictate the type of cable, the depth of installation, and other critical factors.
If any part of the project feels out of your depth, consult with or hire a professional. This is especially true for homes that may have unique electrical system.
This way, you will protect yourself and others and ensure that your installation complies with standards that safeguard your home's integrity and functionality.
Read More
- Artfully Illuminate Your Landscape: Outdoor Lighting Design Tips!
- Calculate Right: Perfect Transformer Size for Landscape Lights!
Leave a comment
All comments are moderated before being published.
This site is protected by hCaptcha and the hCaptcha Privacy Policy and Terms of Service apply.