Designing a professional landscape lighting plan requires more than placing a few lights around your yard. A well-designed system enhances safety, highlights architectural and natural features, improves nighttime usability, and adds overall value to your property. However, many homeowners underestimate the level of planning needed, resulting in uneven lighting, excessive energy use, or fixtures that fail prematurely.
To help you avoid these common issues, this guide breaks down the essential factors to consider when designing a professional, long-lasting outdoor lighting plan. Whether you’re a homeowner planning your own setup or a contractor seeking a structured design approach, understanding these elements will ensure your lighting system performs reliably and beautifully for years.
1. Identify the Purpose of Your Landscape Lighting
Every successful lighting plan begins with a clear purpose. Without defining your goals, it’s easy to overuse or misplace fixtures, leading to wasted energy or visual clutter.
Common lighting objectives include:
- Safety: Illuminating stairs, walkways, driveways, and entrances.
- Security: Reducing dark spots and deterring unwanted activity.
- Aesthetics: Highlighting trees, architecture, garden beds, and water features.
- Functionality: Lighting outdoor living spaces such as patios and seating areas.
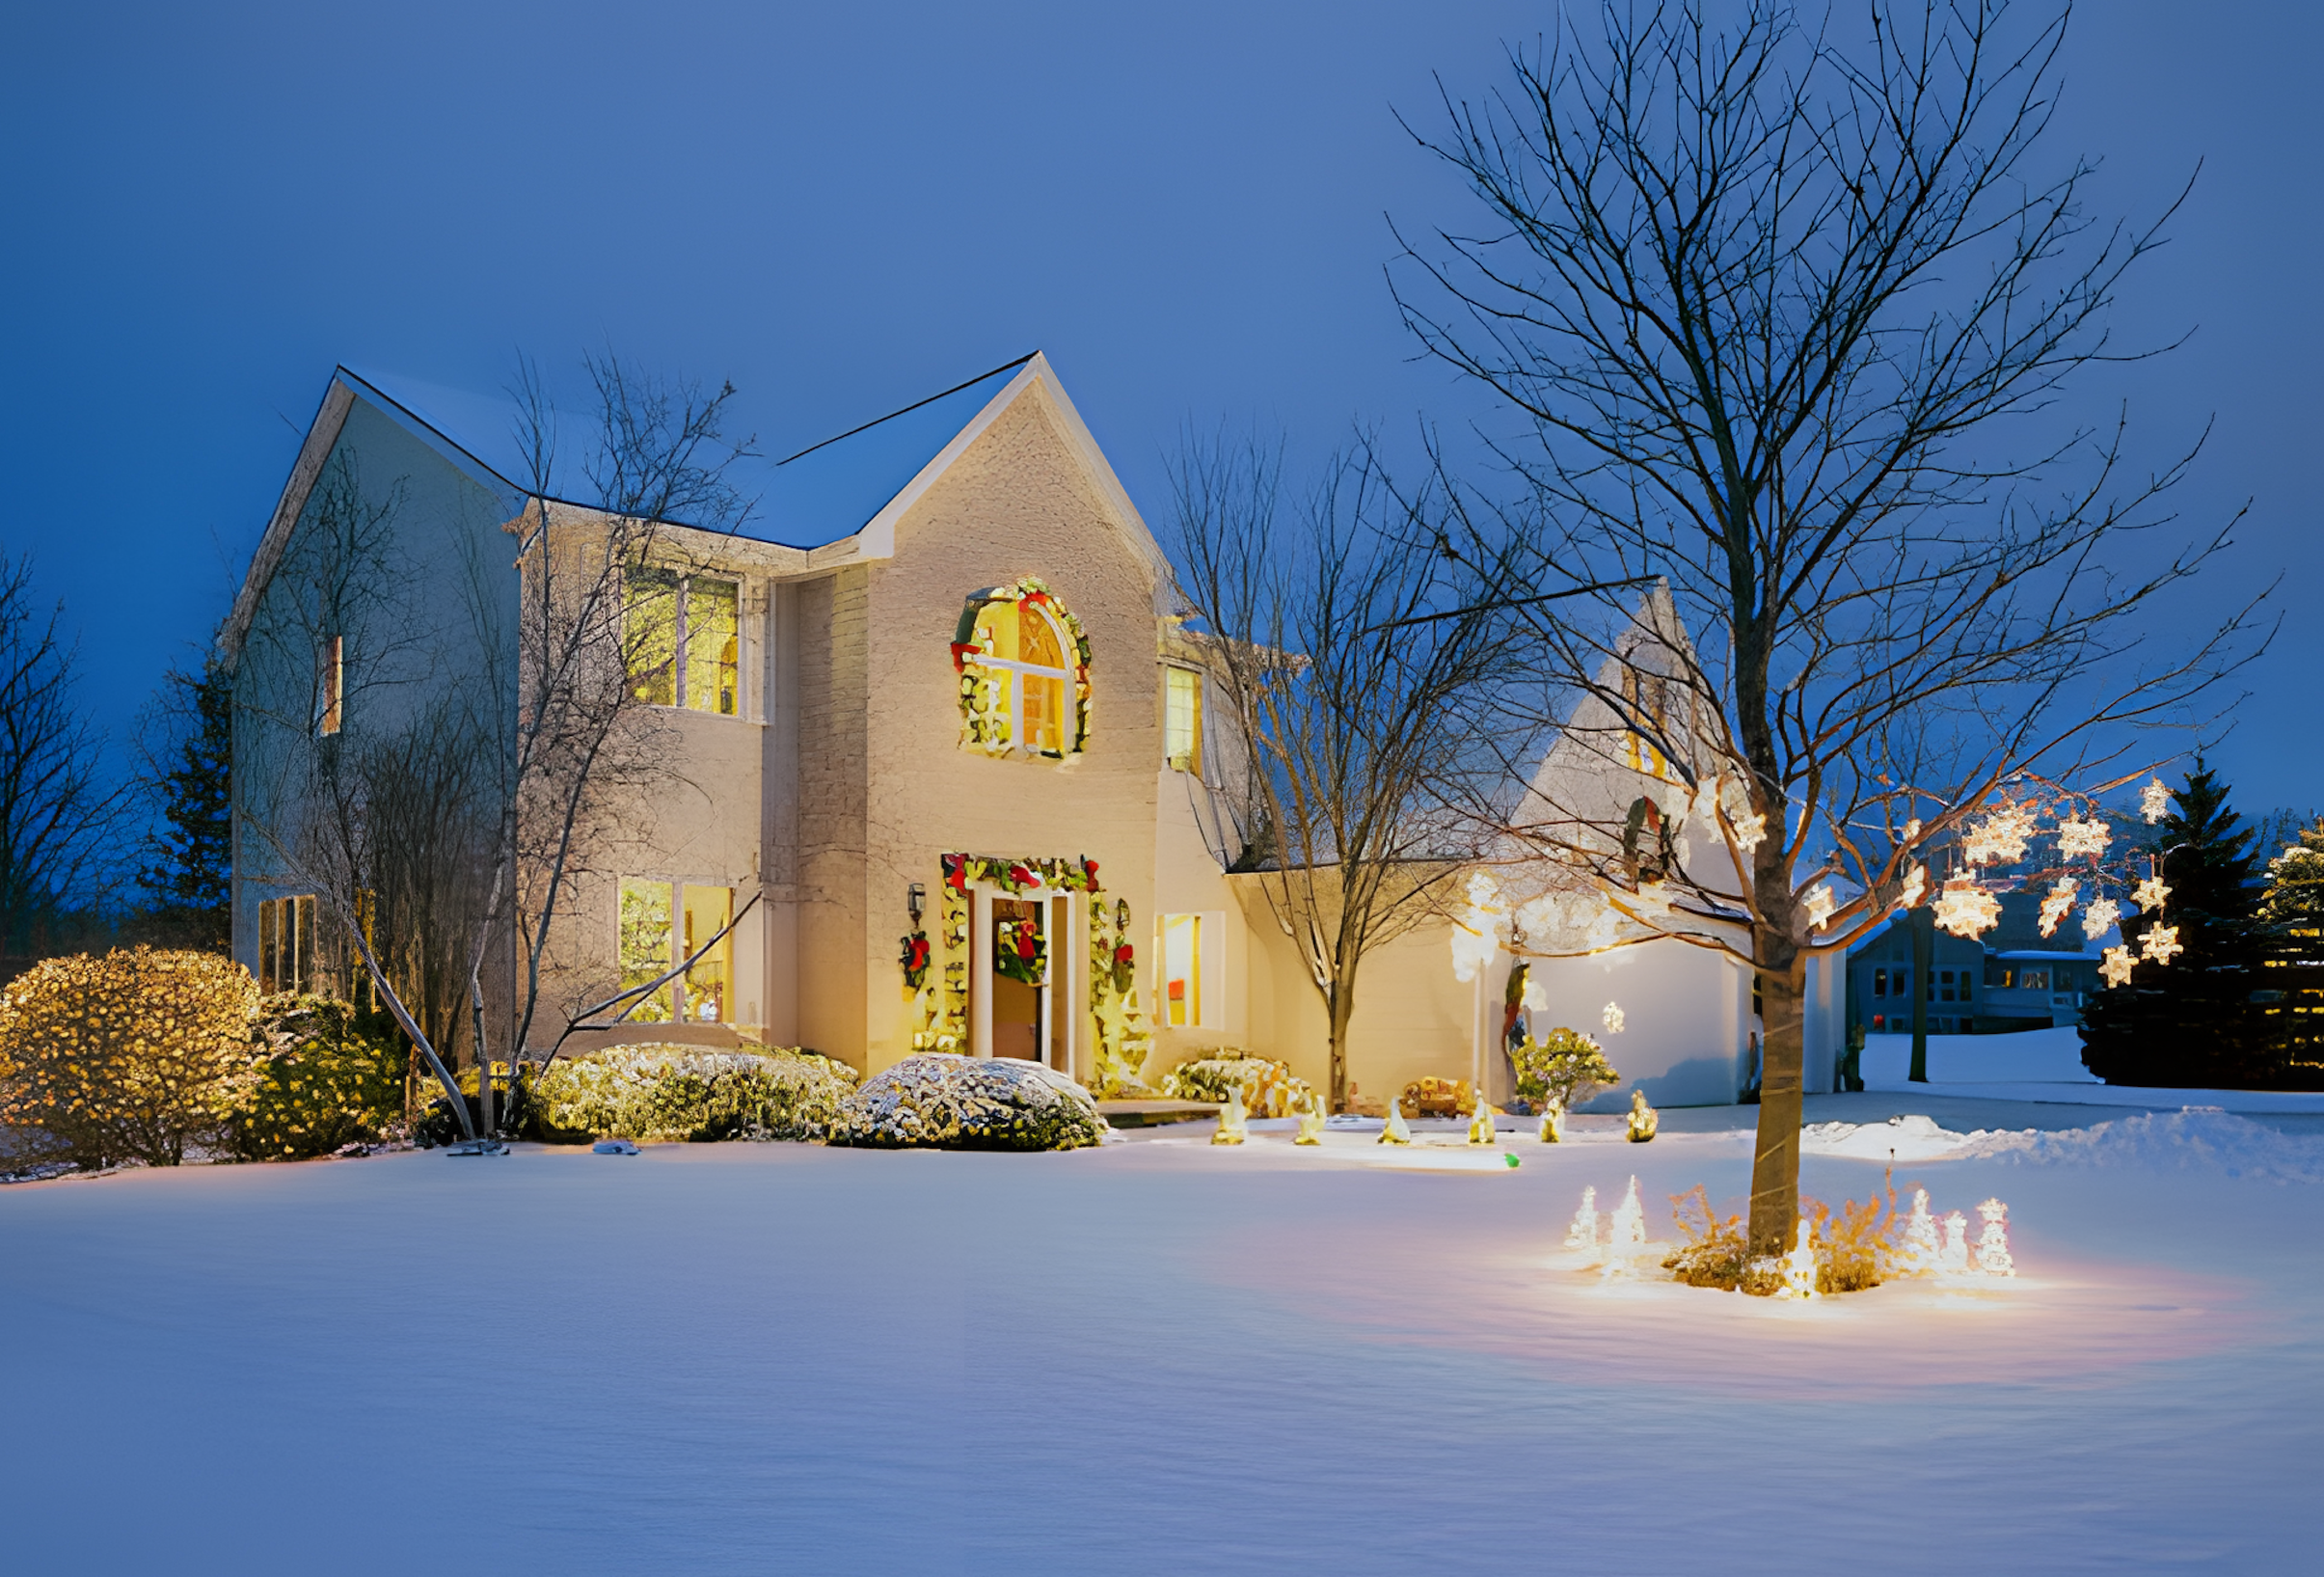
- Curb Appeal: Enhancing nighttime visibility of the home’s façade.
Pain Point:
Many homeowners try to achieve all objectives at once, leading to bright, unfocused, and scattered lighting.
Solution:
Determine your top two priorities—this helps you choose the correct fixtures, light levels, and placement.
2. Understand the Key Elements of Your Landscape
A professional landscape lighting plan should work with—not against—the structure of your outdoor environment.
Take note of the following elements:
- Pathways and circulation routes
- Entry points (main door, side door, garage)
- Architectural features like columns, walls, and textures
- Trees, shrubs, and flower beds
- Water features
- Hardscapes such as decks, patios, retaining walls, and steps
Mapping these elements allows you to create a layered lighting design that feels intentional and balanced.
Pain Point:
Fixtures are often placed without considering natural lighting behavior, resulting in glare or awkward shadows.
Solution:
Study how natural daylight interacts with your landscape to understand where accent or shadow effects will work best.

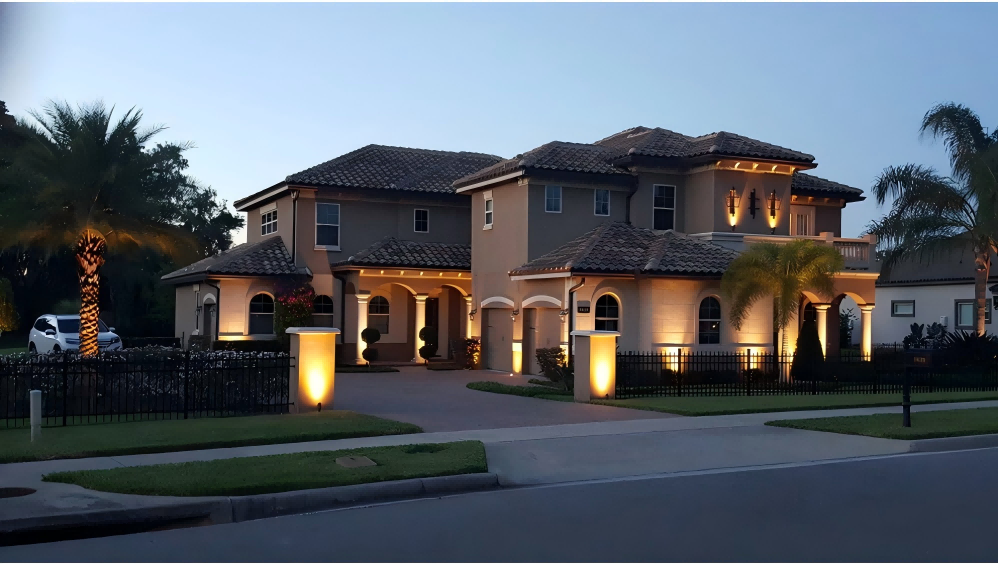
3. Choose the Correct Lighting Techniques
A strong outdoor lighting plan uses a combination of lighting techniques to create depth and dimension.
Essential lighting techniques include:
Provides safe illumination along walkways and driveways. Should be soft, not overly bright.
Accents trees, architectural details, or tall garden elements. Creates dramatic shadows and highlights.
Evenly illuminates large surfaces like house façades or fences, giving a clean and modern look.
Integrates lights into stair treads or risers to improve visibility.
Focuses concentrated light on statues, focal plants, or water features.
Pain Point:
Many homeowners overuse one technique—usually path lights—making the design flat and uninteresting.
Solution:
Use 3–4 techniques to create depth, contrast, and natural visual flow.
4. Select the Right Level of Brightness
Brightness is often misunderstood. More light does not equal better light. A professional landscape lighting plan uses appropriate lumens for each application.
General lumen recommendations:
- Path lights: 100–200 lm
- Accent lights: 200–500 lm
- Flood or spot lights: 400–700 lm
- Wall lights: 600–800 lm
- Step lights: 30–50 lm
Overlighting can cause harsh shadows, wash out plant colors, and create glare that affects neighbors or drivers.
Pain Point:
Too-bright lighting causes discomfort and reduces nighttime ambiance.
Solution:
Focus on subtle, warm illumination that improves visibility without overwhelming the eyes.
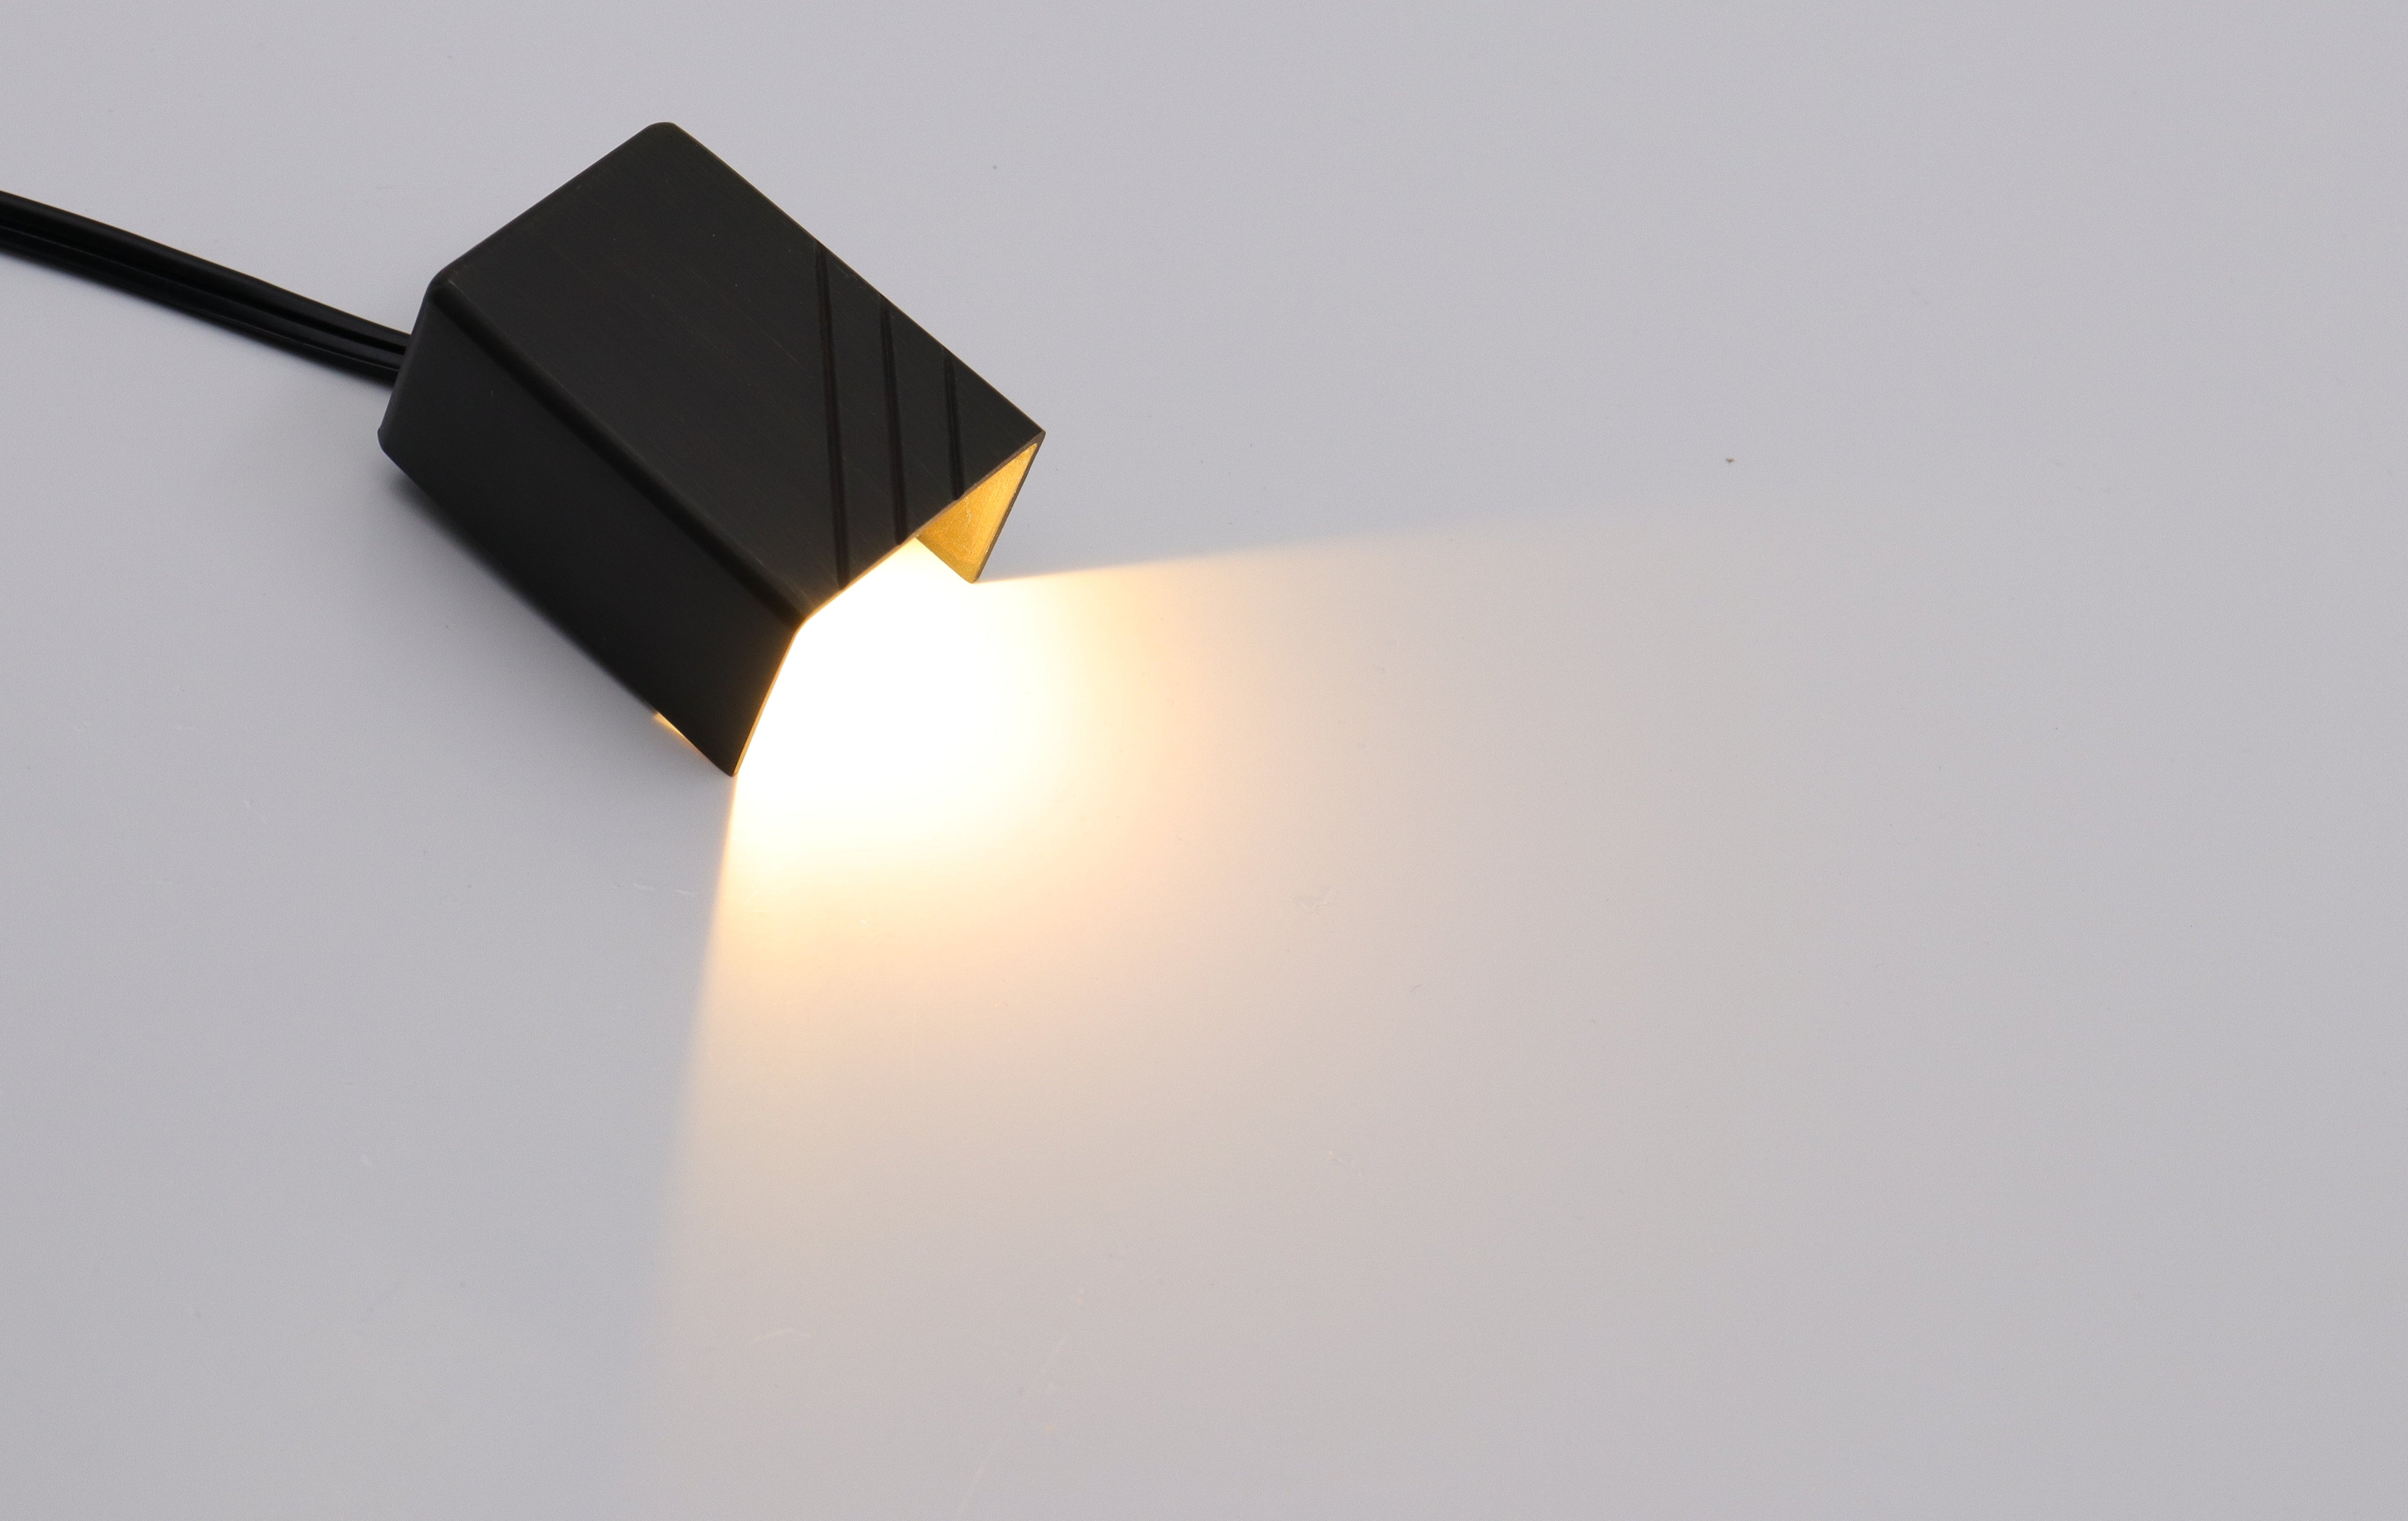
5. Consider Color Temperature and CRI
Color temperature and color rendering have a major impact on how your outdoor space looks at night.
Recommended color temperatures:
- 2700K–3000K: Warm, inviting light ideal for residential landscapes
- 4000K+ (cool): Typically used for commercial or security lighting
CRI (Color Rendering Index):
Higher CRI LEDs (90+) produce clearer and more natural colors. This is especially important for:
- Wooden structures
- Stone textures
- Garden vegetation
- Architectural accents
Pain Point:
Cheap LEDs with low CRI make plants and surfaces look dull or unnatural.
Solution:
Choose high-quality fixtures with consistent color temperature and CRI 80–90+.

6. Evaluate Durability and Weather Resistance
Your outdoor lighting system must survive UV exposure, rain, snow, temperature swings, and corrosion.
Key durability factors:
- Material: Brass, aluminum, and stainless steel hold up best
- Sealing: Look for IP65 or higher for exposed fixtures
- Corrosion resistance: Especially important in coastal or humid areas
- Heat management: Good LED fixtures require proper thermal design
Pain Point:
Fixtures rusting or failing after one season.
Solution:
Invest in high-quality housings with proper waterproofing, not low-cost products that degrade quickly.
7. Plan for Energy Efficiency and Power Management
Modern landscape lighting favors low voltage systems (12V) for improved safety, efficiency, and installation flexibility.
Why low voltage lighting is preferred:
- Lower energy consumption
- Safer to install and maintain
- Supports long cable runs
- Works well with LED systems
Other efficiency factors include:
- Integrated LED fixtures
- High-efficiency drivers
- Long lifespan components
Pain Point:
Unbalanced voltage or poor wiring causes flickering or brightness loss.
Solution:
Use correct cable gauge, proper transformer sizing, and balanced load distribution.
Conclusion: Build a Landscape Lighting Plan That Lasts
Designing a professional landscape lighting plan involves understanding the purpose of your lighting, assessing your property’s layout, selecting the right techniques, choosing proper brightness and color temperature, and investing in durable fixtures. By focusing on these core elements—and addressing real pain points such as glare, energy efficiency, and weather resistance—you can build a lighting system that enhances safety, increases curb appeal, and transforms your outdoor space into a functional nighttime environment.
Thoughtful planning ensures that your outdoor lighting system performs beautifully and reliably for years, making every evening more inviting and every outdoor area more usable.

Leave a comment
All comments are moderated before being published.
This site is protected by hCaptcha and the hCaptcha Privacy Policy and Terms of Service apply.