Introduction
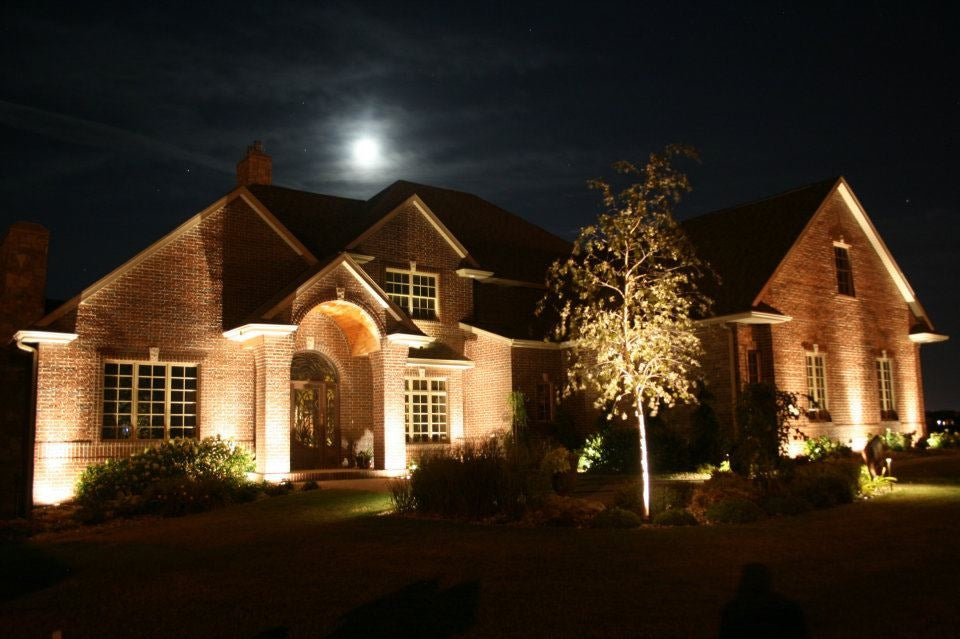
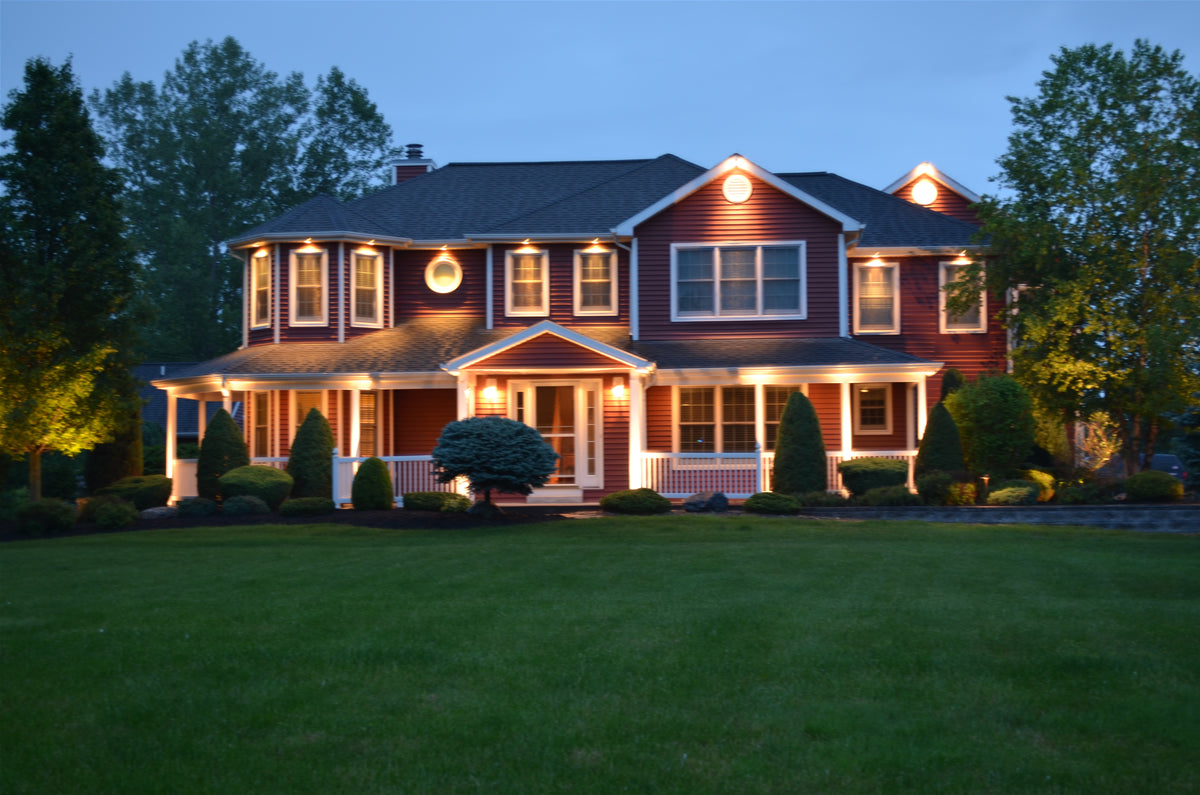
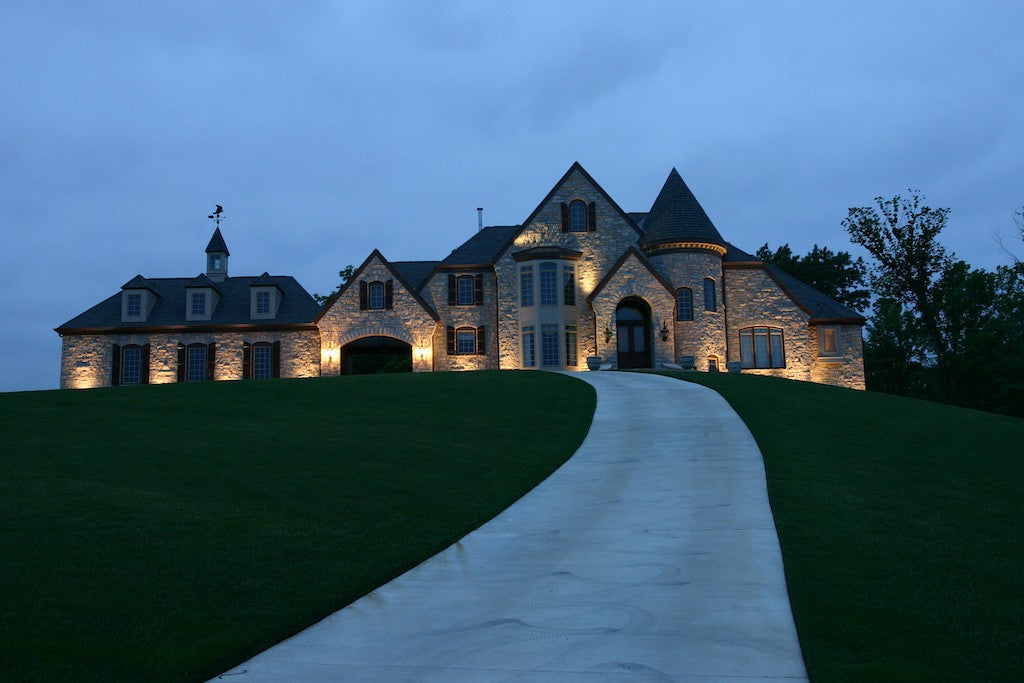
Outdoor lighting can completely transform the look and feel of your home once the sun goes down. Properly designed lighting illuminates pathways to enhance safety, adds drama to gardens, and accentuates architectural and landscaping features. One elegant yet understated lighting option is paver lighting. By integrating fixtures directly into the pavement, paver lighting casts a soft glow to precisely define and highlight specific areas.
In this comprehensive guide, we'll explain what paver lighting is, the different fixture styles and light sources available, and how to design an effective lighting plan suited to your property. You'll learn the basics of installing a paver lighting system with tips to make the process go smoothly. We'll also cover how to calculate the cost for any sized project and provide ideas to get the most beauty from your lighting budget. And since paver lights become a permanent part of your hardscape, proper ongoing maintenance is important as well. Read on for insightful tips that will keep your paver lighting performing optimally for years to come.
What is Paver Lighting?
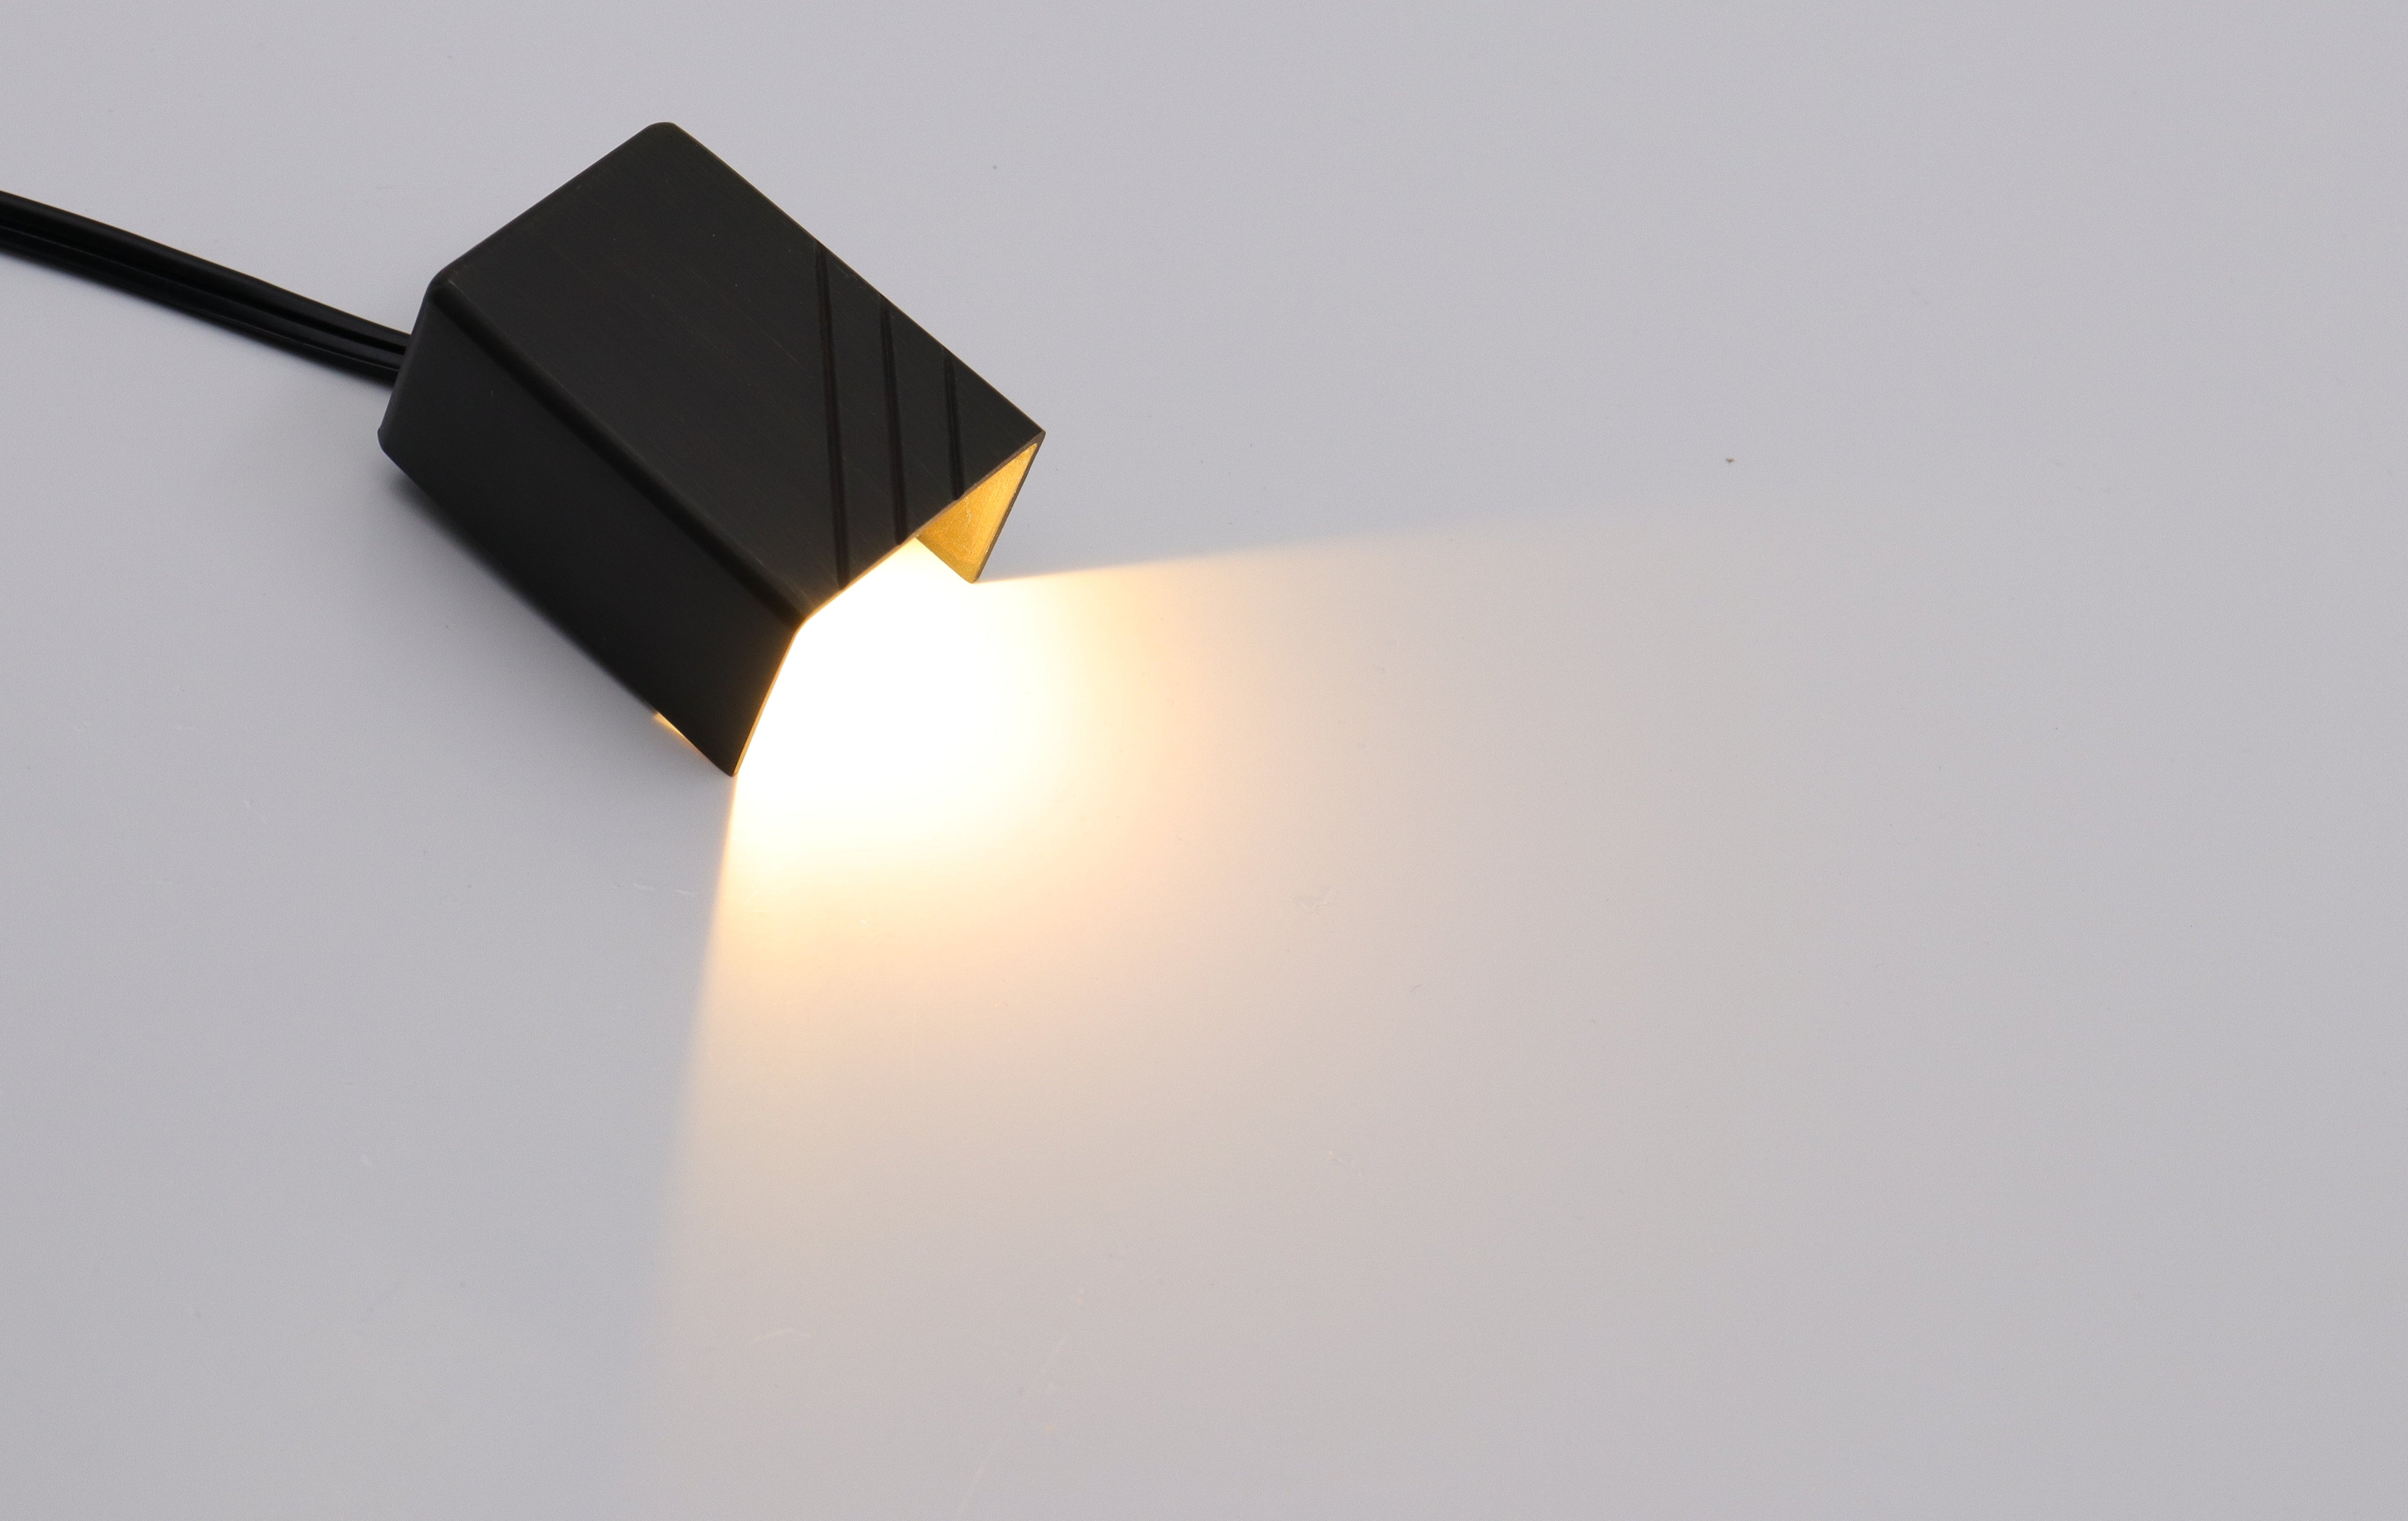
Paver lighting refers to low-voltage lighting fixtures that are fully installed in between the stones or units of pathways, patios, driveways, steps and other hardscape surfaces. The fixtures sit nearly flush with the paver surface, creating an invisible light source after dusk. The illuminated pavers provide a dramatic yet understated effect.
Paver lighting goes by several other common names, including step lighting, stair lighting, deck lighting and tread lighting. The lighting truly becomes one with the hardscape.
Benefits of Paver Lighting
- Provides permanent, integrated accent lighting – Fixtures become part of the hardscape
- Lighting is invisible and unnoticeable during daylight hours for a clean look
- Casts a soft, inviting glow without glare or hot-spots
- Illuminates surface evenly from below for remarkable ambiance
- Extremely durable and rugged for long-lasting performance
- Fixtures resist weather, foot traffic, freezing temps and debris
- Easy access to fixtures by lifting covers allows for relamping
- Wide range of placement options for endless design possibilities
- Can precisely highlight architectural features, trees, walls and steps
- Provides safety by lighting walkways, paths, pool areas, stairs and decks
- Saves energy since low-voltage LEDs use far less power than 120V lighting
- Adds significant value and beauty to any landscaped property
Types of Paver Lighting Fixtures
Well Lights
In-ground paver well lights sit down inside a recessed chamber below the surface. They are ideal for illuminating winding pathways.
Bullet Lights
Bullet fixtures emit light from the top for a distinctive look. They work well placed sporadically in patios or pool decks.
Focusable Lights
As the name implies, focusable paver lights have a moveable head. This description of lighting is very similar to spot lighting, so check out Choosing the Right Spot Lights for Your Home.
Step Lights
Step lights are designed specifically for stairways. The long shape sends light straight up the riser for uniform illumination on each step.
Strip Lights
Strip paver lights consist of an elongated fixture housing multiple small diodes inside. Strip lighting ensures consistent illumination over larger areas.
Swivel Lights
Swivel paver lights sit nearly flush with the surface but integrate a rotating light head to direct the beam in any direction.
The possibilities are nearly endless when combining different paver lighting fixture styles. Well lights and step lights tend to be the most subtle and integrated options. Bullet lights inject dots of light in a random pattern. Focusable and swivel lights provide the most directed accent lighting. Consider how each type can help achieve your goals.

How to Choose the Right Paver Lighting Design?
Intended Purpose & Location
Typical paver lighting locations include steps, walkways, patios, driveways, and garden beds.
Amount of Coverage
Factor in how much illumination you'll need overall and in each zone.
Fixture Housing Material
| Material | Description | Pros | Cons |
|---|---|---|---|
| Stainless Steel | Very modern look, highly durable | Strong and resistant to corrosion | More expensive |
| Composite Polymer | Inexpensive option | Affordable | Less durable, shorter lifespan |
| Brass/Copper | Traditional, old-world style | Matches stone/brick paving | Higher maintenance, can corrode |
Light Source
LEDs come in different color temperatures. Warm white 2700-3000K matches incandescent lighting while cool white 4000-5000K has a brighter, bluer tint.
Wattage & Quantity
Stay within the capacity limits of your transformer. Standard 300-500 watt transformers can power 10-15 LED fixtures per circuit.
How to Install Paver Lighting?
- Design Layout - Mark fixture locations with spray paint.
- Install Transformer - Use direct burial low voltage cable.
- Cut Holes - Use a concrete saw with a diamond blade.
- Place Lights - Connect wires using waterproof connectors.
- Test Lights - Power on and troubleshoot.
- Backfill Holes - Use concrete, sand or grout.
- Cover Surface - Use caulk to seal gaps.
Paver lighting must be installed following all local electrical codes. Call 811 before any digging to have underground utilities marked. Inexperienced installers may wish to hire an electrician, which will add $50-$100 per hour to the project cost. Proper planning, renting concrete cutting tools, and safety gear will make installation much smoother.

Cost to Install Paver Lighting
Expect:
- $5-$30 per light fixture
- $100-$300 for a transformer
- $100 for wiring and supplies
- $50+ for tool rental
Total costs can range from $600 to over $5,000 depending on scale and complexity.
Maximizing Value Within Your Lighting Budget
- Use affordable polymer well lights
- Consider fiber optic or solar lights
- Focus on key areas
- Install lighting in phases
Operating and Maintaining Paver Lighting
- Inspect lights biannually
- Remove debris gently
- Secure and reseal loose fixtures
- Plan group relamping every 3-5 years
Conclusion
Paver lighting provides a versatile, integrated accent lighting option. When planned well and installed properly, it delivers stunning illumination and flair to any outdoor space.


Leave a comment
All comments are moderated before being published.
This site is protected by hCaptcha and the hCaptcha Privacy Policy and Terms of Service apply.