Paver Lighting 101: Everything You Need to Know

Paver Lighting Everything You Need to Know

Introduction

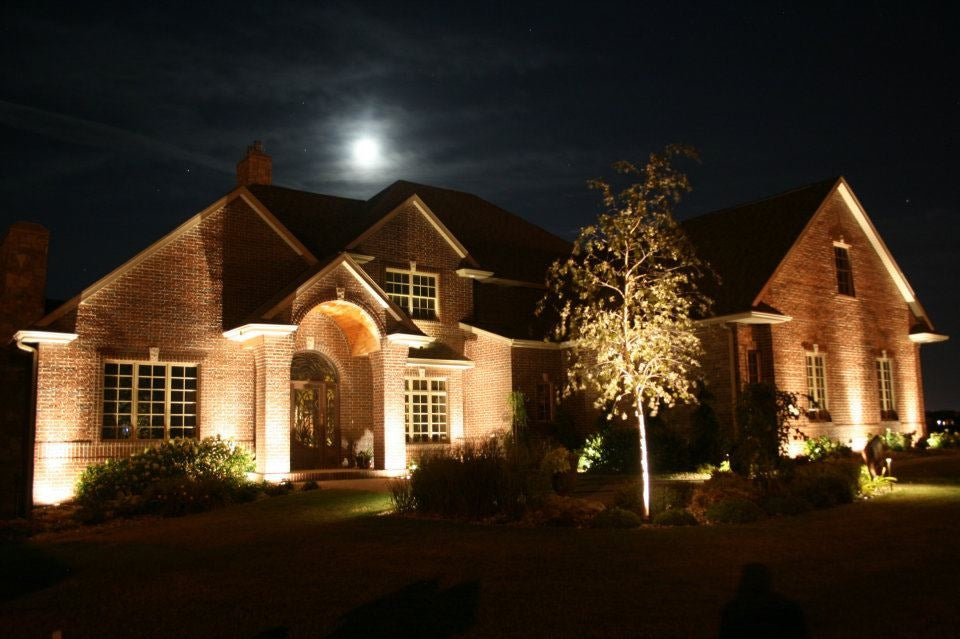
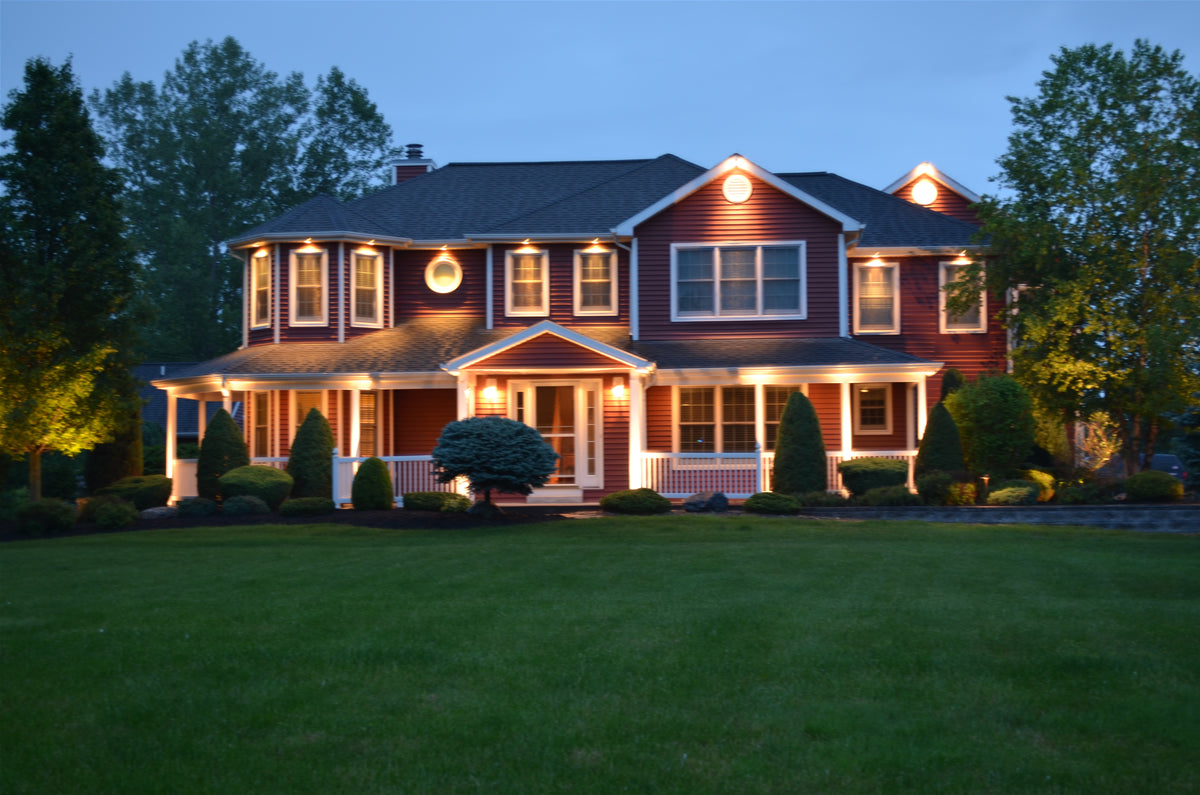
Outdoor lighting can completely transform the look and feel of your home once the sun goes down. Properly designed lighting illuminates pathways to enhance safety, adds drama to gardens, and accentuates architectural and landscaping features. One elegant yet understated lighting option is paver lighting. By integrating fixtures directly into the pavement, paver lighting casts a soft glow to precisely define and highlight specific areas.

In this comprehensive guide, we'll explain what paver lighting is, the different fixture styles and light sources available, and how to design an effective lighting plan suited to your property. You'll learn the basics of installing a paver lighting system with tips to make the process go smoothly. We'll also cover how to calculate the cost for any sized project and provide ideas to get the most beauty from your lighting budget. And since paver lights become a permanent part of your hardscape, proper ongoing maintenance is important as well. Read on for insightful tips that will keep your paver lighting performing optimally for years to come.

landscape lighting system

What is Paver Lighting?

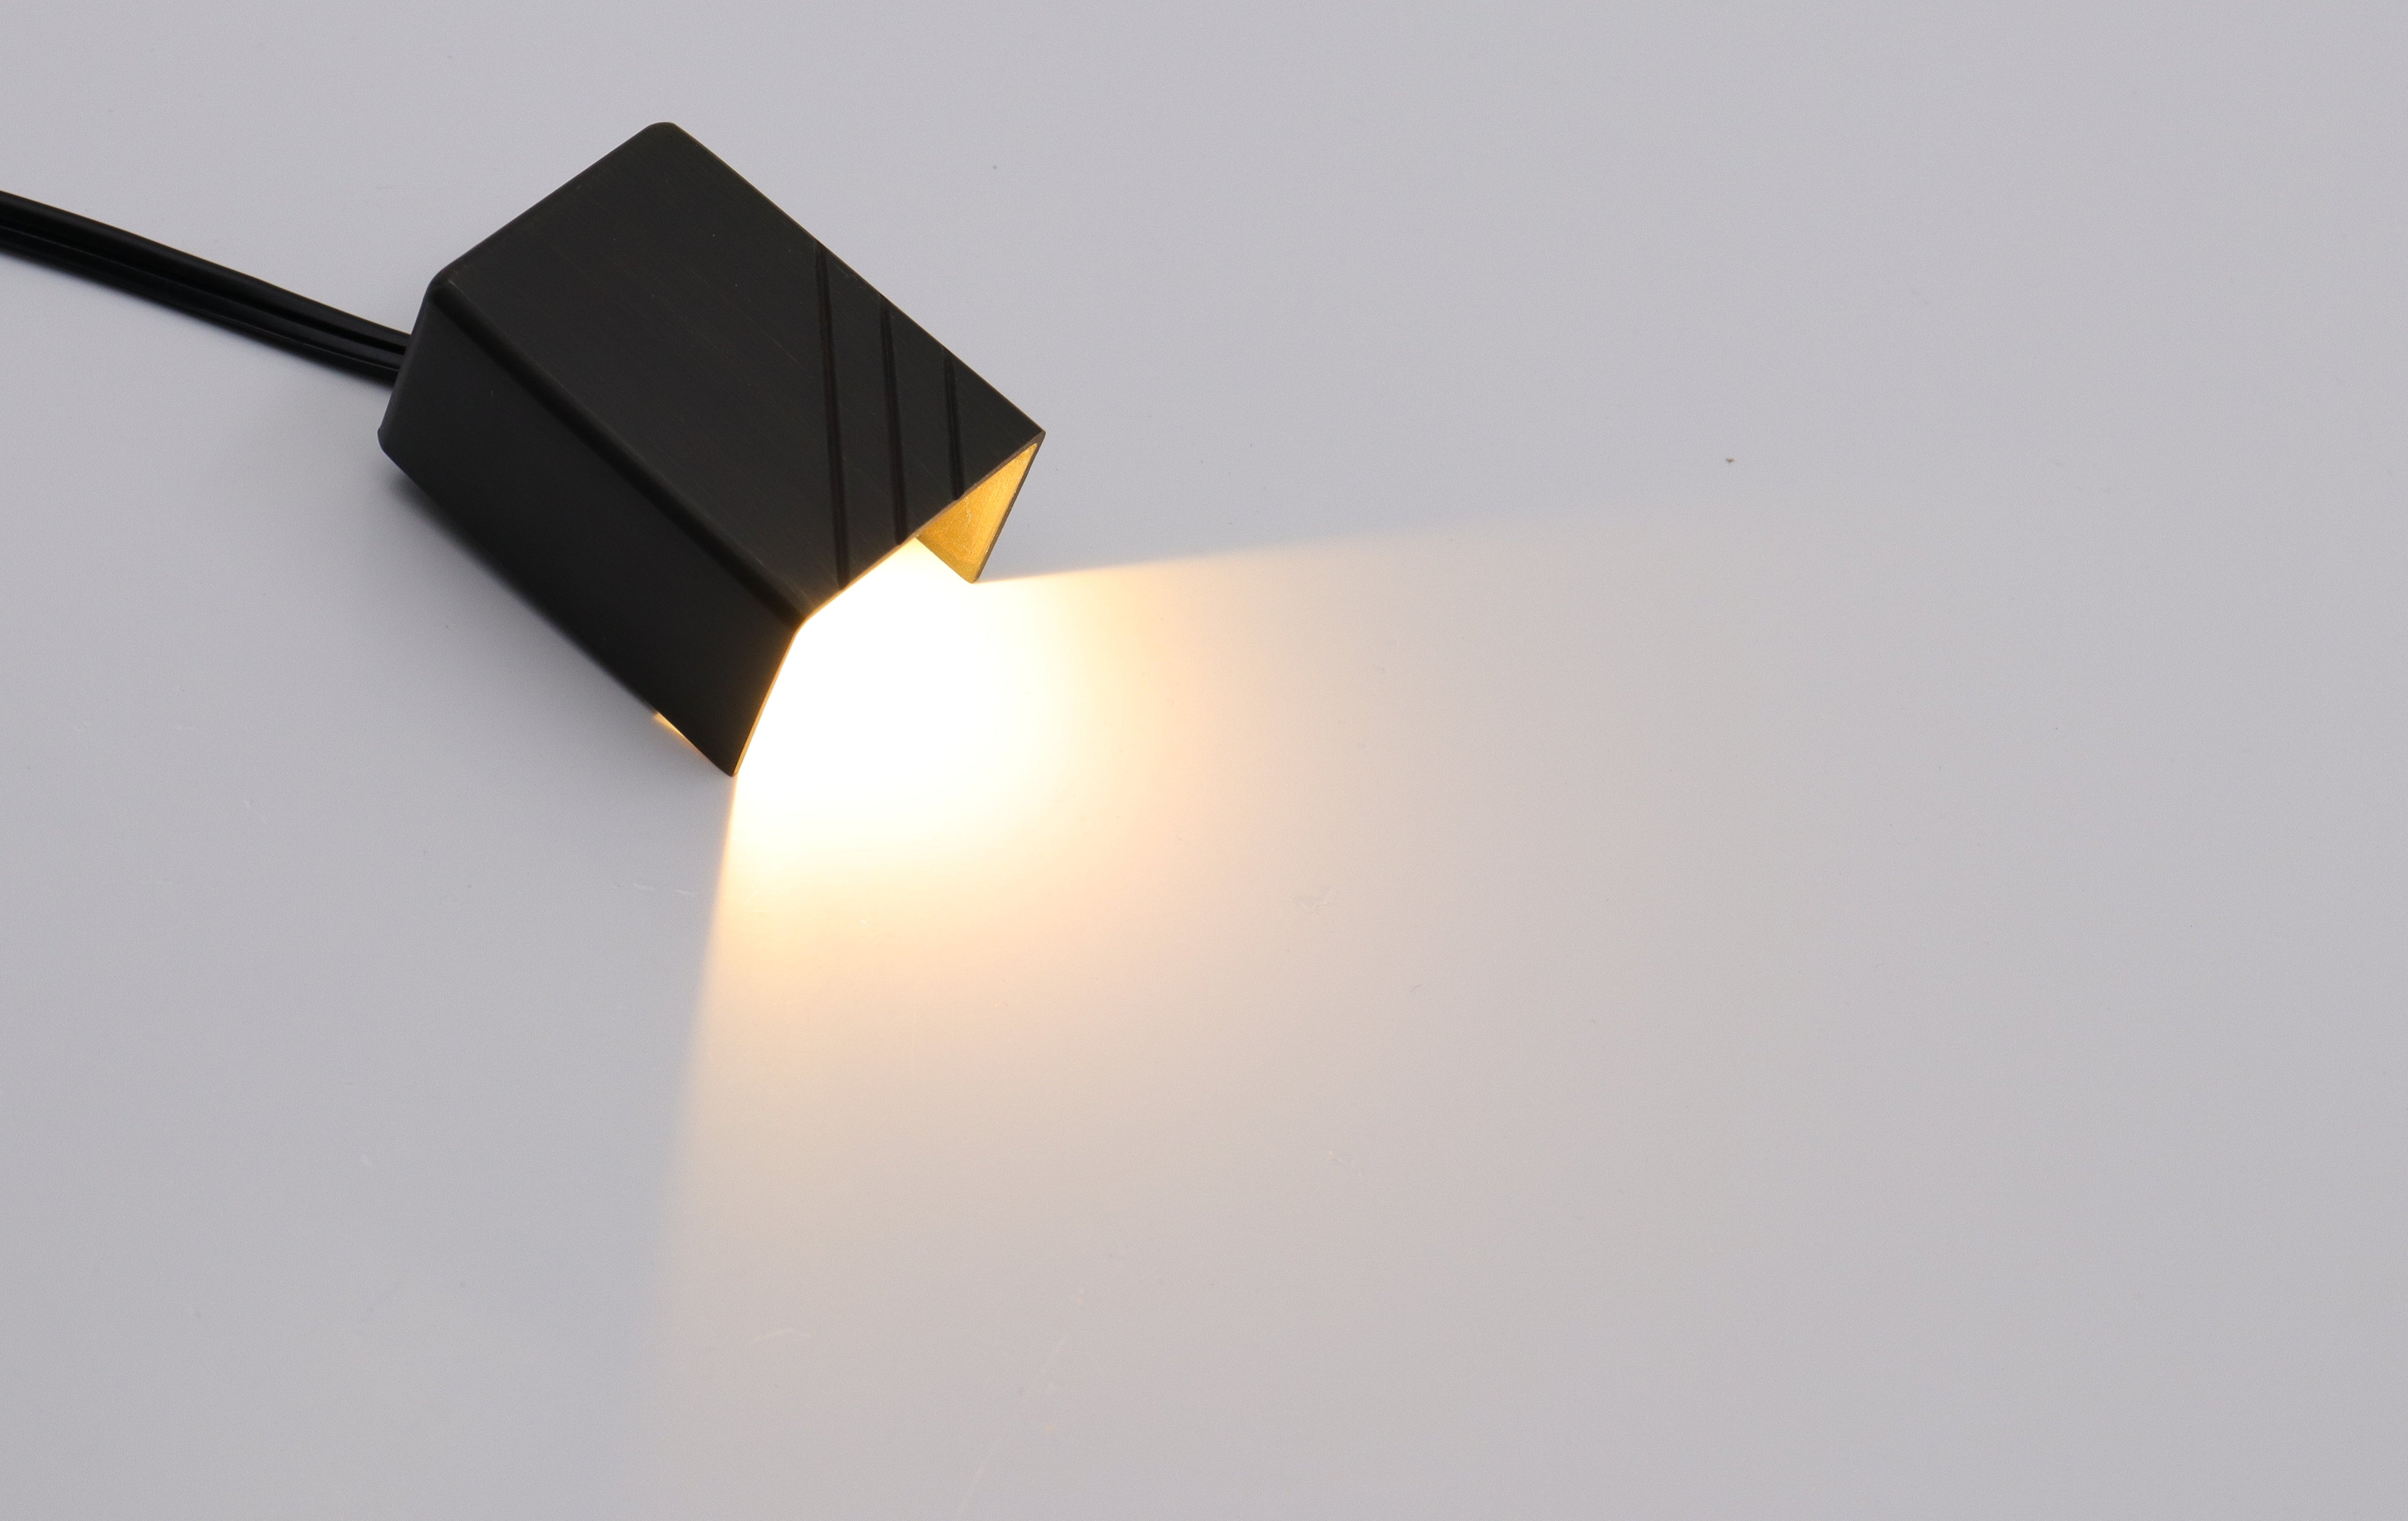
Paver lighting refers to low-voltage lighting fixtures that are fully installed in between the stones or units of pathways, patios, driveways, steps and other hardscape surfaces. The light fixtures sit nearly flush with the paver surface, creating an invisible light source after dusk. The illuminated pavers provide a dramatic yet understated effect. Paver lighting gently defines and enhances the hardscape, providing elegance and functionality once the sun disappears.

Paver lighting goes by several other common names, including step lighting, stair lighting, deck lighting and tread lighting. But the concept remains the same: seamlessly integrating small lighting fixtures directly into the paved surface. Paver lighting can be installed in concrete, natural stone, brick, poured concrete, and concrete paving units. The lighting truly becomes one with the hardscape.

Benefits of Paver Lighting

There are many benefits to installing paver lighting as part of your outdoor lighting plan:

  • Provides permanent, integrated accent lighting – Fixtures become part of the hardscape
  • Lighting is invisible and unnoticeable during daylight hours for a clean look
  • Casts a soft, inviting glow without glare or hot-spots
  • Illuminates surface evenly from below for remarkable ambiance
  • Extremely durable and rugged for long-lasting performance
  • Fixtures resist weather, foot traffic, freezing temps and debris
  • Easy access to fixtures by lifting covers allows for relamping
  • Wide range of placement options for endless design possibilities
  • Can precisely highlight architectural features, trees, walls and steps
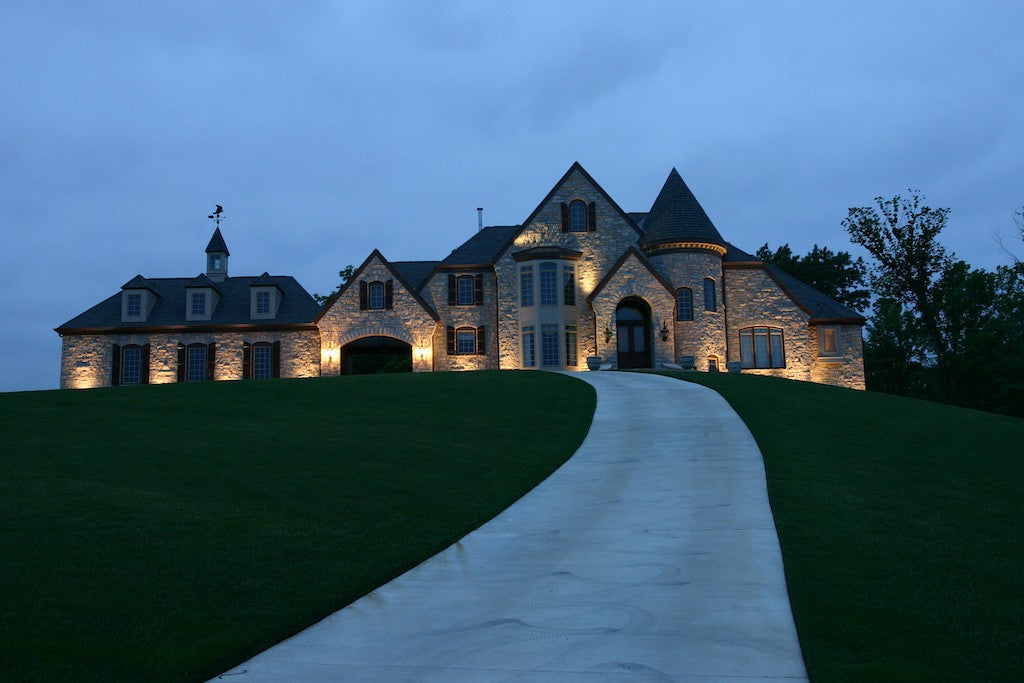
  • Provides safety by lighting walkways, paths, pool areas, stairs and decks
  • Saves energy since low-voltage LEDs use far less power than 120V lighting
  • Adds significant value and beauty to any landscaped property

For permanent, integrated accent lighting that adds elegance and defines your hardscape, paver lighting is an excellent choice. The lighting transforms plain surfaces into breathtaking features once night falls.

Types of Paver Lighting Fixtures

There are several common styles of paver light fixtures to choose from:

Well Lights

In-ground paver well lights sit down inside a recessed chamber below the surface. The fixtures feature a housing, lighting element, covering the lens and a paver frame. Well lights provide the most subtle and integrated lighting effect since the source is fully recessed below grade. They are ideal for illuminating winding pathways. Well lights are available with LED, halogen and fiber optic light sources.

Bullet Lights

Bullet paver lights have a cylindrical shape and longer proportions that fits down into a hole drilled into the paver. A covering lens sits nearly flush with the surface. Bullet fixtures emit light from the top for a distinctive look. The light is directed fully upward, which creates a dot of light in each paver. Bullet lights work well placed sporadically in patios or pool decks to add interest. These economical fixtures come in LED or halogen.

Focusable Lights

As the name implies, focusable paver lights have a moveable head that allows you to precisely aim the beam in different directions. The head can be rotated to graze nearby surfaces or highlight walls, steps and other architectural features. Focusable paver lights offer the most flexibility and control over the lighting effects. But the adjustable head means they have a slightly larger visible surface.

This description of lighting is very similar to spot lighting, so check out Choosing the Right Spot Lights for Your Home, which can give you some suggestions for choosing lighting

Step Lights

Step lights are designed specifically for stairways. They have a low-profile body that sits nearly flush with the edge of steps, making them very subtle. The long shape sends light straight up the riser for uniform illumination on each step. Step lights enhance safety and add flair to boring stairs and retaining walls.

Strip Lights

Strip paver lights consist of an elongated fixture housing multiple small diodes inside. This provides continuous, uninterrupted lighting along the entire length. Strip lights work well for tracing wider pathways, borders and winding curves. The strip can be cut to fit different sizes. Strip lighting ensures consistent illumination over larger areas.

Swivel Lights

Swivel paver lights sit nearly flush with the surface but integrate a rotating light head to direct the beam in any direction. Many models have fully adjustable integrated mounts allowing you to set the perfect angle. Swivel lights provide focused, accent illumination perfect for highlighting plants or sculptures in a garden.

The possibilities are nearly endless when combining different paver lighting fixture styles. Well lights and step lights tend to be the most subtle and integrated options. Bullet lights inject dots of light in a random pattern. Focusable and swivel lights provide the most directed accent lighting. Consider how each type can help achieve your goals.

landscape lighting system

How to Choose the Right Paver Lighting Design?

There are several factors to consider when selecting fixtures and designing your paver lighting layout:

Intended Purpose & Location

First, determine what areas you want to illuminate and the goal of the lighting. Typical paver lighting locations include:

  • Steps, stairways - Enhances safety and adds elegance
  • Pathways, walkways, trails - Defines the route and lights the way
  • Patios and pool decking - Adds ambiance for evening gatherings
  • Driveways and motor courts - Defines perimeter and looks impressive
  • Garden beds and flower walls - Highlights plants and architectural features
  • Retaining walls, fencing - Grazes vertical surfaces for depth

Each application may call for different fixture styles. For example, thin step lights are perfect for stairs, while recessed well lights better define winding paths. Start by mapping out the areas to illuminate and the goals for each.

Amount of Coverage

Factor in how much illumination you'll need overall and in each zone. For lighting very large spaces like patios, opt for wide strip lighting. For more focused accent lighting, like columns or flower beds, tighter beam focusable lights may be preferred. Well lights provide the most general, subtle glow for winding paths. Combining a few different fixture types creates depth and interest.

Fixture Housing Material

This table provides a summary of key paver light housing materials - stainless steel, composite polymer, brass and copper:
Material Description Pros Cons
Stainless Steel Very modern look, highly durable Strong and resistant to corrosion, long-lasting More expensive
Composite Polymer Inexpensive option Affordable Less durable, shorter lifespan
Brass/Copper Traditional, old-world style Matches stone/brick paving, aesthetic appeal Higher maintenance, can corrode

It compares their aesthetic qualities, durability and longevity as well as any pros and cons in an easy-to-understand format. This allows homeowners to evaluate and select the most suitable material based on design preferences, budget and maintenance requirements.

Light Source

Today, most paver lighting runs on LED technology which offers cool, energy-efficient light. LEDs last up to 50 times longer than old-style bulbs while using a fraction of the energy. They come in different color temperatures. Warm white 2700-3000K matches incandescent lighting while cool white 4000-5000K has a brighter, bluer tint.

Something to note is that LED and halogen fixtures require a transformer to reduce household voltage to 12V. Fiber optic lights use a high-voltage fiber optic cable and light engine. Make sure your system has all the proper components.

Wattage

Paver lights are available in a range of wattages, normally 1-5 watts for LEDs and 10-20 watts for halogens. Lower-wattage fixtures emit more subtle ambient light. Higher-wattage lights illuminate a larger surface area but consume more energy. Stay within the capacity limits of your transformer.

Quantity Per Circuit

Low voltage lighting requires a transformer to convert 120V current down to 12V. Standard 300-500 watt transformers can safely power 10-15 LED fixtures per circuit. Halogens pull more energy, so limit to 5-8 lights per circuit. Have a rough idea of the number of lights needed in each zone when sizing the transformer.

With LED paver lighting, the options for styles and layouts are almost unlimited. Visit a specialty lighting showroom to get a sense of different products and see illumination effects. This makes it easier to visualize how lighting can transform your property before installation.

How to Install Paver Lighting?

Installing paver lighting requires careful planning and some construction skills, but it is a manageable DIY project. Here is an overview of the basic steps:

  • Design Layout - Map out the exact lighting plan and mark fixture locations on the ground with spray paint. Space lights appropriately for full, even coverage.
  • Install Transformer - Mount the 12V transformer in an exterior electrical box near an outlet. Run underground wiring from the transformer to each light fixture location. Use direct burial low voltage cable.
  • Cut Holes - Using a rented concrete saw with a diamond blade, cut holes for each fixture, following the marked layout. Wear protective gear when cutting.
  • Place Lights - Insert each fixture into its hole, then connect wires using gel-filled wire connectors. Keep connections waterproof.
  • Test Lights - Restore power and test all fixtures. Troubleshoot any issues before proceeding.
  • Backfill Holes - Pack concrete, sand, or grout tightly around each fixture to hold it firmly in place. This also protects wire connections.
  • Cover Surface - Attach fixture covers so lights sit flush with the surface. Use outdoor silicone caulk if needed to seal any gaps.

Paver lighting must be installed following all local electrical codes. Call 811 before any digging to have underground utilities marked. Inexperienced installers may wish to hire an electrician, which will add $50-$100 per hour to the project cost. Proper planning, renting concrete cutting tools, and safety gear will make installation much smoother.

landscape lighting system

Cost to Install Paver Lighting

Like any home improvement project, the cost of paver lighting depends on the size, number of lights and complexity of the system. On average, homeowners can expect to budget:

  • $5-$30 per light fixture, depending on style
  • $100-$300 for an outdoor rated transformer, more for multiple zones
  • $100 for wiring, gel connectors, junction boxes and electrical supplies
  • $50+ for concrete cutting tools and safety equipment rental

For a small installation with 20 basic LED well lights, one 75w transformer, and minimal wiring would cost around $600 in materials. For a larger project encompassing 100+ lights, multiple zones and special fixtures, total costs can easily exceed $5,000. Hiring an electrician to install paver lighting typically adds $50-$100 per hour to the overall budget.

Maximizing Value Within Your Lighting Budget

For those on a limited budget, you can stick to economical but attractive lighting designs:

  • Utilize inexpensive but durable polymer well lights for subtle walkway definition
  • Use fiber optic lighting, which requires no electricity and has an easy DIY installation
  • Focus lighting just on key areas rather than the entire space
  • Mix a few accent lights in with more affordable general illumination lights
  • Use solar-powered LED paver lights for garden pathways and landscaping
  • Install lighting in phases over time to spread out costs

With smart planning and budget-friendly fixtures, you can still achieve beautiful paver lighting effects even on a budget.

Operating and Maintaining Paver Lighting

Paver lighting requires very minimal maintenance, especially when quality LED fixtures are installed professionally. However, some periodic care will keep your system looking like new. Here are some tips:

  • Inspect Lights - At least twice per year, inspect paver lights for any damage, moisture intrusion or darkened lenses. Replace any failed gaskets, lenses or foggy covers. Look for broken, loose or shifted fixtures and re-secure them.
  • Remove Debris - Gently clear away dirt, leaves, and debris around light openings to maximize light output. Avoid using hard tools near the lenses.
  • Re-secure Fixtures - Use a sealant to firmly fasten any loose lights that wiggle or rotate. Refasten any that become uneven over time.
  • Relamping - For LED lights, plan on group relamping every 3-5 years. Keep spare LED panels ready for easy replacement when burnt out. Other lamp types may need replacement yearly.
  • Resealing - Always use a flexible outdoor caulk when replacing lamps or lenses to prevent moisture damage. Standard caulk fails quickly outside.
  • Adjust Aiming - As freeze/thaw cycles shift fixtures over time, check aiming and adjust as needed to direct light where desired.

With periodic inspection and some minor maintenance when needed, professionally installed paver lighting will function beautifully for decades, come rain or shine. The glowing landscape creates an outdoor oasis long after sunset.

Conclusion

Paver lighting provides a versatile, integrated accent lighting option with the fixtures permanently installed on the paved surface itself. When planned well and installed properly, paver lighting delivers stunning illumination and flair to any outdoor space. Fixtures seamlessly integrate into the hardscape and provide endless design flexibility.

We hope this in-depth guide gives you a full understanding of paver lighting options, design considerations, installation, costs and maintenance. With the right lighting plan tailored to your property, paver lighting can completely transform your outdoor living space once dusk arrives.

Read More

Reading next

Spot Lights Guide: Illuminate Your Home Exterior & Boost Curb Appeal!
Landscape Lighting: 10 Creative Landscape Lighting Ideas

Leave a comment

All comments are moderated before being published.

This site is protected by reCAPTCHA and the Google Privacy Policy and Terms of Service apply.