Crafting the perfect pathway lighting is a mix of practicality and artistry. The right combination of light colors and brightness not only guides you safely through your outdoor spaces at night but also sets the mood, accentuating the beauty of your garden. Balancing warm and cool colors can transform the atmosphere, from cozy to tranquil, while the right light intensity ensures safety without being overpowering. In this article, we'll explore how to strike that delicate balance between color and brightness for effective pathway lighting that's as visually stunning as it is functional, enhancing both the usability and charm of your outdoor living spaces.
How Does Color Influence Path Lighting Ambiance and Perception?
The color of your pathway lights greatly affects the atmosphere and how we perceive the space. Different colors can create distinct feelings: warm colors like red and yellow make areas feel cozy, perfect for socializing, while cool blues and greens bring a sense of peace, ideal for a quiet garden spot. Not just about looks, color also has practical uses; it can make small spaces look larger, define clear walking paths for safety, and even change with the seasons—bright colors for spring energy or cool hues for winter calm. Plus, you can use lighting colors to zone your outdoor areas or draw attention to special features like architectural details or specific plants.
What Impact Does Light Intensity Have on Pathway Illumination?
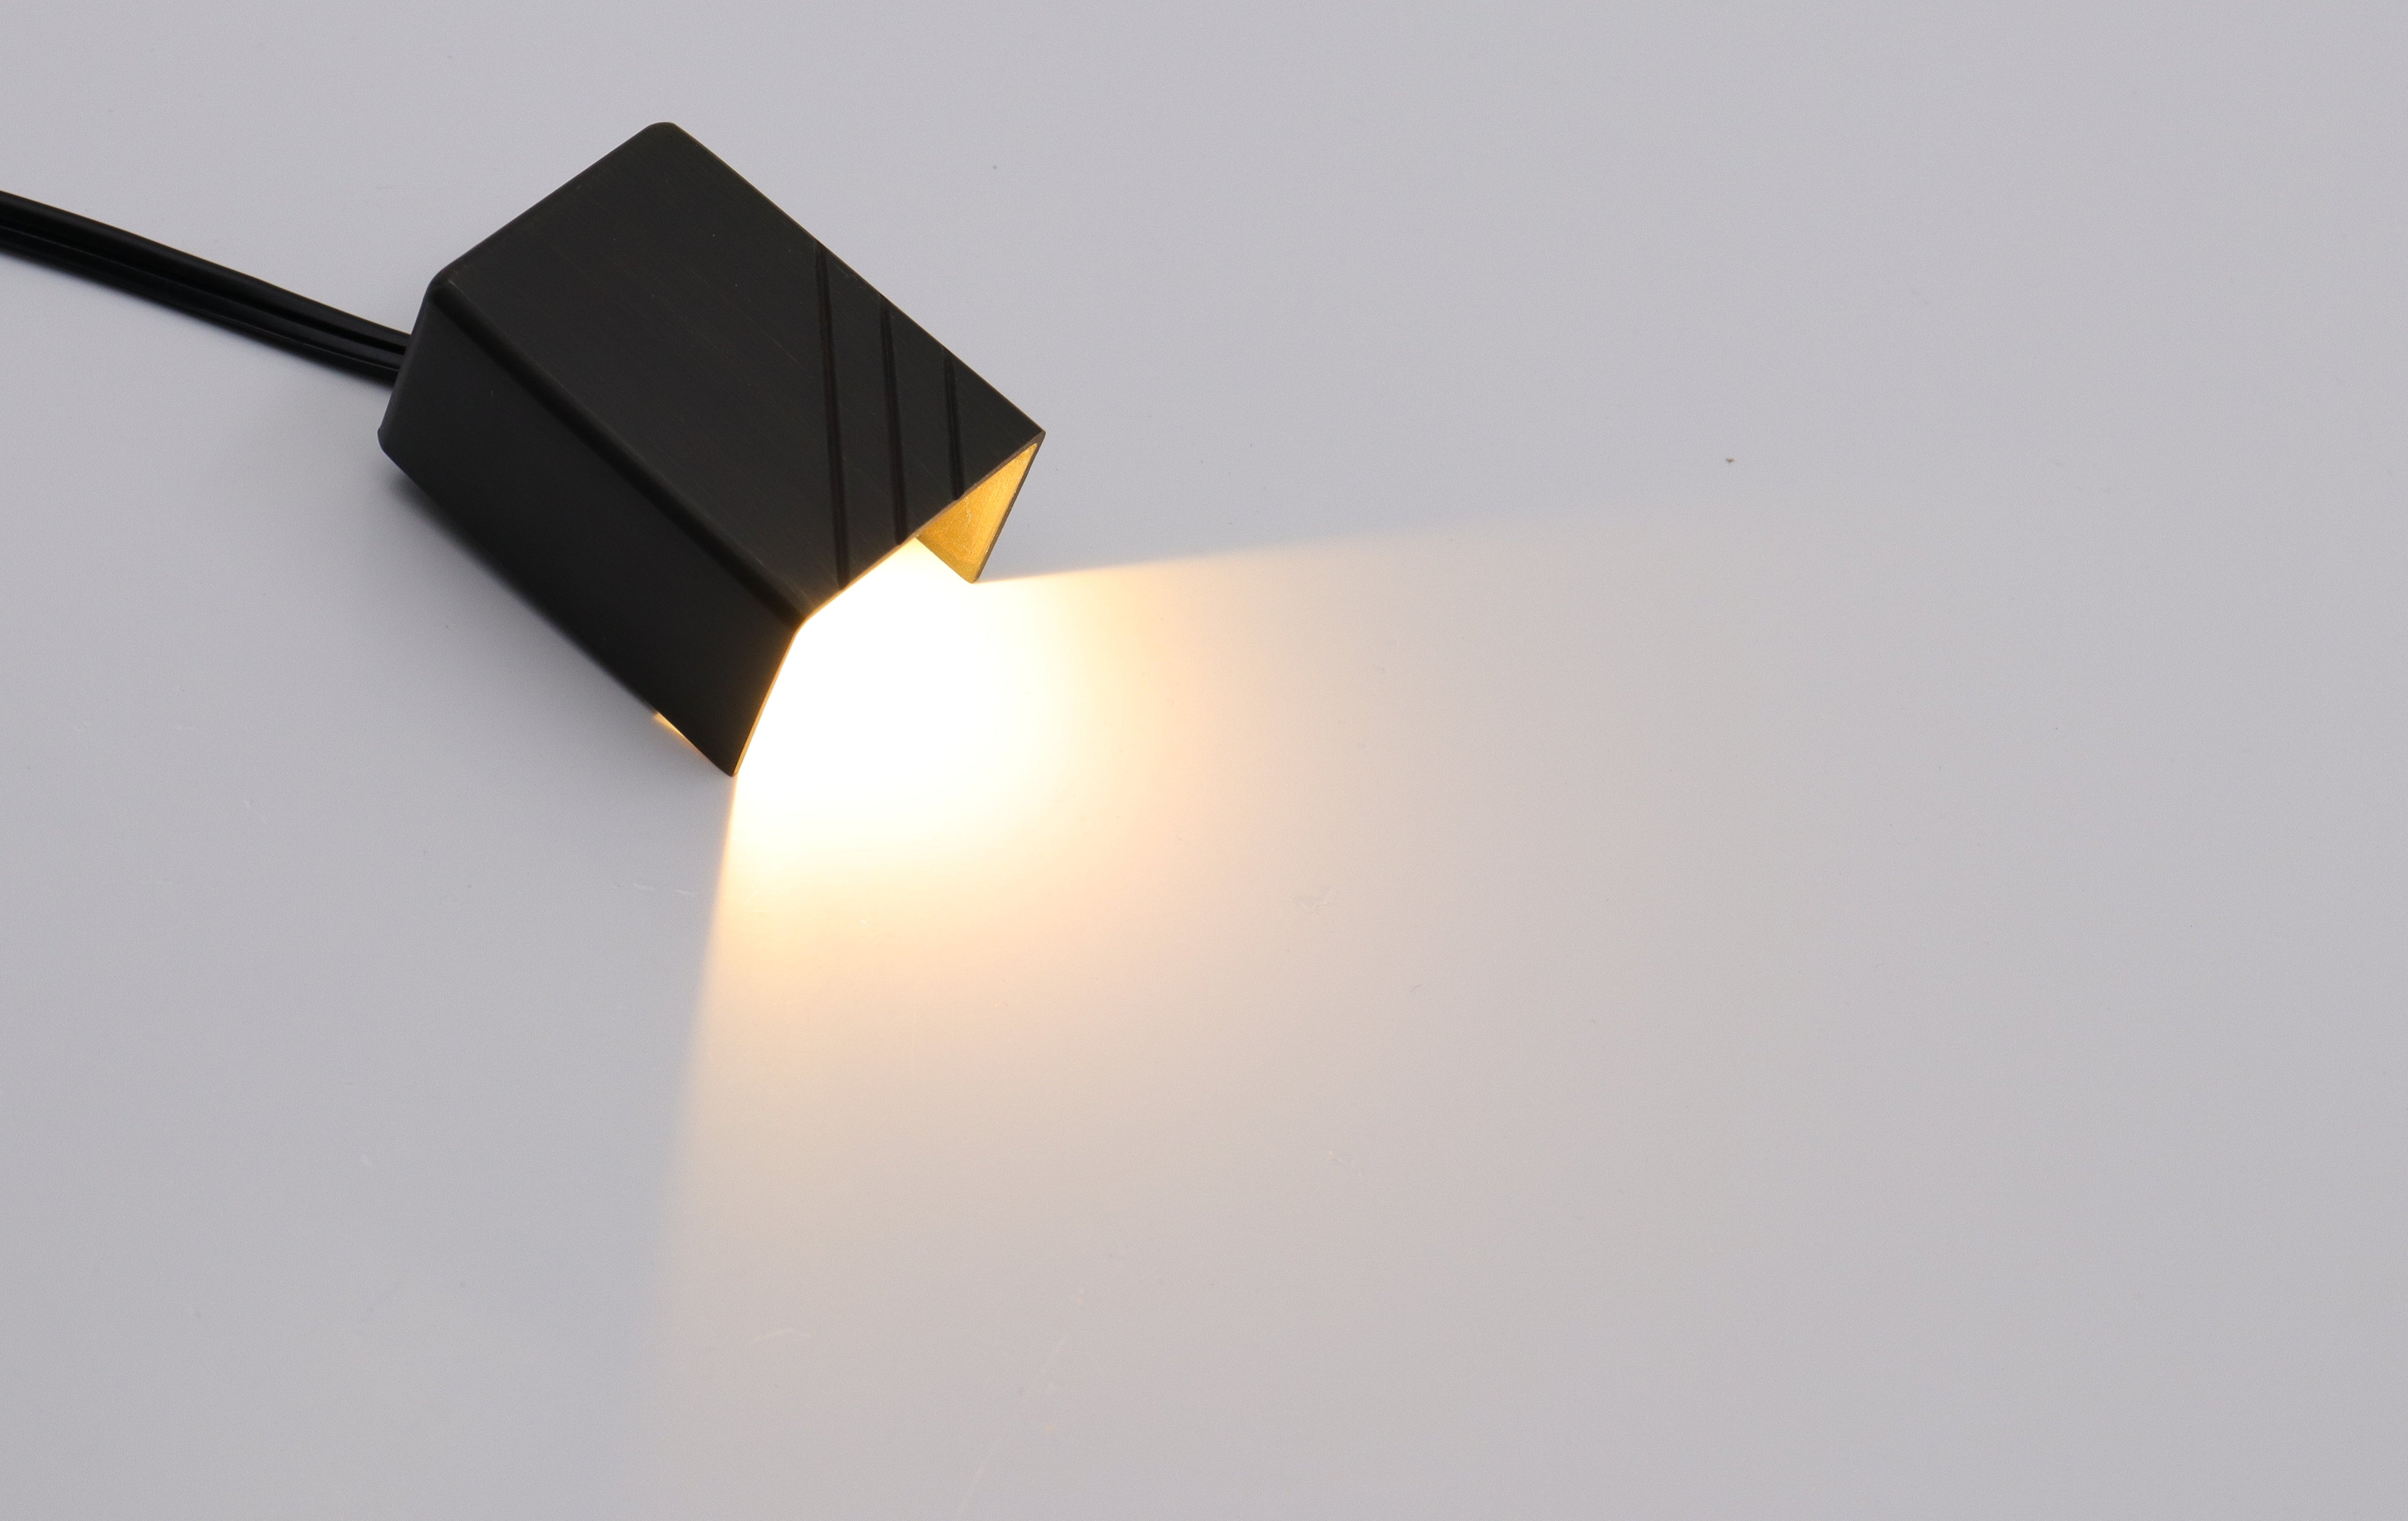
The brightness of your pathway lights, measured in lumens, is essential for more than just visibility—it sets the mood and keeps the path safe. With LED technology, you can achieve high brightness with low energy use, meaning you can light up your walkway effectively without a large power bill. Proper lighting ensures safety by preventing tripping hazards and also highlights important features like steps or garden elements. However, it's important to avoid overly intense light that can cause glare and obscure vision. Ideally, the intensity should be just enough to guide the way and showcase key aspects of your garden without being harsh or glaring.
How Do Path Lights Serve Multiple Functions in Landscaping?
Enhancing Aesthetics
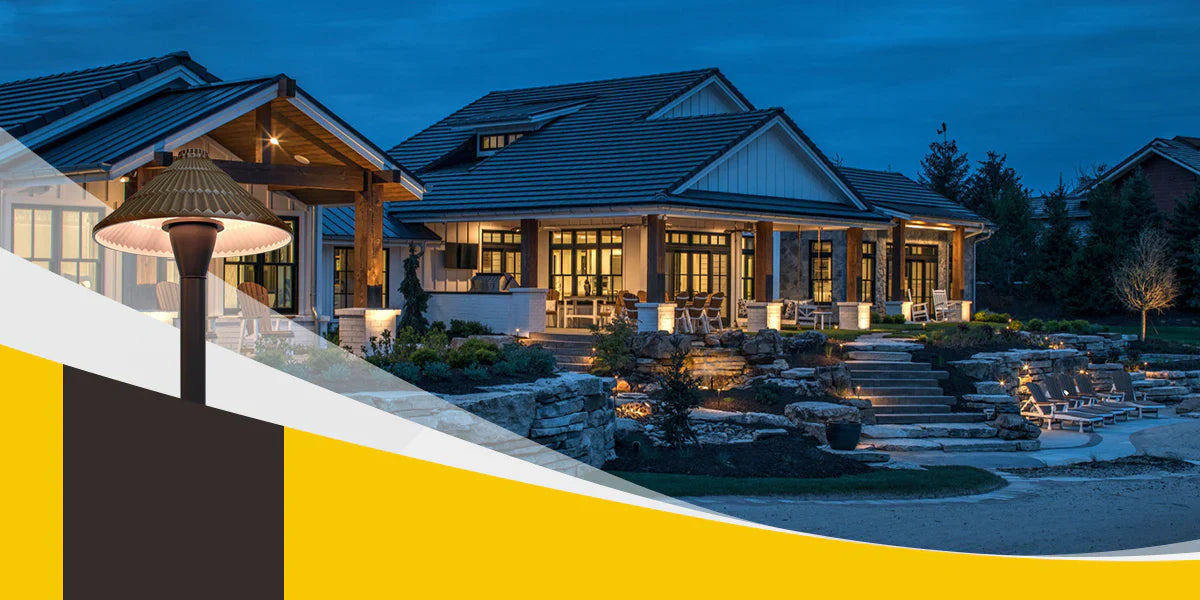
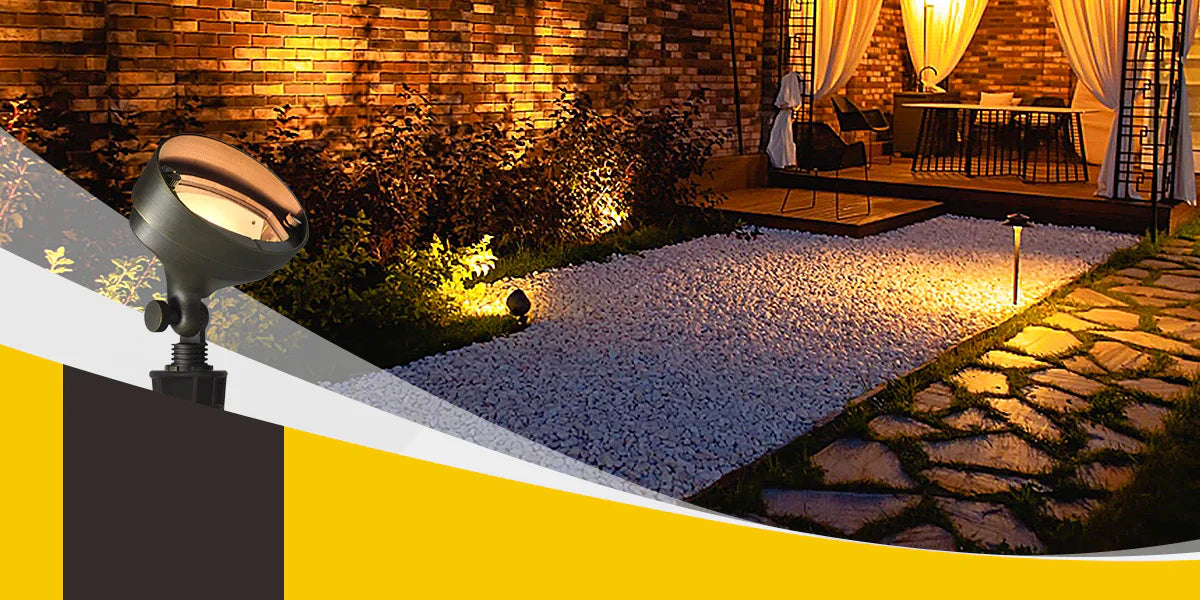
Path lights add a layer of elegance and beauty to landscaping by highlighting pathways with soft lighting. This can accentuate the curves and lines of walkways, showcase border plants, and create visually pleasing patterns after dark. They can also be used to create a mood or atmosphere in the garden, such as a warm and inviting glow for evening gatherings.
Ensuring Safety
One of the primary practical functions of path lights is to provide visibility along walkways and steps to reduce the risk of tripping or falling at night. Properly placed path lights can illuminate uneven surfaces, potential hazards, and changes in elevation such as steps, helping to safely guide residents and visitors alike through the outdoor space.

Extending Outdoor Usage
By illuminating landscape areas, path lights extend the usability of outdoor spaces well into the evening. This allows homeowners to enjoy patios, gardens, and other outdoor amenities after sundown, effectively increasing the living space available for leisure activities, dining, or relaxation.
Highlighting Landscape Features
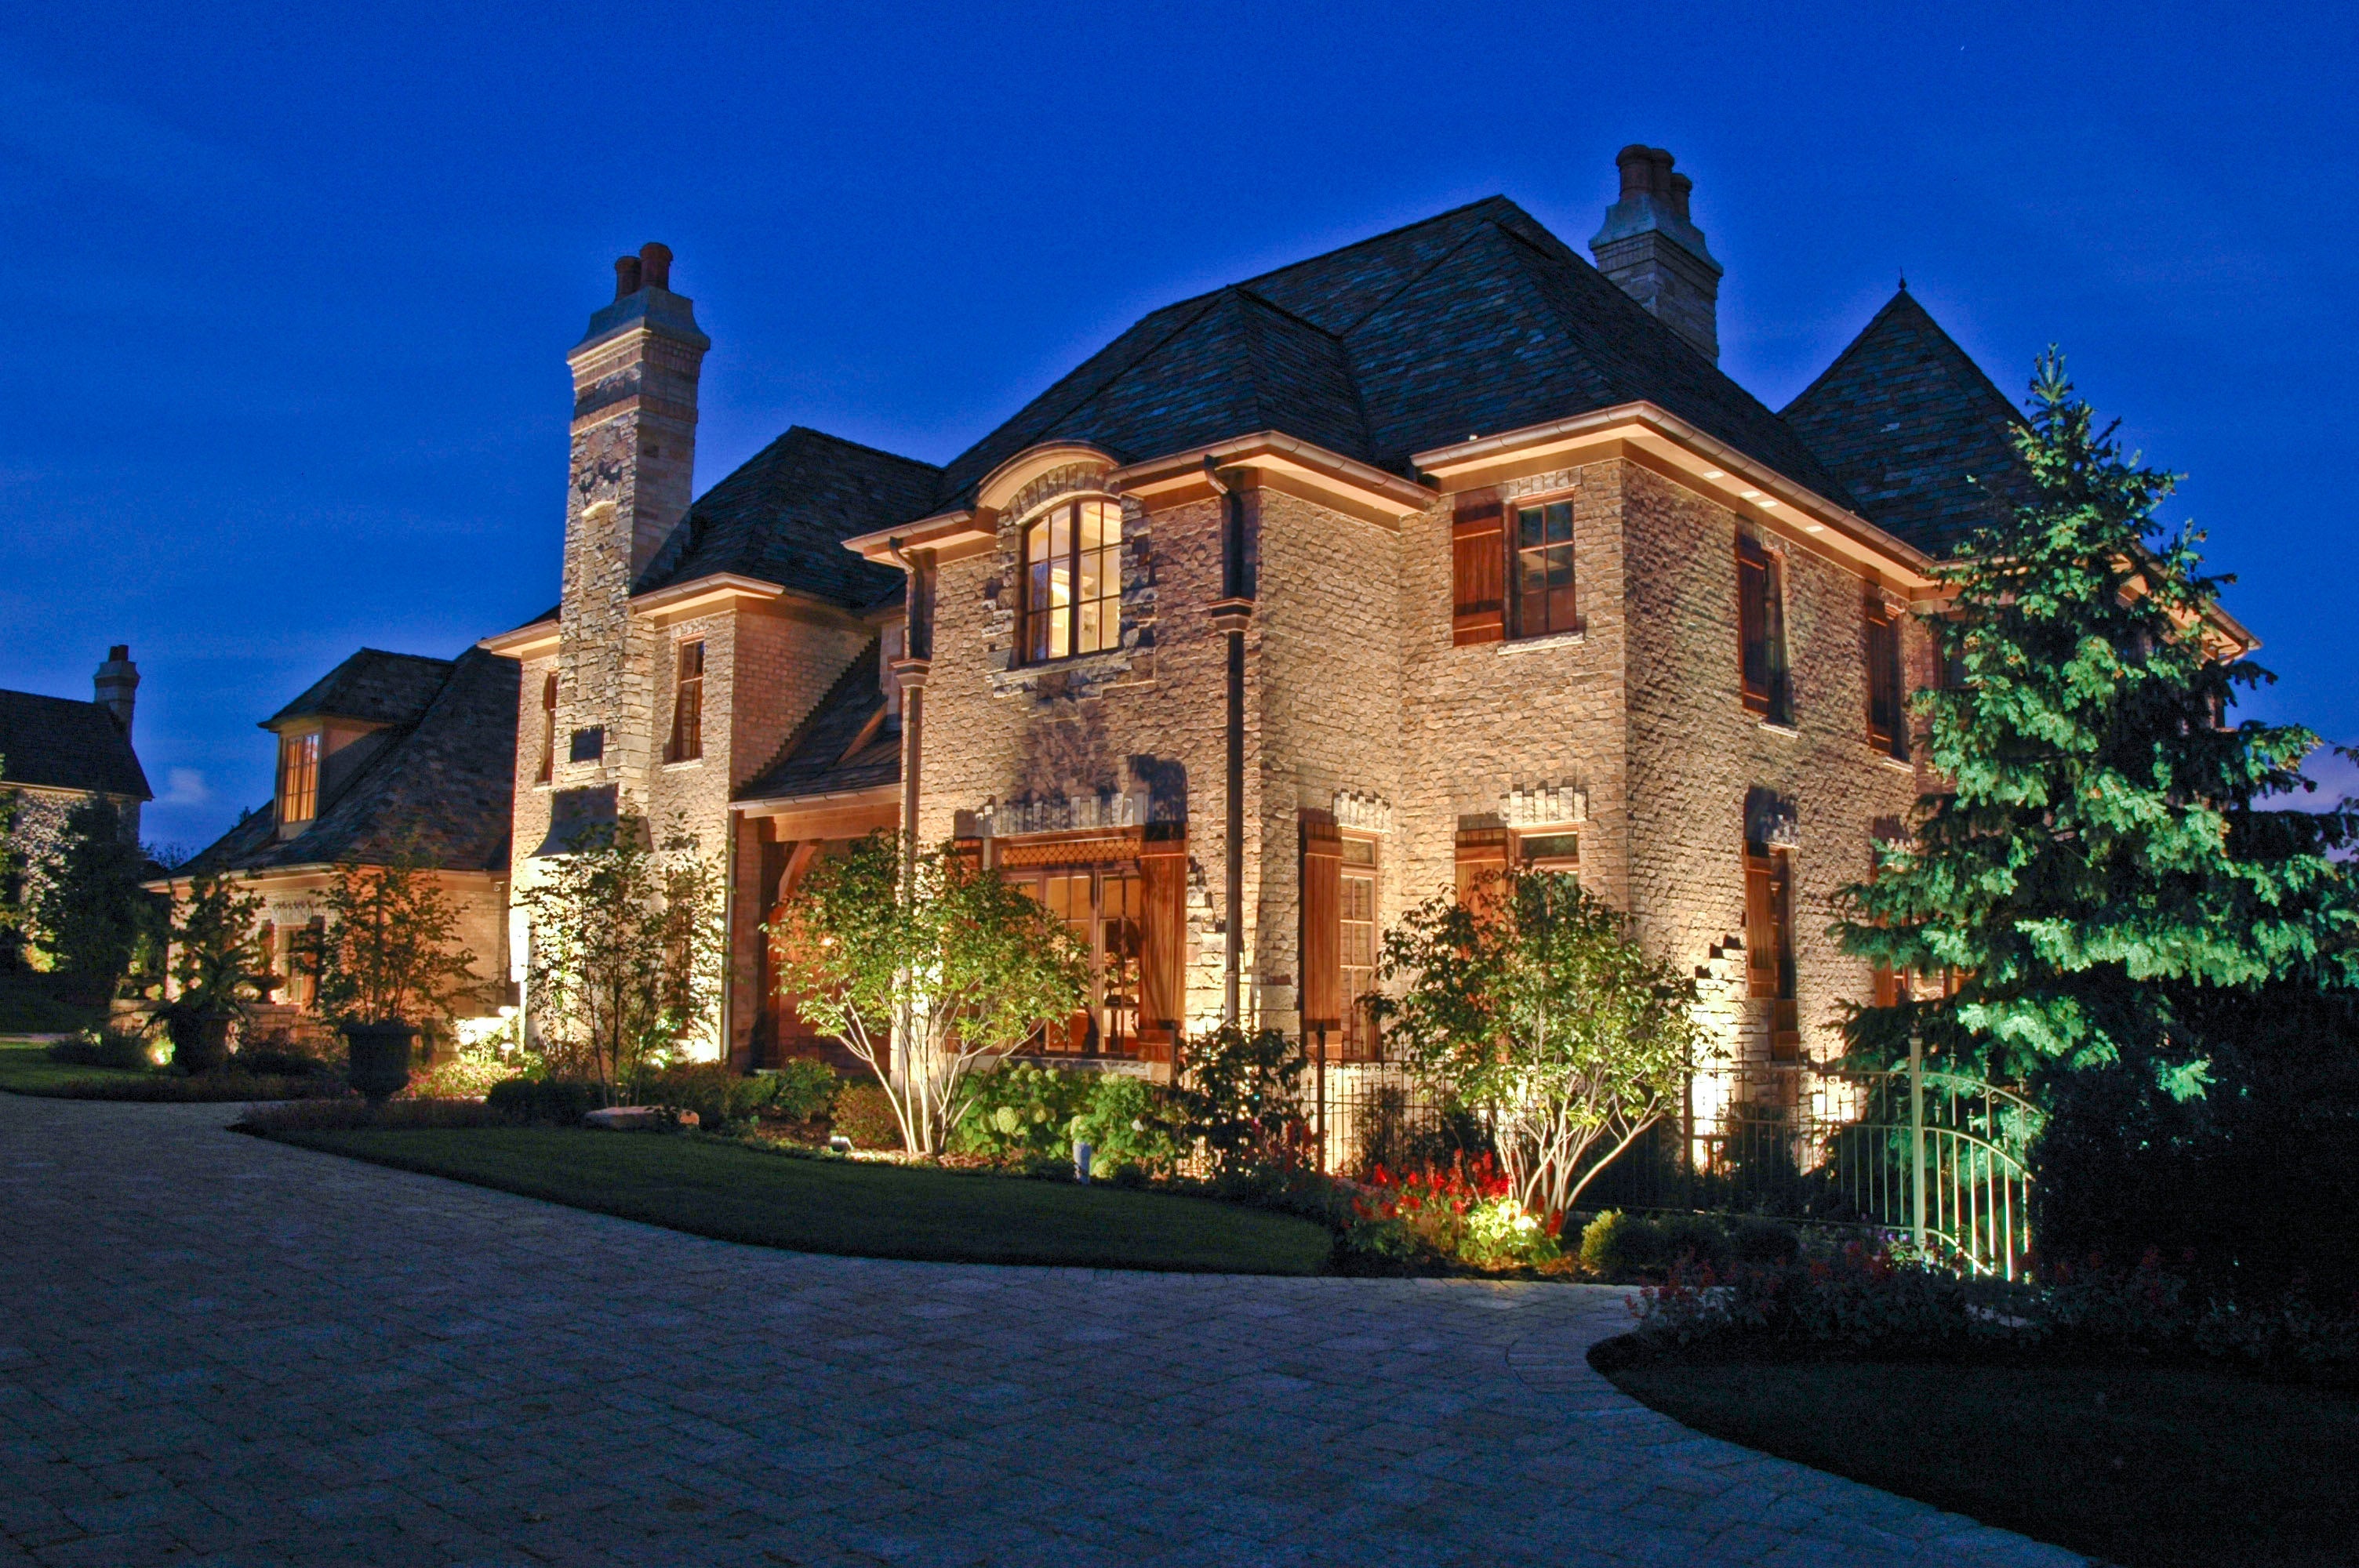
Strategically placed path lights can draw attention to specific landscape features such as sculptures, specimen plants, water features, or unique architectural elements of a home or building. This selective illumination can create focal points within the garden, enhancing the nighttime landscape design.
Energy Efficiency and Sustainability
Modern LED path lights are energy-efficient, reducing the overall carbon footprint associated with lighting up outdoor spaces. Solar-powered options offer an even more sustainable choice, harnessing sunlight during the day to power the lights at night, thereby eliminating the need for electrical wiring and reducing energy costs.
Security
Illuminated paths can deter potential intruders by removing dark areas where someone could hide. A well-lit landscape is less attractive to would-be burglars since it increases the likelihood of them being seen, thus providing an added layer of security to the property.
Property Value
Good landscaping, including thoughtful lighting design, can increase the curb appeal and overall value of a property. Path lights that complement the style of the garden and home can make a property more attractive to potential buyers by demonstrating attention to detail and care for the property.
Wayfinding
In larger gardens or commercial properties, path lights can serve as wayfinding tools, guiding visitors naturally along desired routes and to various destination points within the area. This helps manage the flow of foot traffic and ensures guests find their way easily.
How to Design the Ideal Pathway Lighting Scheme
1. Color Coordination
Choose colors that complement the natural hues of your landscape. For instance, use warmer colors like amber or soft white to highlight brick walkways and cooler tones for stone paths. Consider the color of the foliage and flowers at night; you want lights that will make greenery pop without being too harsh.
2. Mastering Light Intensity
The intensity of your path lights should be enough to guide safely but not so bright that they create a glare or wash out the surroundings. LEDs offer a range of intensities; pick one that illuminates without overwhelming. Use brighter lights for areas that require more visibility, such as steps or uneven terrain, and softer lights for straight, level sections.
3. Strategic Positioning
Path lights should be placed where they are most needed—curves, junctions, elevation changes, and obstacles should have ample lighting. However, avoid placing them in a straight line like an airport runway. Instead, stagger them to create an inviting meandering effect that guides the eye through the space.
4. Spacing for Consistency
Even spacing is key to a cohesive look. A common rule is to place lights 6 to 8 feet apart, but this can vary depending on the light's intensity and beam spread. Aim for overlapping pools of light to avoid dark spots, which can be disorienting.

5. Pairing with the Environment
Consider the scale of your path in relation to the surrounding features. Larger gardens may require larger or taller fixtures to match the scale, while smaller paths can benefit from low-profile or flush-mounted lights. Ensure the style of the lighting fixture complements the garden's design theme—modern, traditional, rustic, etc.
6. Integration with Landscaping
Use lighting to enhance landscaping elements. Uplighting can showcase trees or sculptures, while downlighting can mimic moonlight and provide a subtle glow. Think about seasonal changes and how different plants will look under various lighting conditions throughout the year.
7. Trial and Adjustment
Install a few test lights to see how they perform at night. Walk the path yourself to ensure the lighting is adequate and makes sense. Don't be afraid to make adjustments—what looks good on paper might need tweaking in real life.
How Eco-Friendly Path Lighting Solutions Benefit the Environment
Eco-friendly path lighting is a key component in sustainable landscaping, helping to reduce environmental impact while keeping outdoor areas well-lit. LED lights are highly energy-efficient, using up to 80% less energy than traditional bulbs and lasting much longer—up to 25,000 hours—which means lowering your carbon footprint, creating less waste, and easing the demand on power grids.
Solar-powered lights offer an even greener option by utilizing renewable solar energy, eliminating reliance on the electrical grid and reducing emissions. Additionally, incorporating timers and sensors can minimize energy use further by ensuring lights are on only when needed, which also helps in reducing light pollution that affects wildlife and obscures night skies. By choosing these sustainable lighting options, you'll not only enjoy a beautifully lit pathway but also contribute to a healthier planet.
How Material Choices Influence Path Lighting Durability and Design
Making the right choice in materials for your path lights is just as important as planning where to put them. Durable materials mean your lights will last longer and stand up to the weather, whether it's sun, rain, or snow. Metals like aluminum, brass, and copper are good choices because they're strong and don't rust easily. Even better if they have a protective finish! If you want something that looks natural, stone or concrete can be great but remember, they might not do as well in very cold places or near the sea unless they're treated to withstand those conditions.
Plastics or composites are cheaper and can look like metal or stone, but they might not last as long in lots of sunlight. It's not just about toughness, though—the material affects how your garden looks and feels at night. Dark metals might make the light seem softer, while lighter colors or shiny surfaces can reflect more light around your garden. Frosted glass or plastic makes the light soft and even, which can be really pretty.
And don't forget about being kind to the planet; choose eco-friendly materials that don't harm the environment and are easy to take care of. By picking the best materials for both your style and the weather, your path lights will not only last but also make your garden look just the way you want it to—at night and during the day.
What Are the Pros and Cons of DIY vs. Professional Path Lighting Installation?
DIY Installation: Flexibility and Cost Savings
Pros:
- Cost-Effective: Doing it yourself can save you money on labor costs.
- Flexibility: You have complete control over the project timeline and can make changes as you go.
- Personal Satisfaction: There's a sense of accomplishment in completing a home improvement project with your own hands.
Cons:
- Time-Consuming: It requires a significant time investment to plan and execute.
- Learning Curve: You'll need to learn about electrical work, which can be complex and daunting.
- Potential for Mistakes: Without professional experience, you may encounter mistakes that could require more time or money to fix.
Professional Installation: Expertise and Efficiency
Pros:
- Expertise: Professionals bring experience and knowledge, ensuring the job is done right the first time.
- Efficiency: A professional can complete the job faster than an amateur might.
- Quality: Pros know the best materials to use for durability and how to install systems that comply with local codes.
Cons:
- Cost: You're paying for the expertise and labor, which adds to the overall cost of the project.
- Less Control: Some homeowners may find that their project might not be completed exactly how they envisioned when someone else is doing the work.
DIY Basic Guide for Homeowners:
- Plan Your Layout: Walk your intended path at night to determine where lighting is most needed. Sketch out your path and decide on the spacing between lights.
- Choose Your Lights: Based on your design preferences and needs, select suitable LED or solar-powered fixtures.
- Gather Tools and Materials: Ensure you have all the necessary tools, including wire strippers, a shovel for trenching, and connectors if you're not using solar lights.
- Electrical Prep (For Wired Lights): For low voltage systems, you'll typically need a transformer that reduces your home's 120V system to the low voltage required by your path lights. Always follow the manufacturer's instructions.
- Test the System: Before burying any cables or making things permanent, test your lights to ensure they work.
- Installation: Dig trenches for wires at the recommended depth, lay the wiring, and secure your lights according to your layout plan. For solar lights, simply assemble and place them where desired.
- Adjust and Enjoy: Once everything is installed, make adjustments in positioning as needed to achieve the desired aesthetic effect.
Always prioritize safety, particularly with electrical components. If at any point you feel unsure, it's wise to call a professional. Moreover, for complicated layouts, or if your system requires extensive electrical work, consider consulting a professional from the start. They can offer insights into the best practices for installation and even maintenance tips to keep your lighting looking great for years to come.

Path Lighting Made Easy
Proper path lighting isn't just practical—it can also make your garden look magical at night. By using the latest in LED and solar technologies, you can control your lights right from your phone and pick materials that both last a long time and look great. Whether you choose to install the lights yourself or hire someone to do it, remember that a little upkeep goes a long way in keeping your paths well-lit and inviting. Stick with these pointers, and you'll be able to enjoy a safe, stylish, and eco-friendly garden that shines bright every evening.
Leave a comment
All comments are moderated before being published.
This site is protected by hCaptcha and the hCaptcha Privacy Policy and Terms of Service apply.