In-ground lights are a practical way to light up outdoor areas like walkways and the outside of your house. We'll explain what these lights are and show you where they're best used. You'll learn how to pick the right places for them and some simple design tips. We'll also cover the technical stuff—like how to choose the right light warmth, brightness, and lights that can handle rain and last a long time.
Plus, we'll give quick advice on installing them safely, when you might need a professional, and how to keep them working well. Read on to find out how these lights can make your outdoor space safer and more inviting.
1. Getting to Know In-Ground Lights
What Are In-Ground Lights?
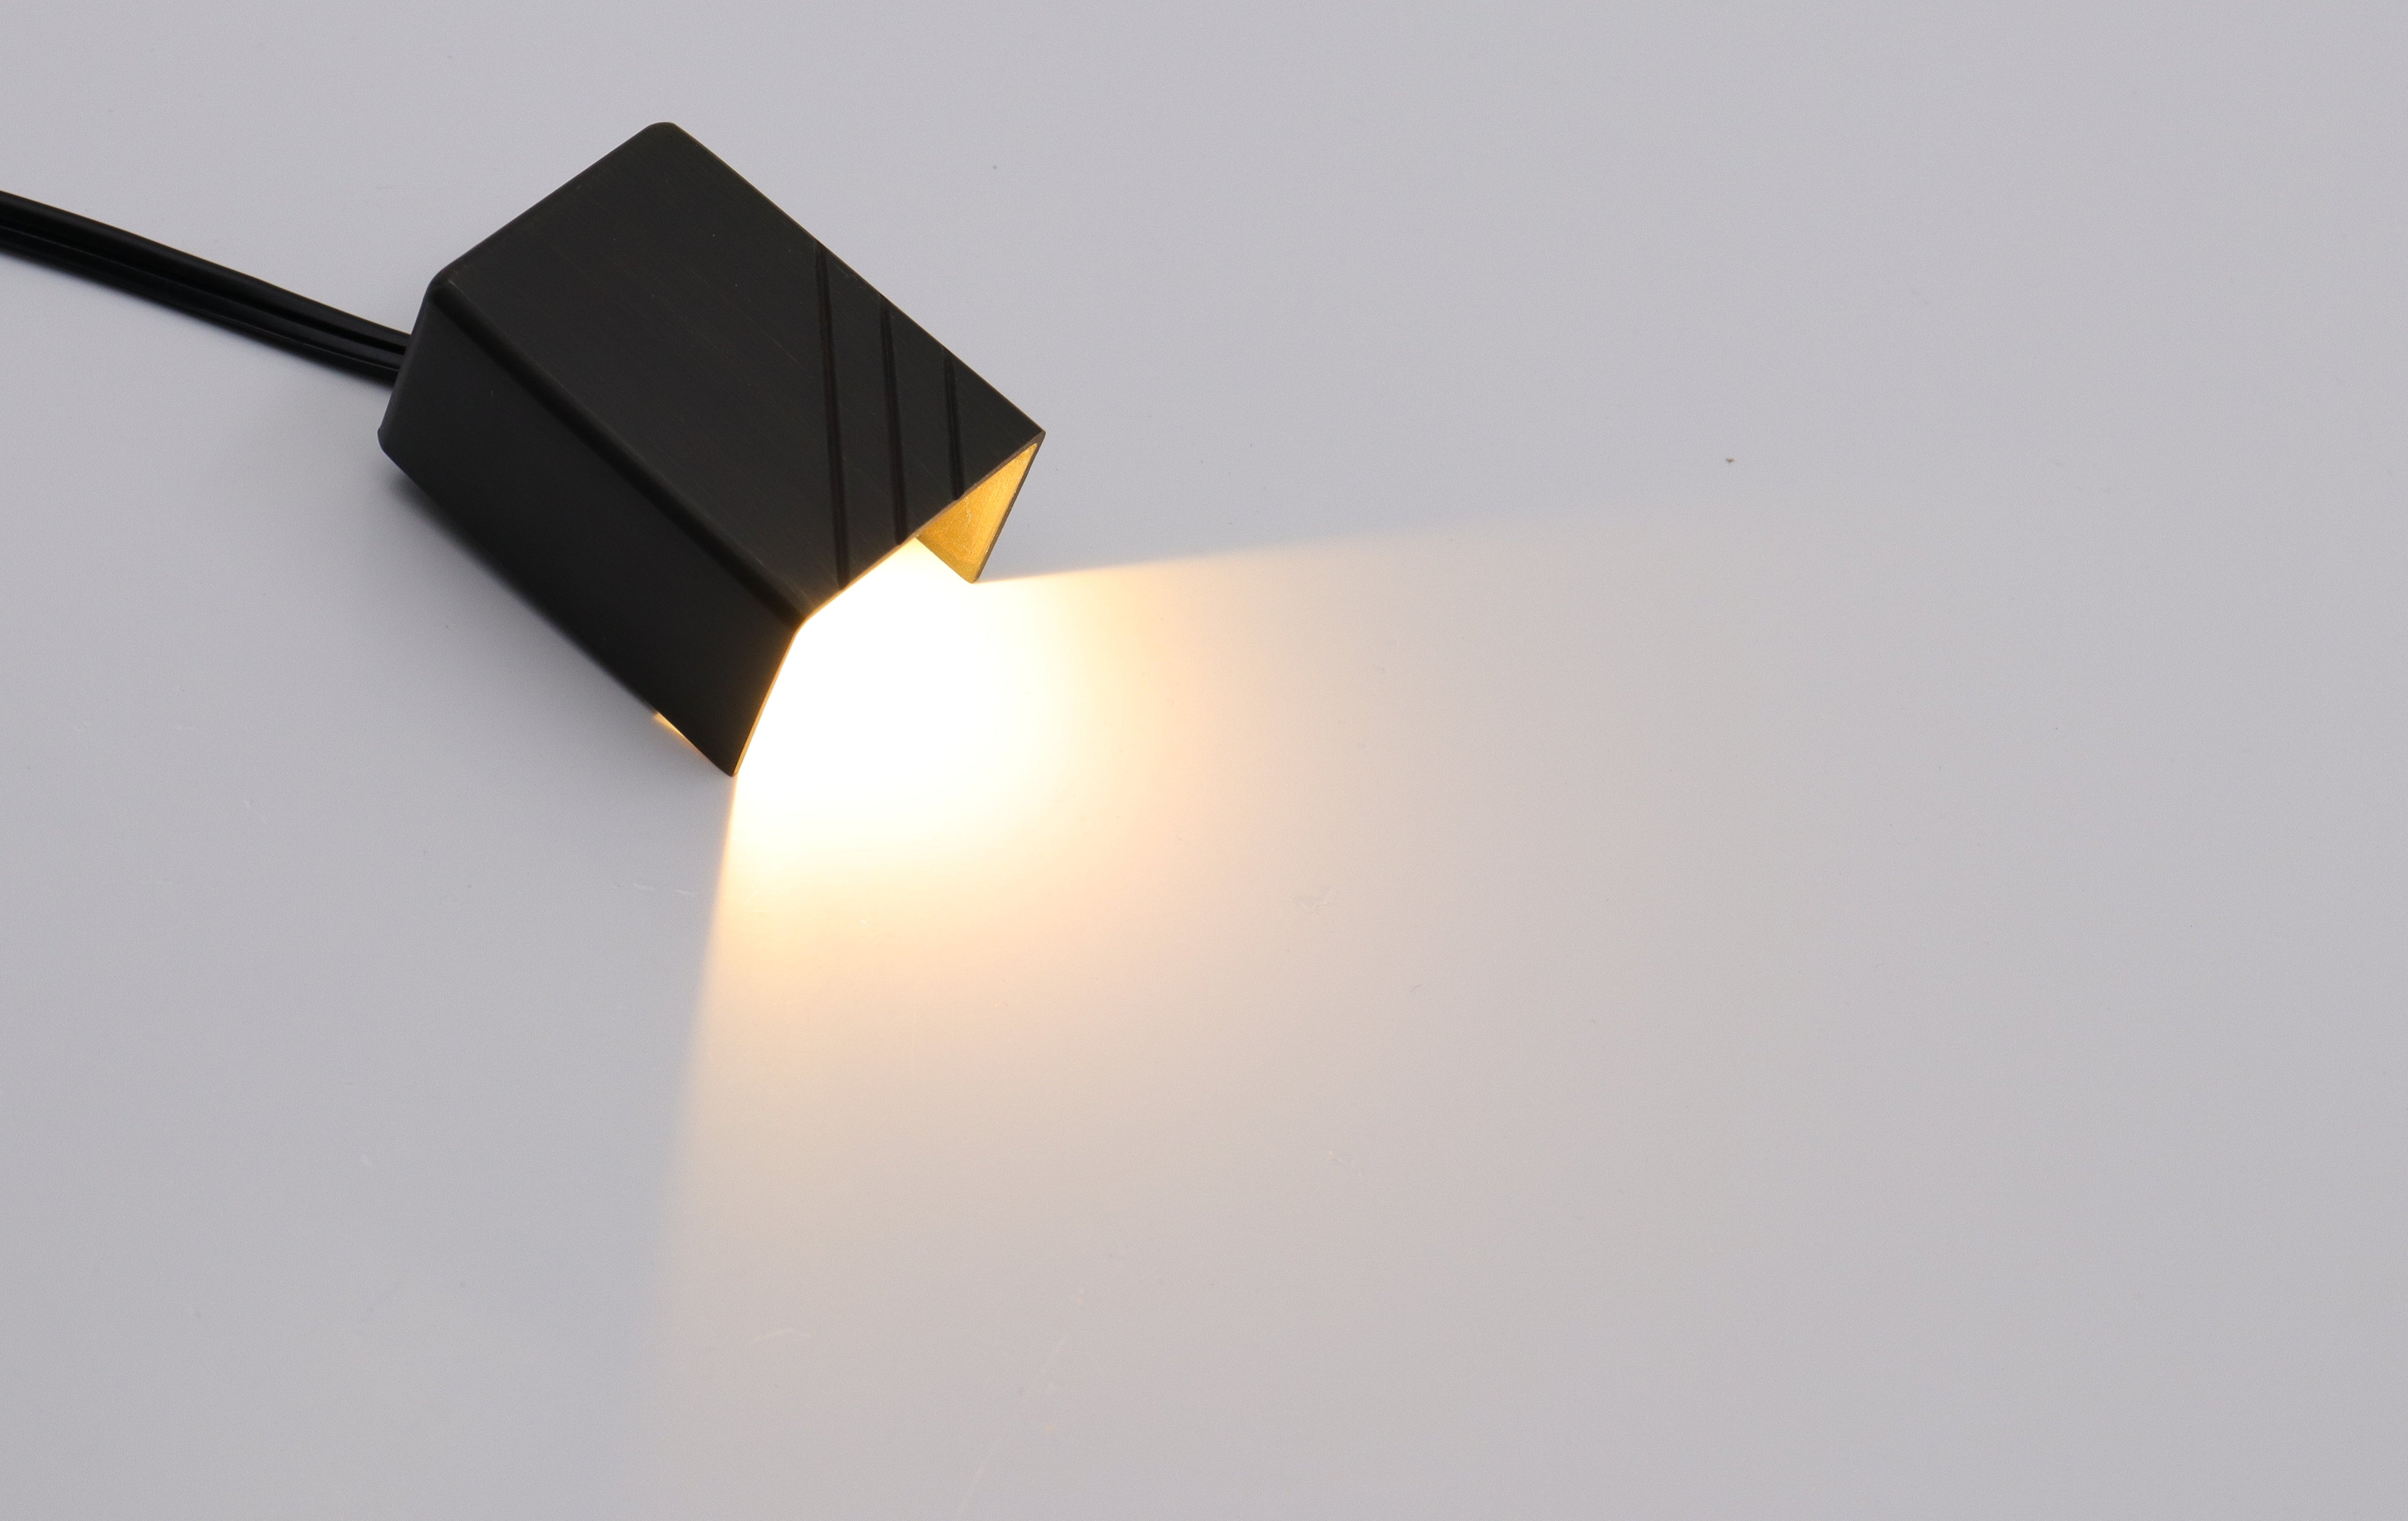
In-ground lights are exactly what they sound like: lighting fixtures that are installed flush with the ground. These discreet lights are often used to brighten up walkways, light up the outside walls of buildings, or simply make gardens and yards look more inviting at night. They're popular because they don't get in the way, and they can take an outdoor space from dark and uninviting to bright and welcoming.
Types of In-Ground Lights
- Standard In-Ground Spotlights: Fixed position lights that cast a bright beam on a particular feature.
- Well Lights: Circular fixtures that are recessed into the ground, providing uplight to the area above them.
- Drive-Over Lights: Reinforced lights designed to withstand the weight of vehicles, ideal for driveways and parking areas.
- Pathway Marker Lights: Low-profile fixtures that provide visibility along paths and walkways without being obtrusive.
- LED In-Ground Uplights: Energy-efficient lights that are great for highlighting walls, trees, and architectural details.
- Color-Changing LED Lights: These offer the flexibility to change colors, often with a remote, to create different moods or themes.
- Smart In-Ground Lights: Can be controlled via apps or smart home systems to adjust brightness, color, and scheduling.
- Solar-Powered In-Ground Lights: No wiring needed; they charge during the day and light up automatically at night.
2. Where to Place Your In-Ground Lights
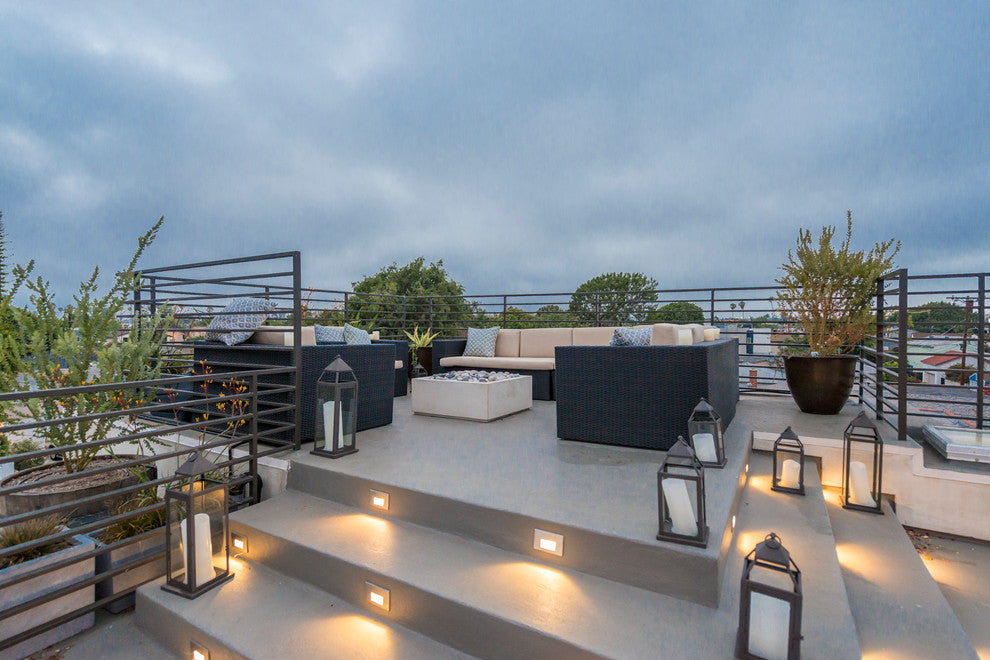
Lighting Up Pathways and Driveways
Pathways and driveways are perfect candidates for in-ground lights. They help people see where they're going, reducing the risk of trips and falls. Plus, a well-lit entrance feels inviting. It's like rolling out a welcome mat made of light!
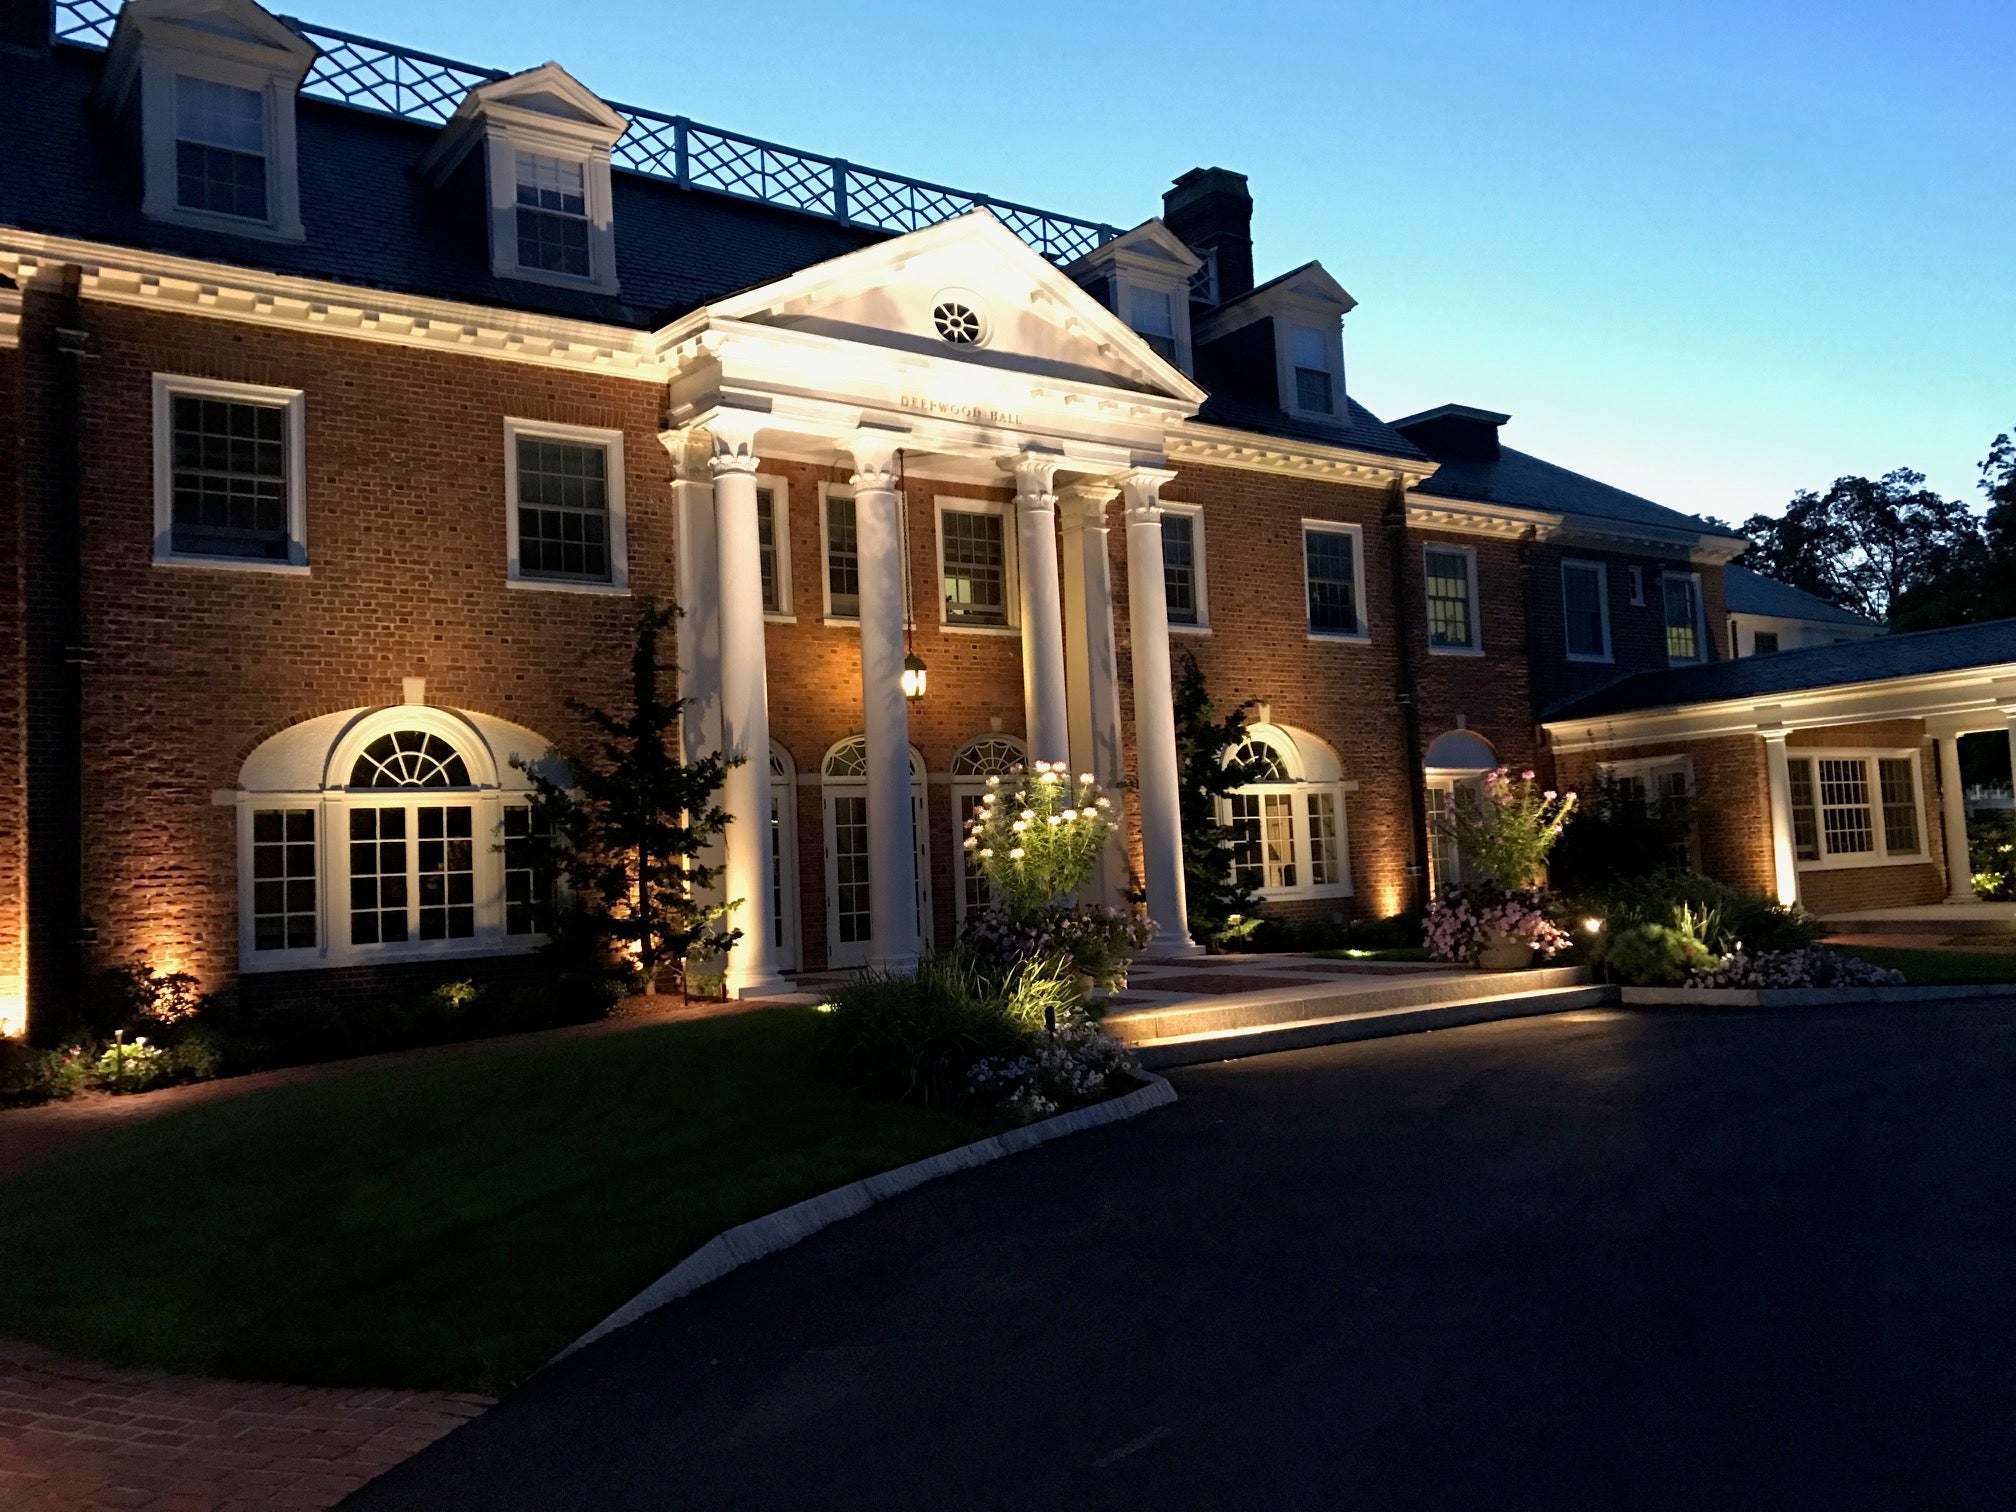
Showcasing Building Facades
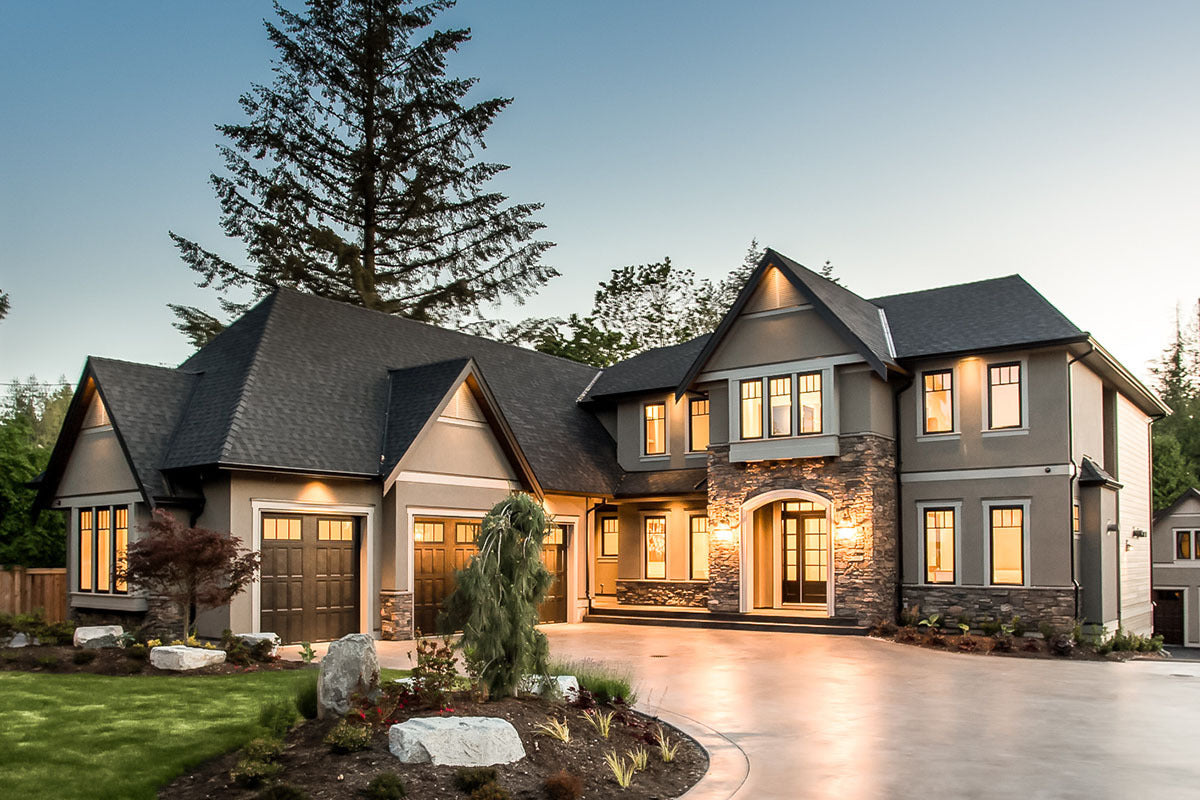
The front of your house or building can make a real statement when you use in-ground lighting. Shine some lights upward to bring out the texture of the bricks or siding and draw attention to any unique design features. It's all about creating that 'wow' factor.
Columns and Pillars Stand Tall
Got columns or pillars? Use in-ground lights to show off their height and the rhythm they add to your space. When light travels up a column, it emphasizes grandeur and can make your home feel like a landmark.
Reflecting On Water Features
If you have a fountain, pond, or pool, in-ground lights can work magic. They not only show off the water but also play with its movements, creating a dynamic look that's both calming and captivating.
Garden Glow
Don't let your garden disappear after dark. In-ground lights can spotlight sculptures, trees, or flower beds. It's not just about seeing your garden at night—it's about enjoying it in a whole new way.

3. How to Design In-Ground Lighting
Choosing Your Highlights
Think about what features in your yard you'd like to show off. Maybe it's a majestic old tree or a cool piece of outdoor art. These are your focal points—the spots you'll light up to catch the eye and create interesting shadows and highlights.
Where to Put Your Lights
The key to getting your lighting right is placing the lights in just the right spots. You want to aim for even spacing where possible, especially along paths. When highlighting walls or features, position the lights so they cast an even glow that really shows off the textures and shapes.
Directing the Light
To make your space look deeper and more dramatic, play with up-lighting. This means placing the lights low and angling them upward. It can make trees look taller, walls look longer, and everything looks a bit more magical.
Combining Different Lights
Mix in-ground lights with wall lights, string lights, or spotlights to get a well-rounded look. Think of each type of light as a layer, adding its own touch to the overall scene. Done right, you'll have a yard that looks good from all angles, any time of night.
4. How to Select In-Ground Light Specifications
Beam Angles: Narrow or Wide?
Beam angle is crucial in targeting the light's spread. Narrow beams, often between 15–30 degrees, work like a spotlight to draw attention to specific features such as garden statues or flagpoles. Wide beams, typically above 60 degrees, are designed to cast a broad glow for general ambiance and safety across patios or larger architectural surfaces.
Color Temperature: Crafting the Mood
Color temperature greatly affects the mood and visual comfort of a space. Measured in Kelvins (K), lower numbers give a warm, amber tone perfect for cozy areas or to complement natural materials like wood and stone.
How Bright? Lumen Output Explained
Brightness levels, indicated by lumens, should be chosen based on the purpose and setting. High-traffic areas and key focal points may need brighter lights ranging from 100 to over 300 lumens to ensure clear visibility. Ambient lighting, used to create a gentle outline along paths or low-lying garden beds, may only require 50 to 100 lumens.
Built Tough: Durability and Weatherproofing
The material of the in-ground light fixture impacts its durability. Stainless steel, brass, and heavy-duty resin can withstand various weather conditions and resist corrosion. Moreover, the Ingress Protection (IP) rating determines the level of sealing effectiveness against elements. An IP65-rated fixture is robust, offering complete protection against dust ingress and low-pressure water jets from any direction. For coastal or high-exposure areas, consider higher ratings like IP67 or IP68, which provide increased resistance to submersion and environmental factors.

5. How to Set Up Your In-Ground Lights Right
Before you start digging, take a good look at your space. Plan where each light should go, thinking about what you want to light up and how the lights will work together.
Getting Wired: Powering Your Lights
You'll need to make sure you have safe and reliable power sources for your lights. This might mean getting outdoor-rated cables and possibly consulting with an electrician.
Keeping It Easy on the Eyes
No one likes being blinded by bright lights. To keep things comfortable, position your lights so they don't shine directly into people's eyes.
DIY or Call the Pros?
Installing in-ground lights can be straightforward, but it can also get tricky, especially when it comes to wiring. If you're feeling confident and it's a simple setup, you might do it yourself. But if there's heavy-duty wiring or complex layouts involved, it might be worth getting a pro to handle it.
6. Going Green with Your In-Ground Lighting
The Perks of LED lights
LED lights are the champs of energy efficiency and longevity. They use much less power than traditional bulbs, which means they're easier on your electricity bill and better for the planet.
7. How to Keep Your In-Ground Lights Shining Bright
Regular Upkeep
Keeping your in-ground lights clean and well-maintained is key. A simple wipe-down with a damp cloth can remove dirt or leaves that may block the light.
Change with the Seasons
Your lighting needs might change with the seasons or for special occasions. Adjust the angles of your lights to highlight seasonal changes.
Solving Common Lighting Hiccups
If your in-ground lights are acting up, it's often something simple. Water getting into the fixture is a common issue—make sure seals are intact.
Final Thoughts
In-ground lighting can turn your outdoor space into a welcoming and safe extension of your home, all while adding a touch of elegance.
Remember, it's not just about installing lights; it's about creating an ambience that complements your space and lifestyle. Whether you choose to DIY or bring in the pros, thoughtful planning and regular care will keep your outdoor areas shining bright.
 ```
```
Leave a comment
All comments are moderated before being published.
This site is protected by hCaptcha and the hCaptcha Privacy Policy and Terms of Service apply.