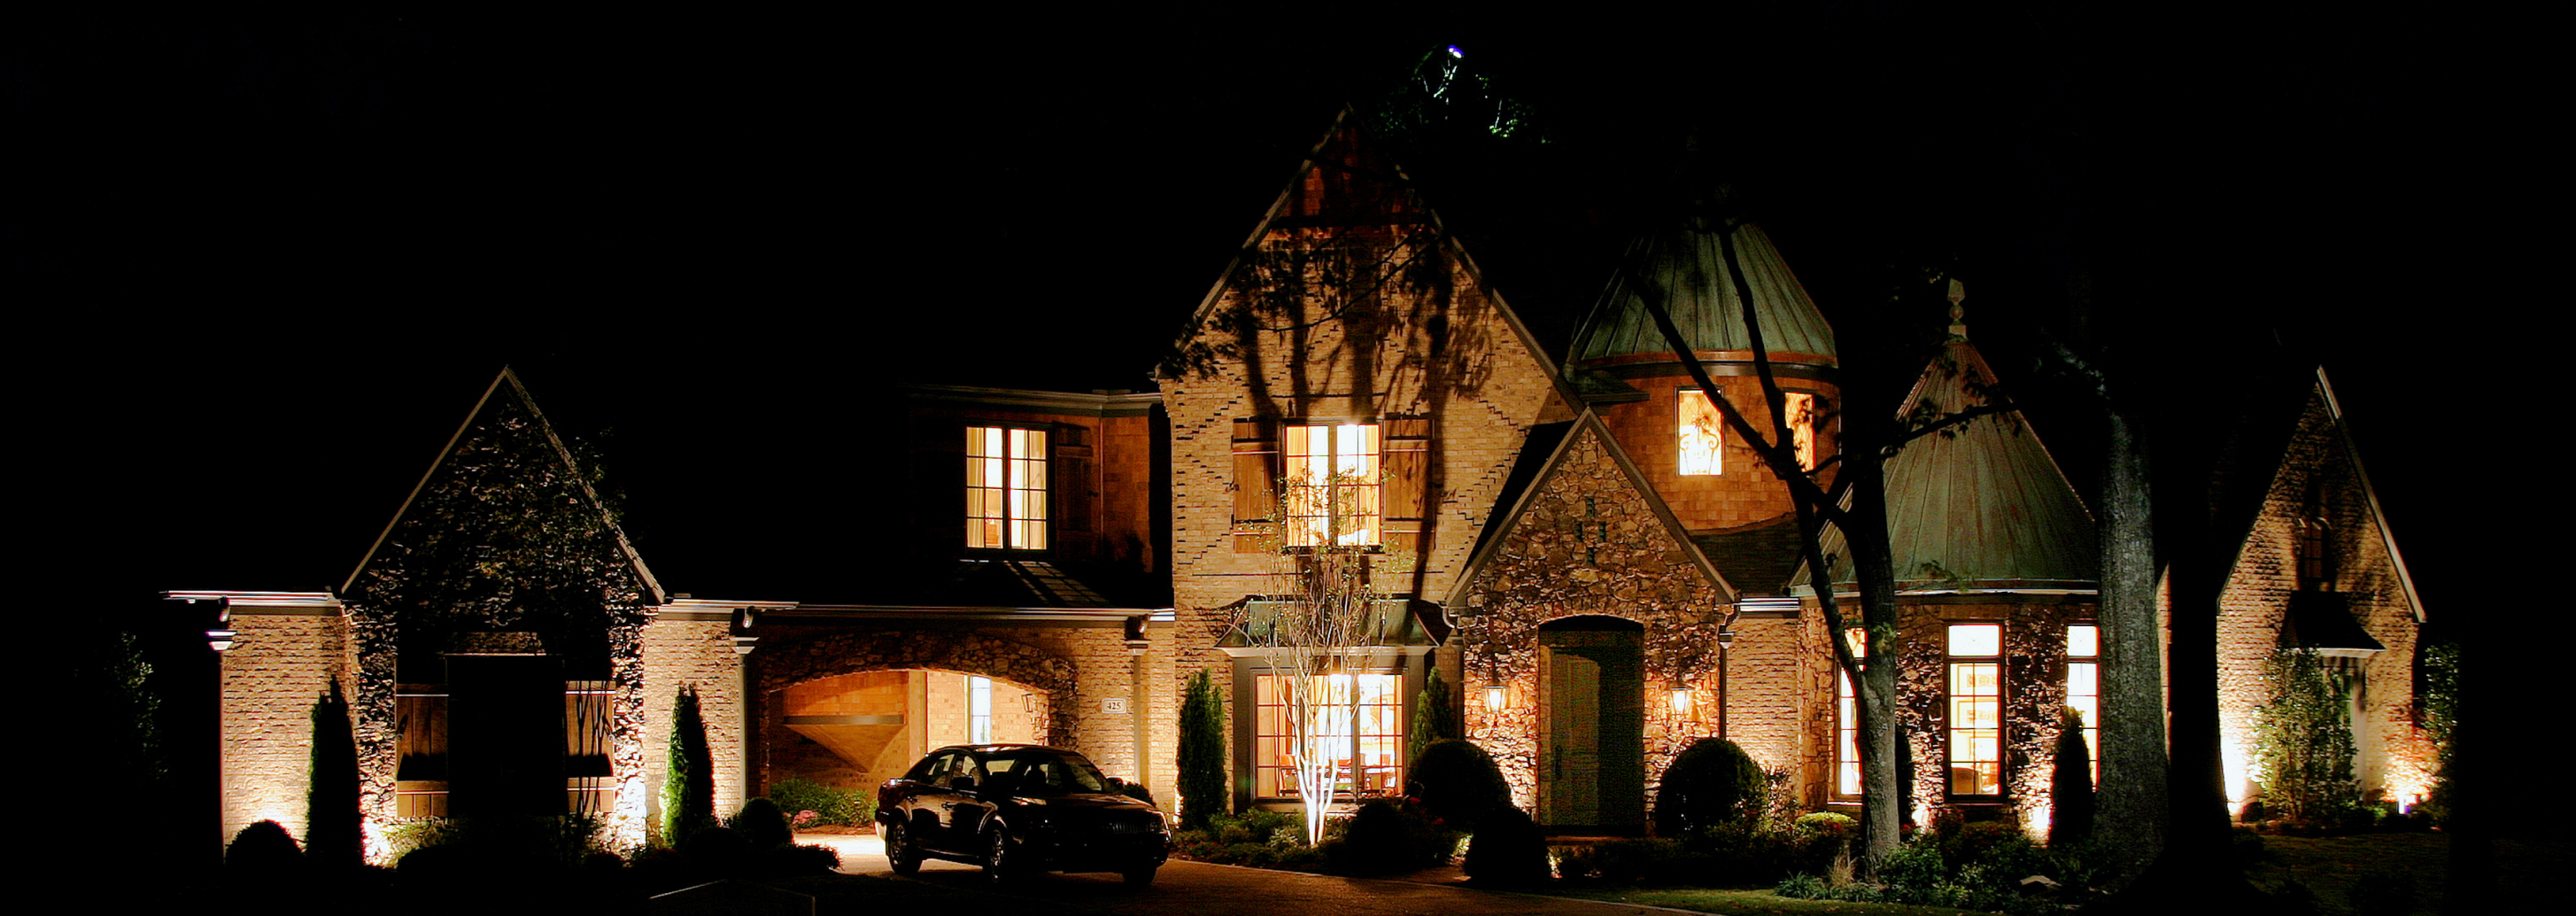
Outdoor landscape lighting not only enhances the beauty of your home's exterior and landscaping but also improves safety and security. However, many homeowners find their original outdoor lighting plans don't provide enough illumination in all needed areas. Fortunately, adding more lighting to an existing low voltage landscape lighting system is a relatively easy DIY project. Just follow this guide to properly expand your outdoor lighting:
1. Assess Where More Lighting is Needed
Take an evening walk around your property to determine where additional lighting is required. Note any dark areas near walkways, steps, patios, or landscaping that need more light for aesthetics and safety. Consider if certain architectural or landscape features would benefit from accent or spot lighting. Determine if more lighting is needed along the perimeter for better visibility and security. Decide if existing lights need re-positioning or supplementing. Make a list of all areas needing more landscape lighting so you can purchase the right fixtures and plan their placement.

2. Take Inventory of Your Current System
Before shopping, understand your current system's voltage and transformer wattage. Low voltage landscape lighting typically operates on 12V or 120V. Check your transformer to identify the voltage. Verify it has enough wattage capacity for more lights. The wattage indicates the maximum load from all connected lights. If you exceed the capacity, lights will be dim or not turn on. Avoid overloading by calculating the wattage of all new lights.
3. Choose New Fixtures Suited to Your Needs
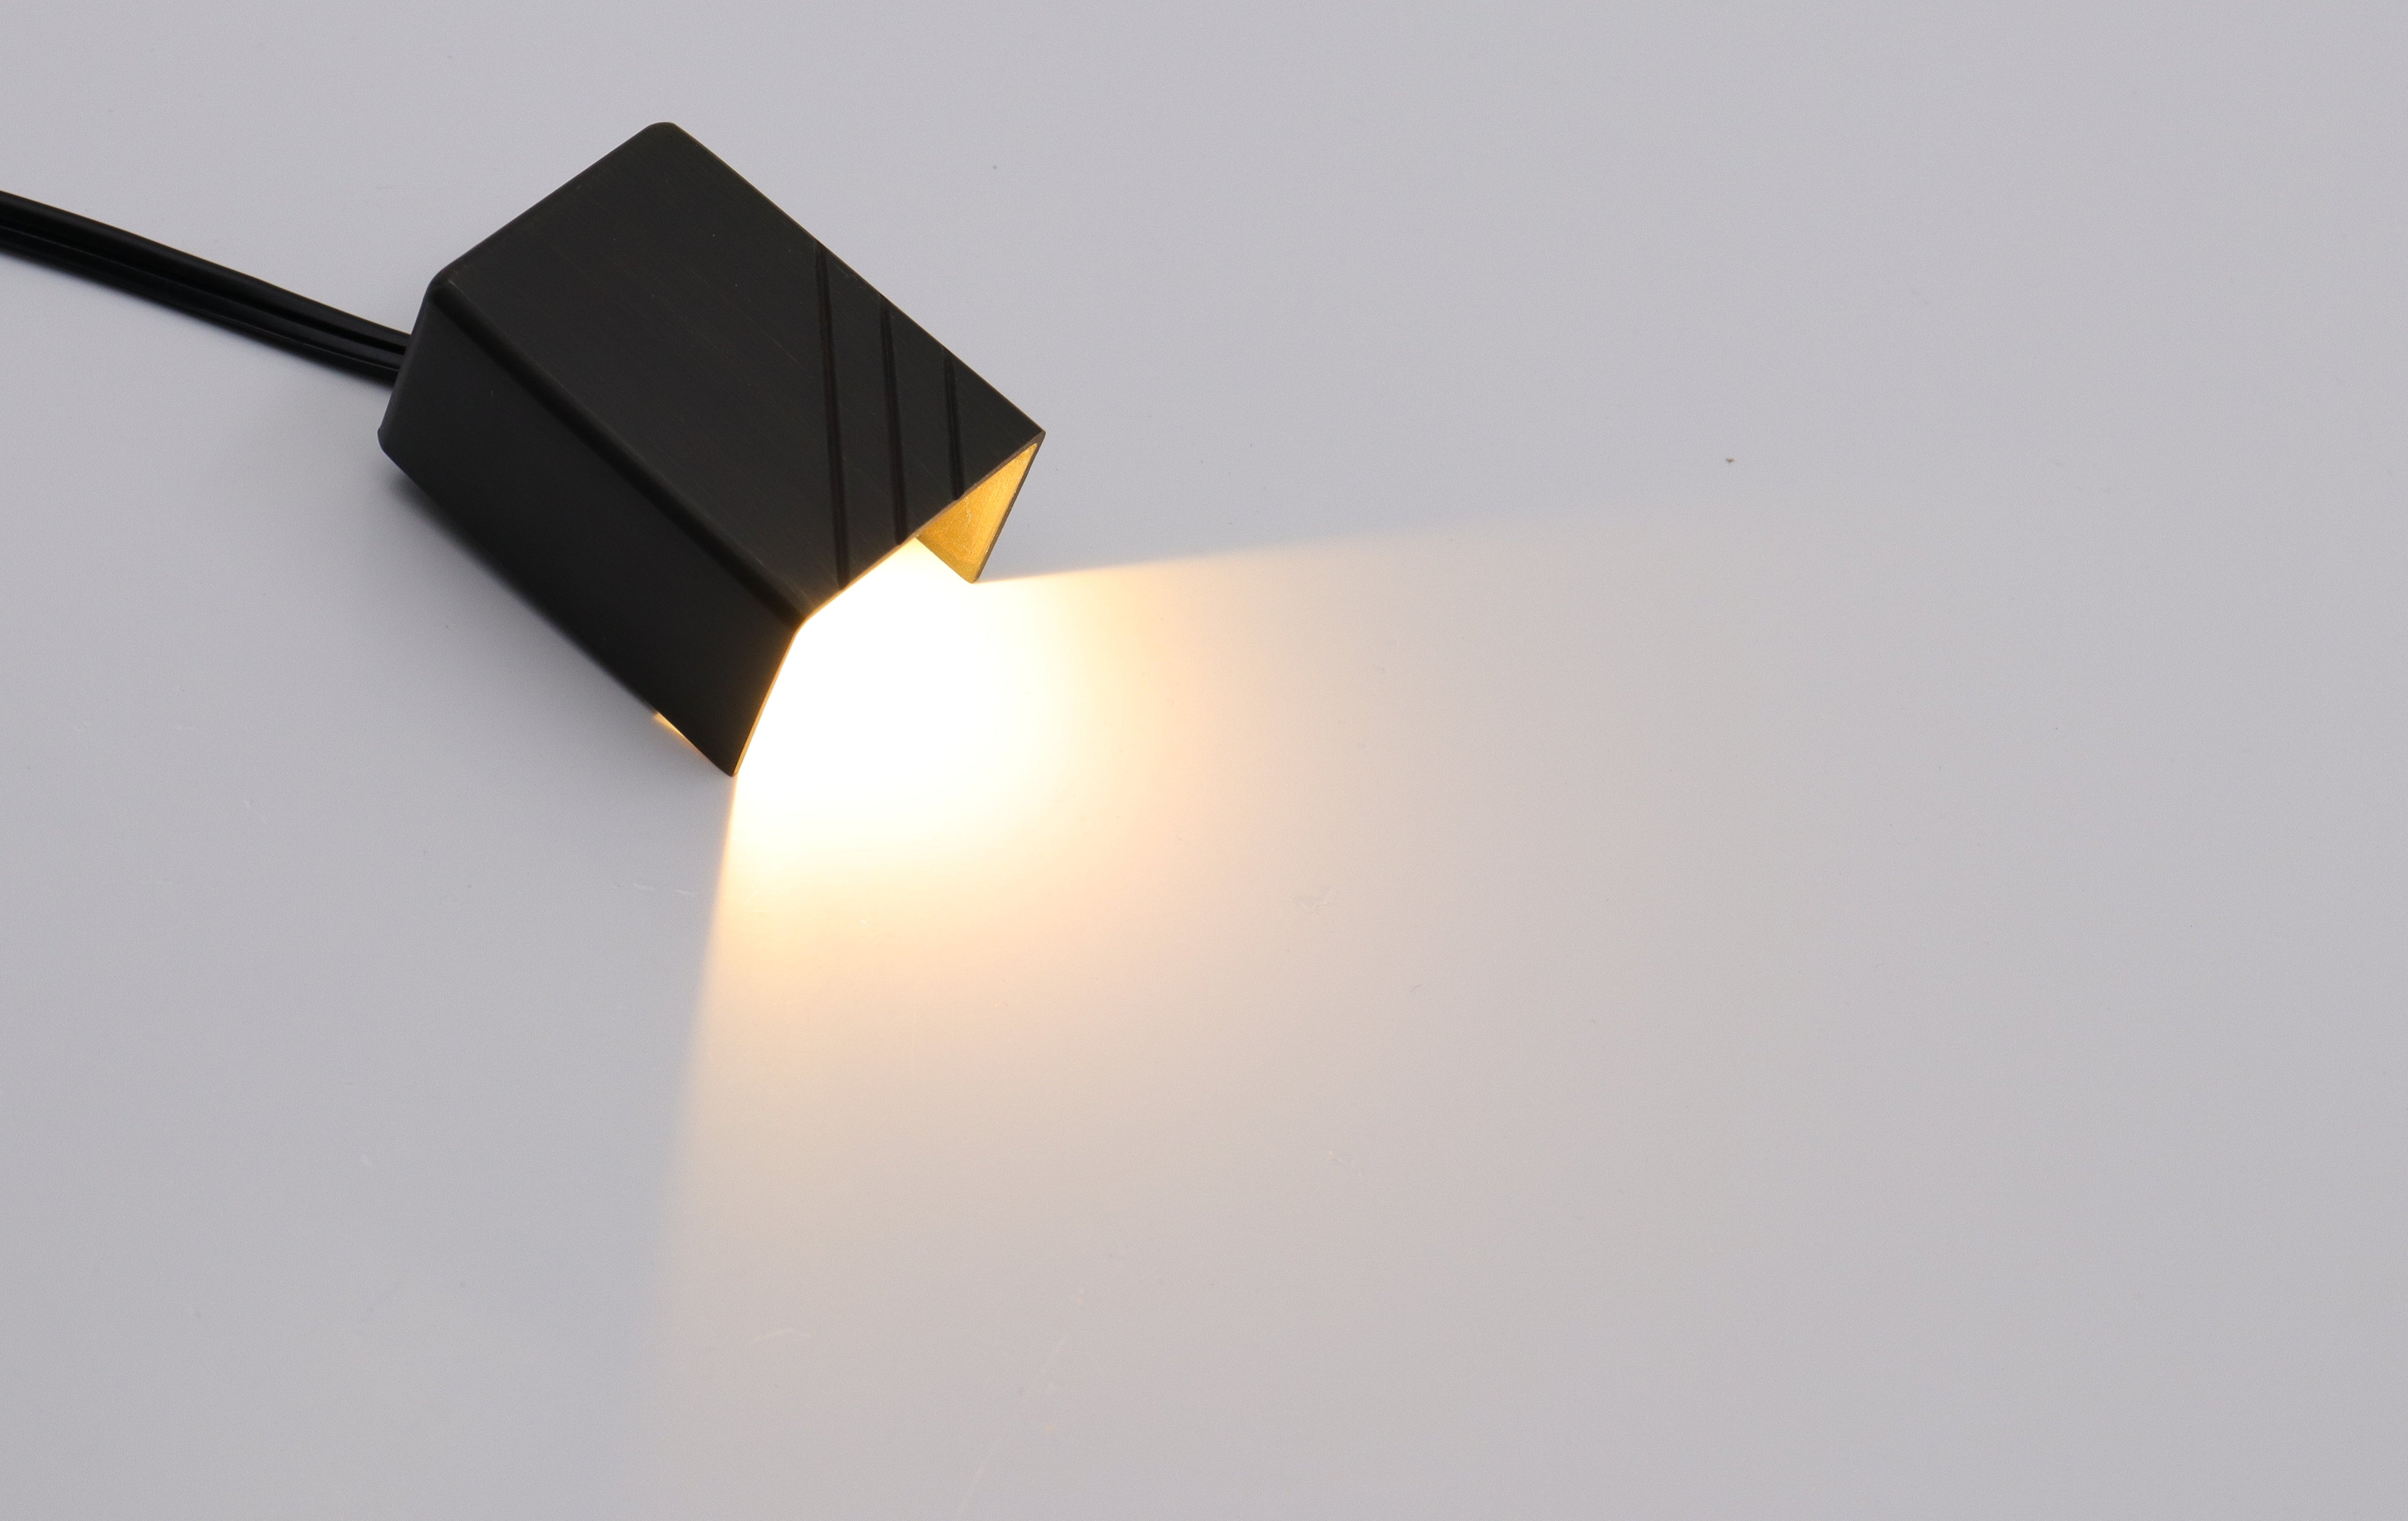
When selecting fixtures, ensure they are designed for your system's voltage. Choose lights that suit each application's intensity, coverage, and optics. Path lighting along walkways and steps typically requires low-level fixtures. Grazing and silhouetting landscape features often need stronger spotlights. Accent lighting works best with adjustable beam spotlights or flood lights. Consider efficient, long-lasting LEDs. Also choose durable, weather-resistant fixtures. Purchase all necessary wiring and mounting accessories.
4. Plan Locations and Install Wiring
Strategically determine where to place each new light fixture for optimal illumination. Stake or mark the locations with spray paint. Consider volts and amps when planning your wiring routes so that you don't overload any single wire run. Install additional wiring underground between your transformer and new light locations. Use lighting cable buried at least 6 inches deep to prevent damage. Extend existing wiring from lights nearest the new locations you want to illuminate. Properly connect the new wiring to your existing circuits using gel-filled wire connectors suitable for direct burial. Make sure all wiring connections are tight and waterproof. Use lighting cable manufactured specifically for low voltage landscape systems.

5. Mount and Install New Fixtures
Most low voltage landscape lighting fixtures require a stake or mounting bracket to properly anchor them in place. Hammer stakes into the ground or use screws to mount brackets onto walls or existing structures where you've planned each new light. Carefully install the fixtures onto the stakes or mounting brackets and ensure they are fully secured. Aim and adjust spotlights or floodlights to direct the light where needed. Follow manufacturer instructions for any special wiring connections or installation procedures for each new light. Leave enough slack in buried wiring so fixtures can be relocated or aimed as needed. Keep wires clear of planting beds and lawn areas to avoid damage from digging or mowing.
6. Connect to the Transformer
With all new lights and wiring installed, connect the additional wire runs to the terminals on your existing low voltage transformer. First double double-check that the transformer has enough wattage capacity for the total load of the expanded lighting system. Make sure wiring polarity is consistent when making connections. Attach the neutral wires to the transformer's common or neutral terminal. Connect all hot wires from the new wire runs along with existing circuits to the transformer's hot terminals. The terminals are typically labeled 12V or 120V depending on your system. Verify that all connections to the transformer are tight and secure.

7. Test and Adjust the Lighting
The final step is to test the expanded lighting system and make any adjustments. Turn the system on and check that all existing and new lights illuminate properly. Troubleshoot any lights that don't function by checking wiring connections and voltage. For spotlights and floodlights, adjust or redirect their aim if needed to optimize the light coverage. Minor adjustments to the mounting direction or height of new fixtures may be necessary. Consider adding baffles, lenses, or shields to spotlights to control glare or light trespass onto adjacent properties. Turn lights on at night to evaluate the visibility and ambiance the additional fixtures provide. Your improved professional quality lighting should provide both beauty and safety.
Conclusion
Expanding your low voltage landscape lighting system is an easy weekend project with proper planning. Assess your lighting needs, inventory your transformer capacity, choose compatible fixtures, connect new wiring runs, mount the lights, and make any adjustments to complete the upgrade. With added illumination, your home's exteriors and yard will be more attractive and secure after sunset. Plus you'll boost curb appeal and add value to your property. With the right approach and components, you can enjoy the rewards of a perfectly lit landscape.


Leave a comment
All comments are moderated before being published.
This site is protected by hCaptcha and the hCaptcha Privacy Policy and Terms of Service apply.